DIY Timer Switch Mod for Smart Water Purifier


If you have a reverse osmosis water purifier and drinking machine at home that can be desktop or wall-mounted with excellent water purification effect (TDS value of inlet water over 200 and outlet water of 7), and also equipped with refrigeration function, but frequently forget to turn off the cooling switch, which continues running all day even when boiling water, you can solve this problem by adding a timer switch.
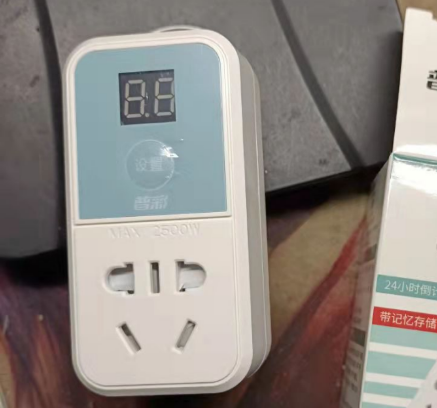
Firstly, find or purchase a common timing socket that supports countdown from 5 minutes to 24 hours with memory function. Even if it has been turned off for a long time, it will remember the last countdown time if touched once after turning on.
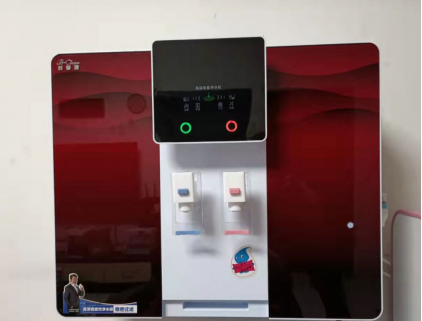
After modifying the system, there will be two circles on the wall-mounted integrated machine - the green circle for refrigeration and the red circle for heating. Touching these circles will enable the corresponding functions, and the default setting will be the last chosen countdown time. However, if the power cord is on the left side, it may be inconvenient for wall mounting, thus it can be changed to a plug-in socket located at the lower right corner of the machine.
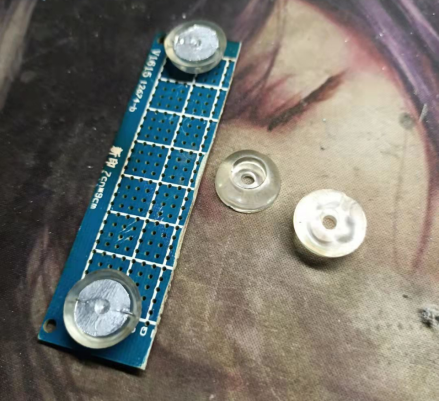
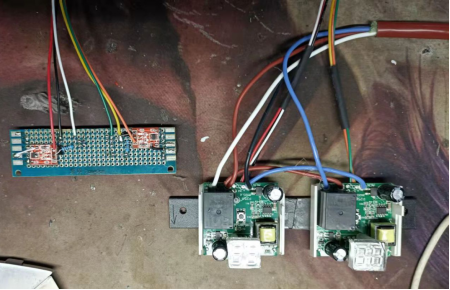
To modify the touch button, you need to find a transparent foot pad, drill four small holes in it, use a color ring resistance pin to fix it onto the perforated board, and solder the other end to the perforated board. The green and red LEDs are placed in the middle of the foot pad in order to indicate the touch position. Two small aluminum foil tapes are cut into circles and attached to the foot pad to create a touch-sensitive area. The transparent flap is completely covered with aluminum foil tape to prevent light contamination.
Make an installation bracket using plastic rubber strips, and then remove the outer shell of the timing socket circuit board, leaving only the circuit board and part of the shell. Glue the shell to the bracket using 3M double-sided adhesive tape.
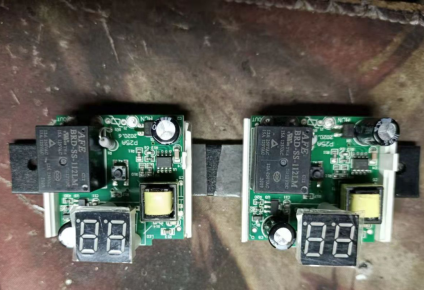
To control the refrigeration and heating functions of the drinking machine, it is just a matter of connecting the phase line (fire) to the cooling circuit board and the main control board separately. Connect the 220V part according to the original wiring method of the timer switch - connect the fire wire, zero wire, and output wire respectively. Since both the ice water and hot water need to be controlled at the same time, both switches need to be connected, and the two output wires should be connected in parallel above the original ship-shaped switch of the integrated machine. Connect three thinner power cords to the TTP223 touch module. The white (green) wire connects to TTP223's I/O, the red (orange) wire outputs 5V to TTP223's VCC, and the black (yellow) wire is connected in series with a 1N4007 diode to TTP223's GND. The purpose of serializing the diode is twofold: to ensure that the power supply voltage is safe since the module's power supply range is 2.5-5.5V and to prevent the socket from incorrectly connecting the live or neutral wires. Although there should be no problem even without the diode.
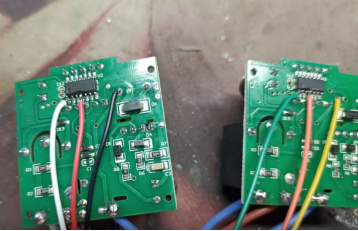
After soldering various wires, you can add a 670Ω resistor between the TTP223 module's I/O pin and the timer switch, although it is not necessary. Remove the LED on the original TTP223 module, replace it with the LED soldered under the perforated touch button, and jumper TTP223's A pin to set it as low-level output.
After installing the timer socket, you can simply glue the transparent touch button onto the display cover of the integrated machine and plug in the wire connecting to the timer.
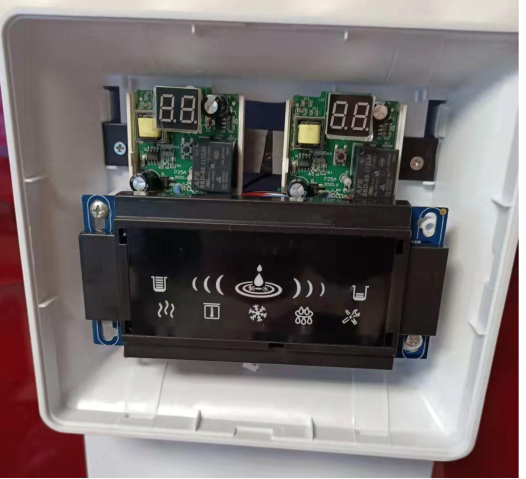
You can now touch the green circle for refrigeration or the red circle for heating. Repeatedly touching the circles will allow you to adjust the cooling or heating time, and it also has a memory function that will remember your last countdown setting. Touching can also choose whether to frequently turn off or frequently turn on. The remaining time of the countdown will be visible on the display so that you can check when it will shut off. Cooling is set for 30 minutes, which will automatically cut off when it's completed to reduce energy consumption. Heating can be set for 10 minutes by default, but you can always adjust as per your needs.


