DIY MAX30102: Blood Oxygen & Heart Rate Monitor


If you are interested in studying the principles of blood oxygen testing, you will find a module called the MAX30102 sensor module made by Maxim Integrated.
According to the official website of Maxim Integrated, the 30102 integrates pulse oximetry and heart rate monitoring and communicates via I2C, making it ideal for DIY projects. By connecting the verification board with some jumper wires and incorporating the program algorithm, you can create a simple blood oxygen monitor.
The principle of blood oxygen testing is based on the fact that the absorption of light by oxygenated hemoglobin (HbO2) and hemoglobin (Hb) is different. These two types of hemoglobin are present in the blood in a certain ratio, which is roughly equivalent to oxygen saturation. The following figure illustrates the light absorption characteristics of HbO2 and Hb at wavelengths between 600-1000nm. Hb has a higher absorption coefficient at wavelengths below 800nm, while HbO2 has a higher absorption coefficient at wavelengths above 800nm. Therefore, a red light (600-800nm) and an infrared light (800-1000nm) close to 800nm can be used to detect the PPG signals of HbO2 and Hb, respectively. Then, the corresponding ratio can be obtained through an algorithm, thus obtaining the blood oxygen value.
The principle of heart rate monitoring is based on the changes in arterial blood flow. When light passes through the skin tissue and is reflected back to the photodetector, the intensity of the light will be attenuated. The absorption of light by muscle, bone, and veins is relatively constant, whereas the absorption of light by blood flowing through the artery changes significantly. When the light is converted into an electrical signal, the resulting signal can be divided into a direct current (DC) signal and an alternating current (AC) signal. By extracting the AC signal, the characteristics of blood flow can be reflected. This method is called photoplethysmography (PPG). In short, blood is illuminated by light, which is partially absorbed, and then the returning light is calculated to obtain the results.
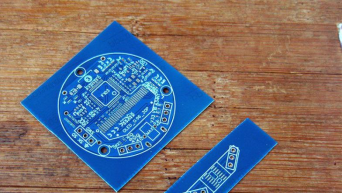
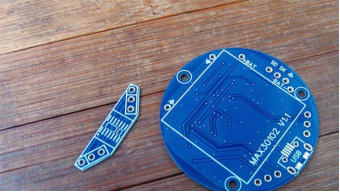
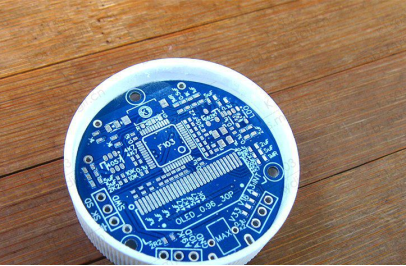
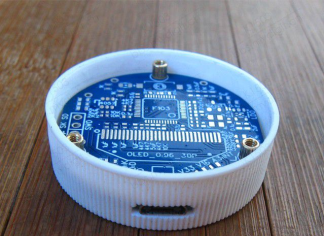
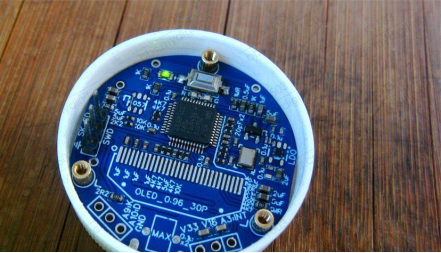
The PCB has a diameter of 38mm and is made of 0.8mm thick material.
As for the shell, a large medicine bottle cap with an outer diameter of 40mm can be used.
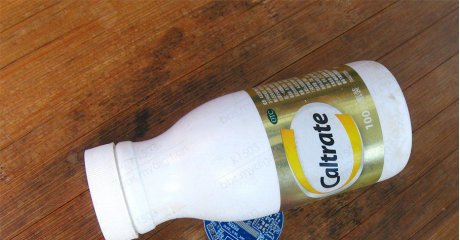
Use a knife to carefully remove the threads, and it should fit perfectly.
Fix it in place with copper pillars. The upper copper pillar is equipped with a screw, while the lower copper pillar is double-sided.
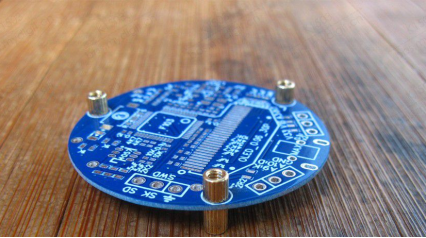
The upper copper pillar is 3mm high, while the lower one is 4mm high and can hold a 402030 lithium battery.
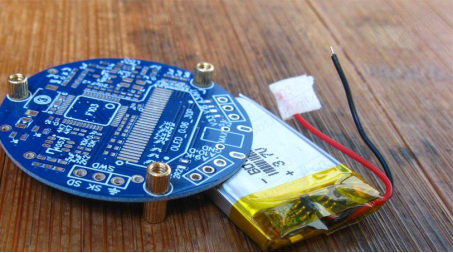
The screw effect is good. Solder the charging port and drill a corresponding hole.
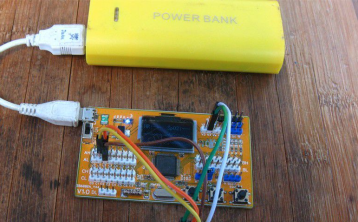
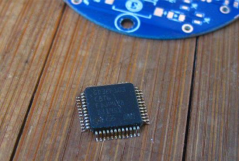
The main controller used is the GD32F103C8T6.
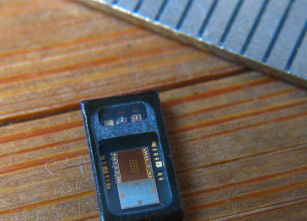
The most critical component is the MAX30102 made by Maxim Integrated.
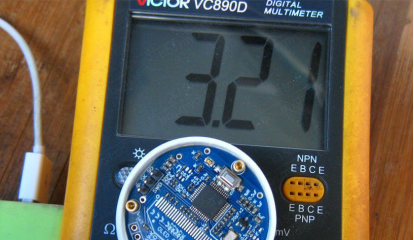
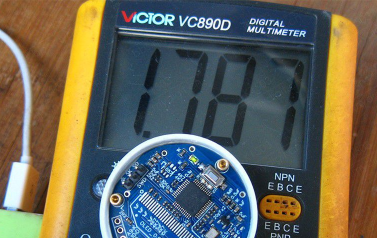
After soldering, first measure the 3.3V voltage of the LDO. The 1.8V voltage can only be measured after the program is written.
Program a blinking LED to test the microcontroller, and if the light comes on, the microcontroller is working properly.
The 1.8V power supply for the MAX30102 is controlled by the microcontroller, and the other LDO's enable pin is pulled high to activate it.
The MAX30102 is mounted on a separate board and raised using pillars.

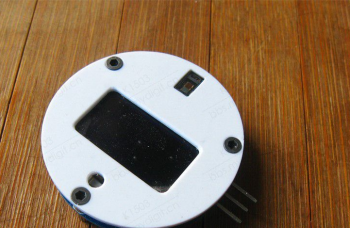
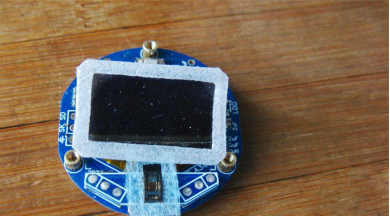
Finally, solder the small board and screen.
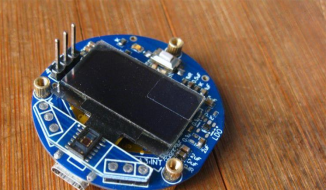
Test the screen using a test image.
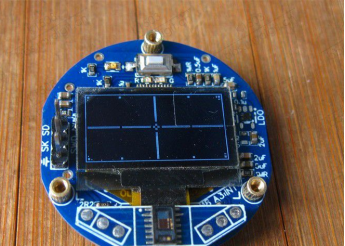
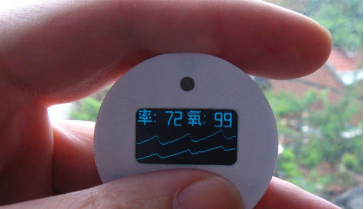
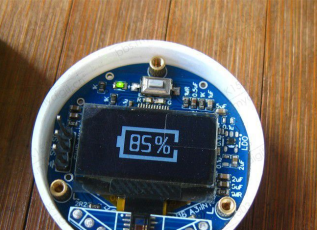
If you find the original interface too ugly, you can redraw it. The device measures the battery voltage upon start-up, and then enters the test interface. The battery test screen is shown.
ADC precision calibration
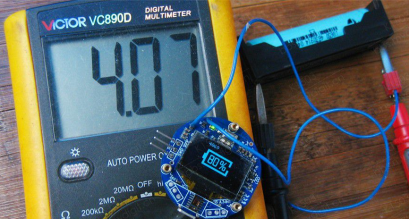
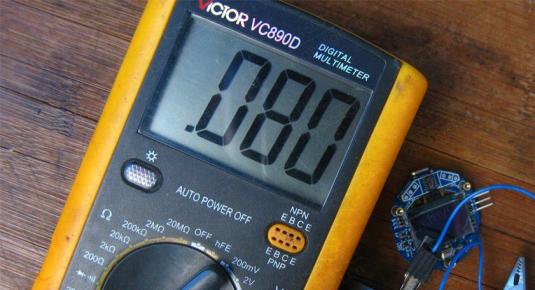
Standby power 80uA, about a month or two.
All right, all the tests are done
Find a plastic sheet to make a top cover.
Polish it carefully, it's ready to go in, and then make a hole
Top cover finished.
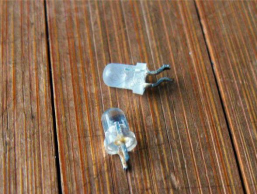
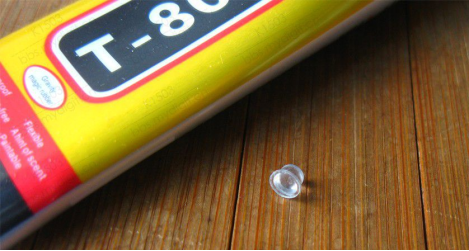
The button is also a charging indicator, so you need a transparent material, you can use a scrap LED for that.
Sand off all the pins and everything, then stick a plastic sheet with 8000 glue, and you're done. Experiments have found that scrubs work well, so save the all-clear for later use elsewhere.
Cut a soft cushion.
Then the final assembly, put another film on it. That's it. Charging.

When it's done, it turns green.
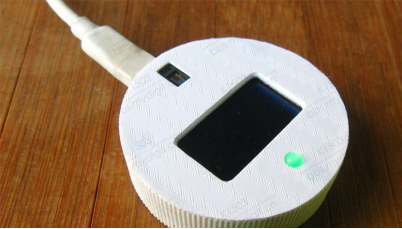
Finished.