DIY Carplay Setup for Motorcycles


Motorcycle's primary purpose is for long-distance trips, making navigation a necessity, and while the simplest solution is a phone holder, it presents several issues:
1. Camera damage is a common problem, and the cost of repair is not the main concern;
2. Waterproofing phones on a motorcycle is challenging, and dedicated waterproof phone mounts are expensive;
3. Mounting and removing the phone is inconvenient and increases the risk of losing it;
4. Vibrations on rough roads pose a risk of the phone falling off, unlike in cars where it usually stays inside. Some new motorcycles are equipped with TFT dashboards that support phone mirroring, such as Harley-Davidson's Glide and Honda's Gold Wing, which have built-in entertainment screens compatible with Carplay.
To begin the setup, you'll need a wireless Carplay adapter. Originally designed for cars with Android-based infotainment systems, the adapter communicates with the phone through an app installed on the infotainment system. However, these adapters generate a significant amount of heat.
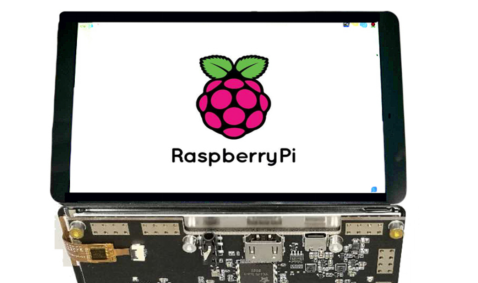
Next, you'll need a device capable of running Android 4.4 or above, even an old phone will do. The initial choice was the ASUS Tinker Board, capable of running Android 6.0 with sufficient performance. However, any device like a Raspberry Pi will work as long as it's stable enough to withstand a 12,000 km ride.
The larger Tinker Board was housed in a separate casing hidden on the motorcycle.
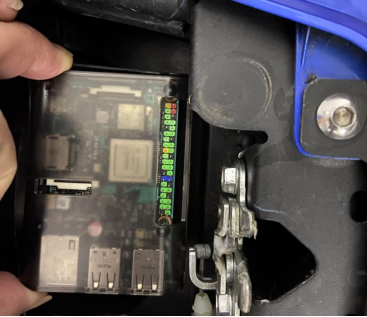
If the screen goes black, it might be related to heat dissipation, as air circulation is limited inside the motorcycle. In that case, consider using the following development board instead:
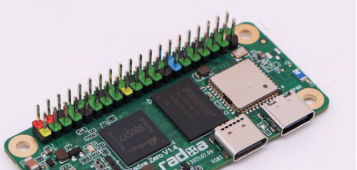
It has similar mechanical specifications to the Raspberry Pi Zero, with an S905Y2 quad-core A53 2.0GHz processor built on a 12nm process. While it may not compare to modern smartphones, it performs well within the development board's capabilities, and most importantly, it doesn't generate excessive heat.
For the screen, use the one mentioned above.
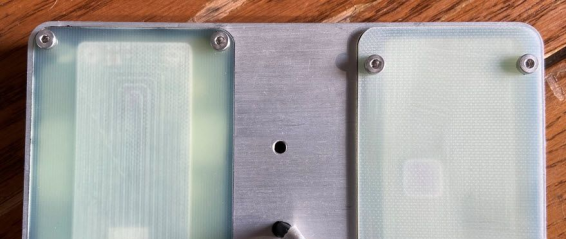
The 3D model of the casing has a thickness of 15mm, but it didn't account for the protrusion of the adapter on the back, so the back cover may need to be 1mm higher.
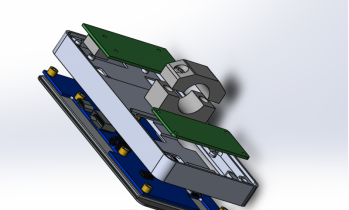
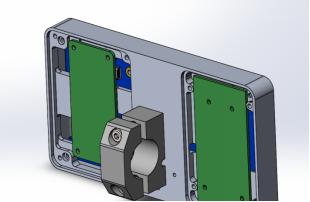
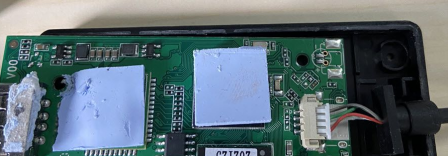
The screen is attached using adhesive tape, ensuring water resistance. Once the assembly is complete, it should look like this. The development board has two USB ports, one for the touch screen and the other for the Carplay adapter. Connecting the HDMI cable can be a bit tricky due to the densely packed soldering points.
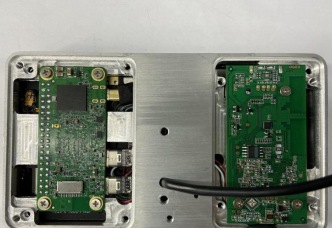
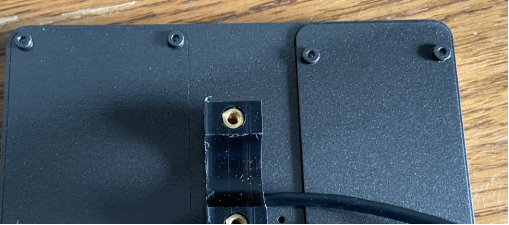
Once the back cover is added, plastic is used to prevent interference with Wi-Fi and Bluetooth signals, followed by applying paint.
Find and compile the Android source code, and the touch screen should work without the need for additional drivers when connected to a computer. The device manager recognizes it as an HID device, similar to a mouse or keyboard. Enable the HID multitouch option in the CONFIG file, and the touch screen starts working immediately. Additionally, customize the boot logo and animation to resemble the motorcycle's native system. Use a relatively clean ATV launcher for the home screen, taking advantage of the development board's convenience without requiring rooting.
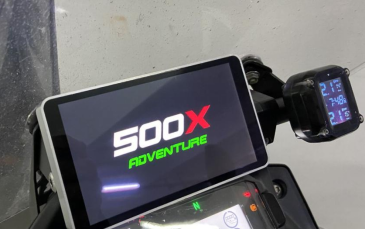
The boot logo:
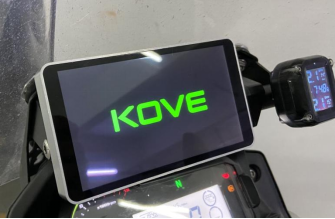
The boot animation, which can be a dynamic sequence of images or even a startup video, though it may increase the boot time.
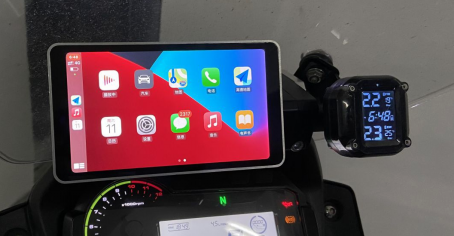
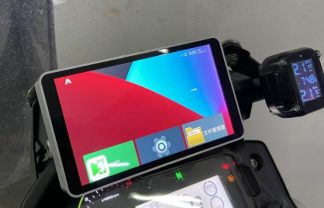
Upon entering the home screen, switch to the ATV launcher for a cleaner and customizable interface. This will only appear for a few seconds before transitioning to the Carplay connection screen.
Carplay connection in progress.
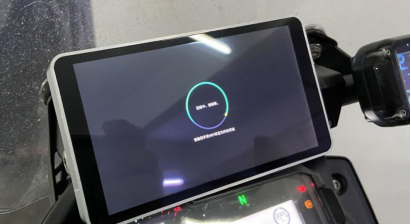
Once connected, the interface will be identical to that of a car, with a delay of approximately 50 seconds from turning on the ignition to full Carplay loading, which is reasonable.