DIY USB Flash Drive: CBM2099 Chip Guide


Explore the world of DIY electronics by creating your very own USB flash drive using affordable CBM2099 chips. This guide will walk you through the process of assembling a homemade USB drive, combining technology and craftsmanship. Get ready to embark on a creative project that offers both functionality and personalization.
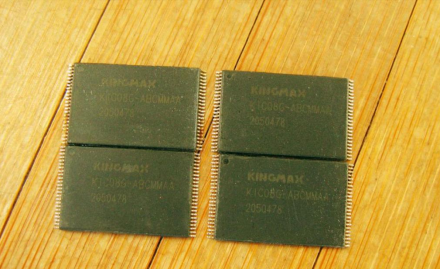
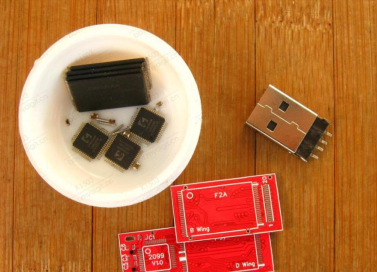
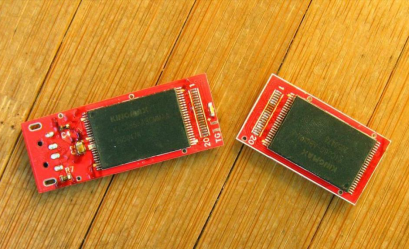
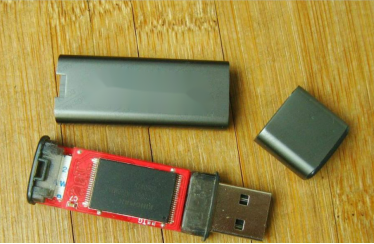
You can use a few old Flash chips, like the ones shown in the image, which were taken from an old SSD. Originally, there were a total of 16 chips, but only these 4 remain.
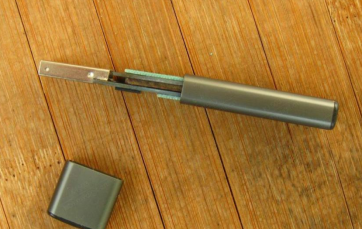
You can use this type of casing.
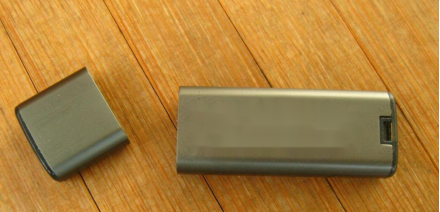
If you want to stack solder, there is enough space. The dimensions should be around 6.5mm in height and 15mm in width, which should be sufficient.
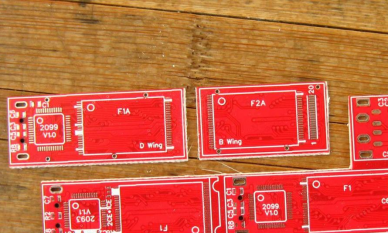
You can start by making a prototype to test it out.
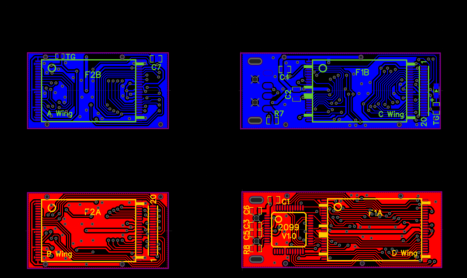
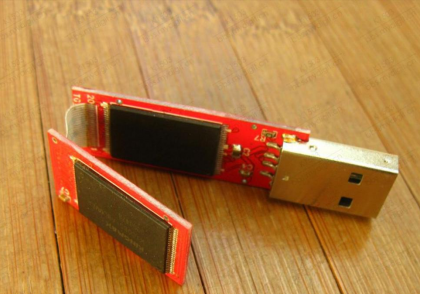
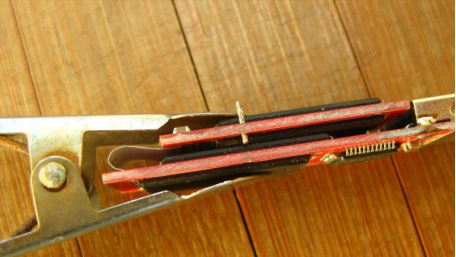
The structure consists of 6 layers, with 2 layers being the PCB and 4 layers being Flash chips, making it approximately 6mm thick.

It should fit inside.
Based on the dimensions of the prototype, you can start drawing it on a board.
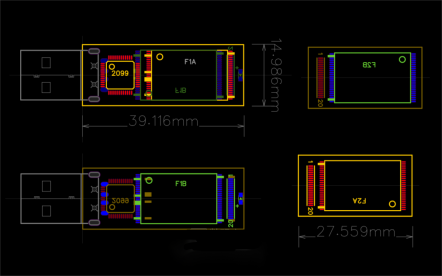
If you can't find the schematic for the 2099, you can follow the wiring of the 2098E.
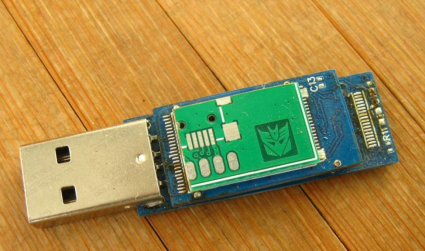
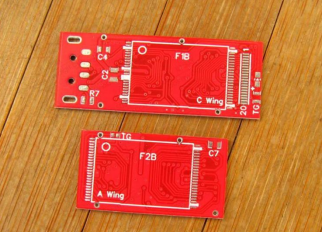
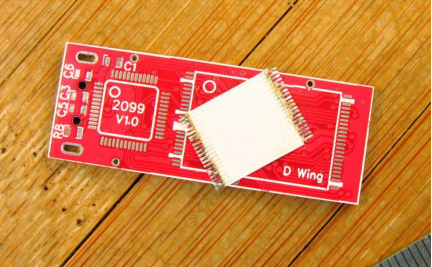
Here's a preview of the finished product. The two boards are connected using a 20-pin ribbon cable.
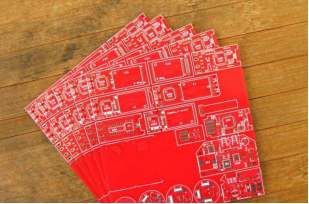
Cut it out.
Smooth out the edges.
Make sure you have all the components.
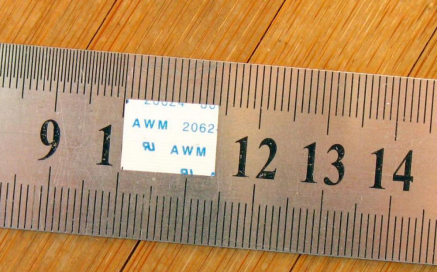
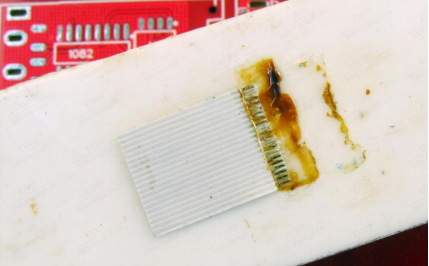
You'll need to make the ribbon cable yourself, find a ribbon with a 0.5mm pitch.

Cut out 20 strands, each with a length of 13-14mm.
On the ceramic base, hold it down with a knife and leave about 1.2mm of the end exposed. Then, use a soldering iron to remove the plastic film.
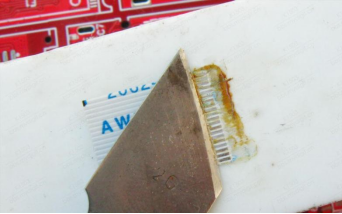
Do the same on the backside.
Once the ribbon cable is ready, it's time to start soldering.
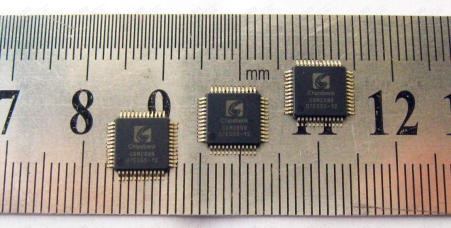
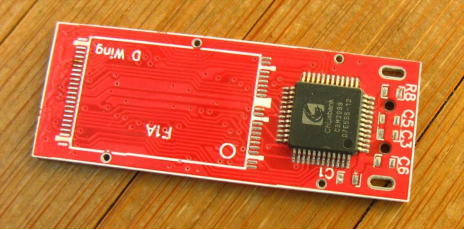
Start with the main controller.
Once everything is soldered, use a test header first.
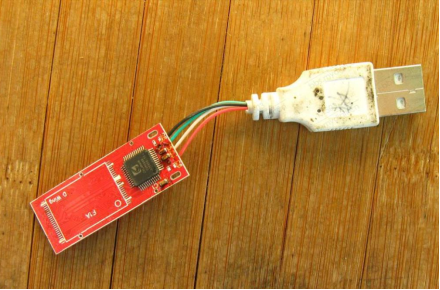
Connect it to the computer and check.
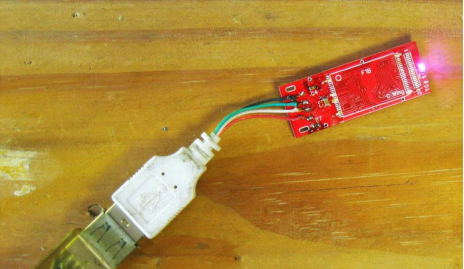
If it's recognized successfully, solder the Flash chips as well and get ready for assembly.
Align the ribbon cable with the PCB, hold it down with a knife, and then solder it.

Clean off any excess solder and be careful while bending.
You'll need 4 pillars for fixation, each with a diameter of 0.5-0.6mm and a length of 4.5-4.6mm.
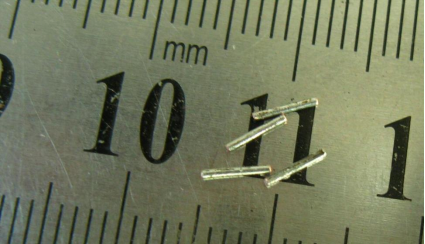
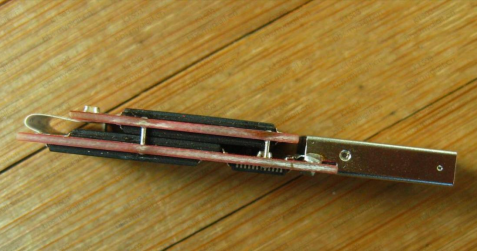
Once the positions are correct, use small clamps to hold them in place, and then attach the pillars.
After all the soldering is done, the pillars not only provide fixation but also serve as conductors. Two of them are GND, and the other two are V33.
Next, run another test on the computer.
All 8CEs can be detected, but the production speed is relatively slow. It takes 3 hours and 46 minutes to complete the production. However, it should still be fine after further testing.
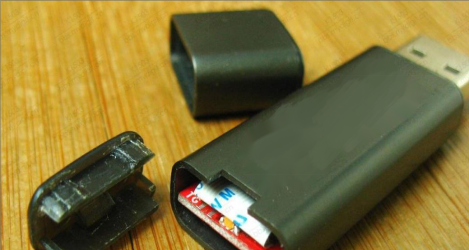
Get ready to assemble the casing. The plastic parts also need some adjustments.
Pack it tightly.
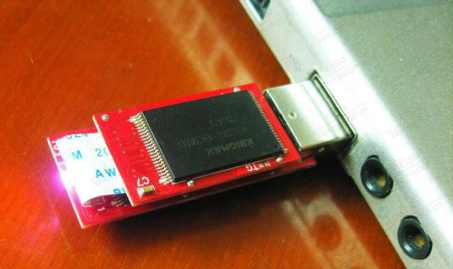
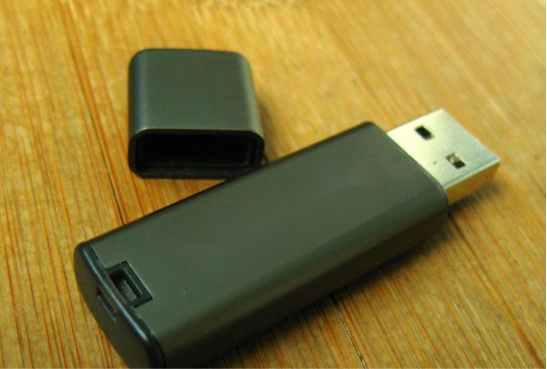
Finished!
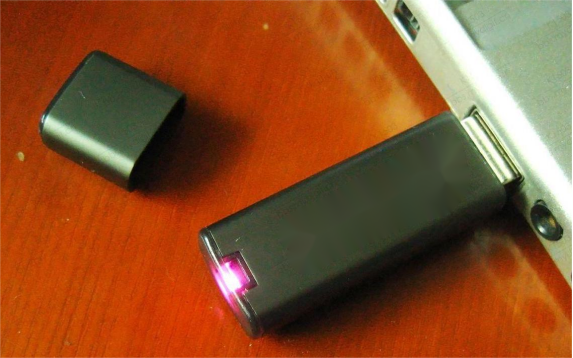
Operating status.
Congratulations on completing your homemade USB flash drive! Crafted from inexpensive CBM2099 chips and your ingenuity, this unique creation combines convenience and individuality. Whether it becomes a conversation starter or a thoughtful gift, your DIY USB drive showcases your resourcefulness and passion for technology. Plug it in and enjoy the satisfaction of using a device you crafted with your own hands.


