Optimizing Analog ID Card


In this guide, we will optimize an analog ID card based on a microcontroller. We'll cover miniaturization, screen display options, and the convenience of using a single card for multiple access points.
If you haven't finished the analog ID card for the microcontroller before, you can optimize it together. The main optimizations for this version are as follows:
1. Miniaturization
2. Screen display of the ID card number or display of words related to memory, such as "home" and "work."
3. Multiple cards combined into one, allowing access to multiple entrances with just one card.
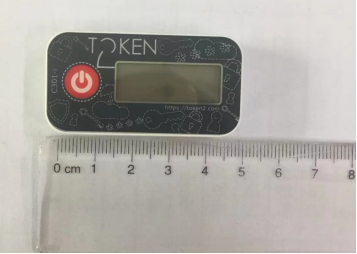
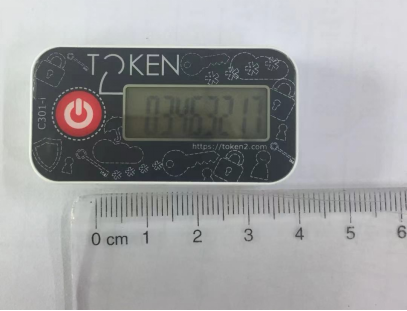
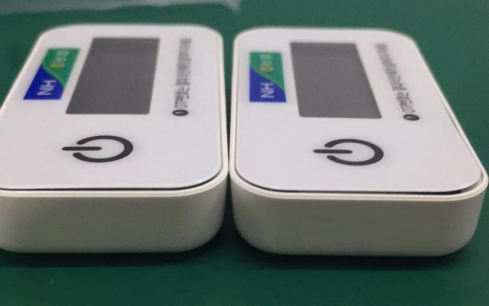
Here is an illustration of the final product:
Main features and functions:
1. The main controller uses the smt8s003 VK1088B segment display driver chip, an 8-bit segment display powered by a button battery.
2. A single button is used to wake up from standby mode and switch between multiple cards in the power-on mode.
3. Theoretically, it can support multiple built-in ID cards, achieving a multi-card combination.
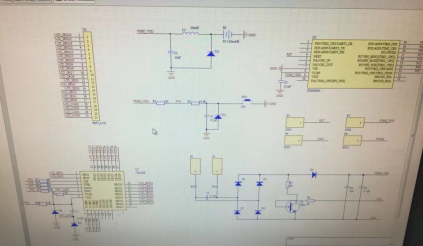
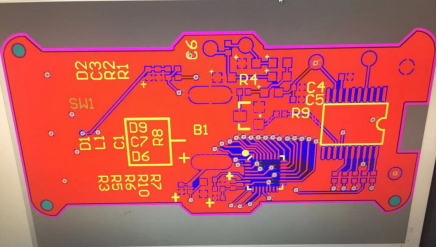
Schematic diagram:
PCB
Board fabrication
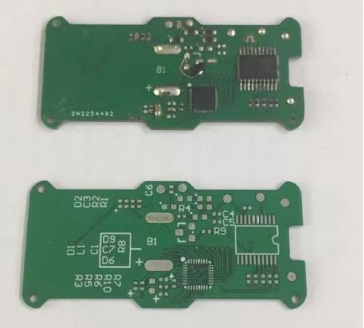
One of the most challenging aspects of component assembly is dealing with the coil. The coil inside the keychain is just the right size, but the wires are very thin, so you need to be careful not to break them. Once they're broken, the whole thing becomes unusable.
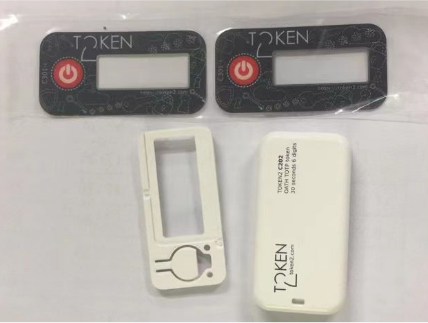
Assembly of the final product: The PCB is shaped to fit inside this particular casing.
With these optimizations, your microcontroller-based analog ID card will provide a streamlined and efficient user experience.


