
If you have a Sony WM-EX610 cassette Walkman, but the sound quality is not good when opened due to the lack of a remote control, you can try making a small circuit board.
Since the Sony WM-EX610 cassette Walkman's remote control has many functions, you only need to adjust the sound quality. All other functions can be accessed on the main unit, so the circuit is quite simple.
For the resistor, use a variable resistor with a resistance value of 10k. Adjust it to 6.5k using a multimeter (this resistance value is for adjusting the sound quality). Although the variable resistor may be a bit large, one advantage is that if needed, you can adjust other resistance values to enable other functions as well.
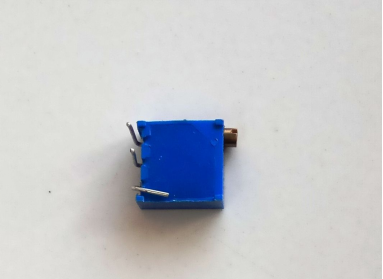
The materials needed include copper-clad board, variable resistor, surface-mount switch, adhesive, soldering iron, and drill bit. Once the materials are ready, you can start.
1. Draw the PCB layout. The circuit is simple, but the dimensions may be a bit tricky to measure.

2. Print the layout and prepare for heat transfer.
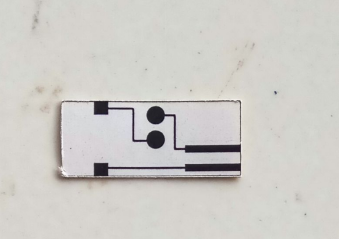
3. Cut the copper-clad board to size.
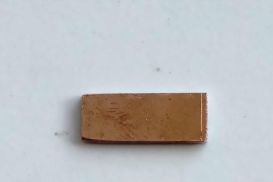
4. Transfer the layout using heat transfer.
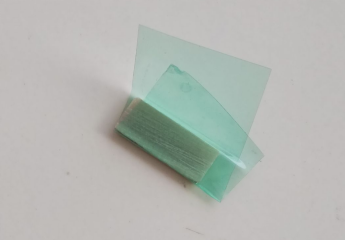
This is how it looks after heat transfer.
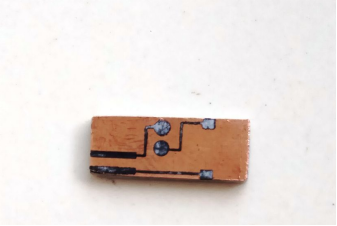
5. Etch the board.

This is how it looks after etching.
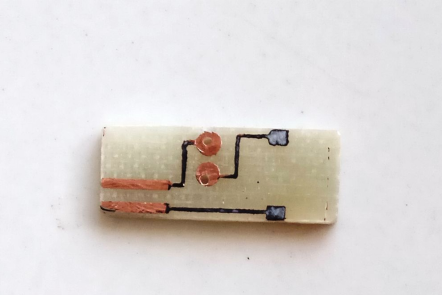
6. Solder the components. This is how it looks after soldering.
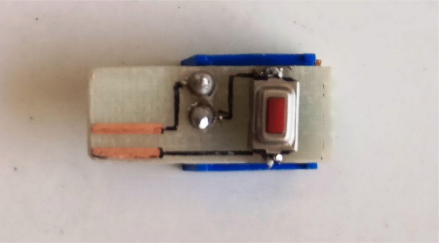
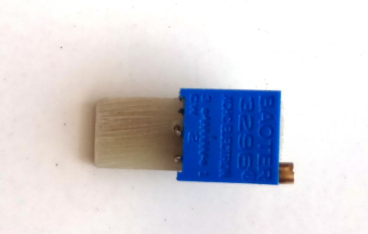
7. Test the device. In general, the results are good, meeting the requirements. Each press of the button changes the sound effect.
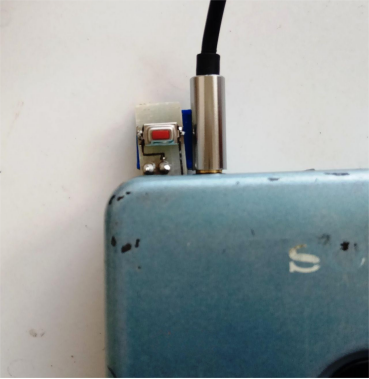
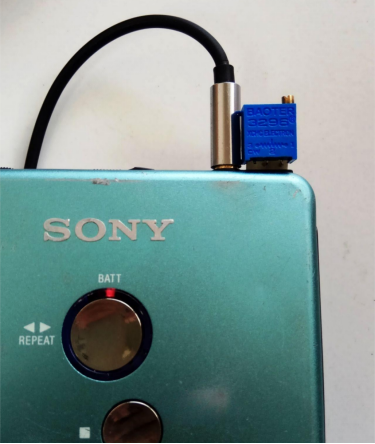
Since this project is based on existing components, the board may not be very refined. If you have suitable surface-mount resistors and micro switches, you can make it better, more refined, and with more functions.


