
Electric bicycles with 60V and 72V battery systems are powered by five and six lead-acid batteries (12V/20AH) connected in series. With increased usage over time, if you have a 72V electric bike at home that has been used for less than two years but the battery pack's range has significantly decreased, and upon inspection, you find that two batteries have dropped below 11V while the other four batteries have a resting voltage above 12.3V. It's evident that those two batteries below 11V are no longer functioning properly. The reason behind this is that the capacity of each battery gradually becomes unbalanced over time. Batteries with good capacity charge slowly, while those with lower capacity charge quickly. The original 72V charger that comes with the bike charges the batteries in series, without being able to differentiate which ones are fully charged and which ones aren't. It only switches to trickle charging once a certain total voltage is reached. As a result, the batteries with lower capacity often get overcharged and deteriorate, while the batteries with better capacity don't get fully charged. Over time, batteries with lower capacity become unusable first, leading to a significant decrease in range. In such cases, it is necessary to charge the batteries daily.
Reasons for creating a balanced charging board: The chargers included with electric bikes and the inexpensive chargers sold online often use operational amplifiers such as LM324, LM358, and others as comparators to control charging current by comparing the full charge voltage. These chargers lack even the most basic feature of automatically stopping charging when the battery is full, resulting in a continuous charging current of several hundred milliamperes even after the battery is fully charged. Over time, one or two batteries may become swollen or burst due to continuous overcharging.
Characteristics of this charging board: It utilizes a dedicated 12V lead-acid battery charging management chip, providing true three-stage charging (constant current, constant voltage, and float charging) and genuine automatic cutoff when the battery is full. The circuit design is very simple and is suitable for charging individual batteries or creating a balanced charging circuit for battery packs. The advantage of balanced charging is that it charges each battery independently, avoiding the drawbacks of series charging.
This board has undergone several PCB revisions and the final design consists of six small boards combined into one large board. It can be used for balancing charging of electric bikes ranging from 48V to 72V. Additionally, the large board can be cut into six small boards, while retaining the same functionality. To perform overall battery pack charging tests, a problematic battery is removed and replaced with two better-condition used batteries.
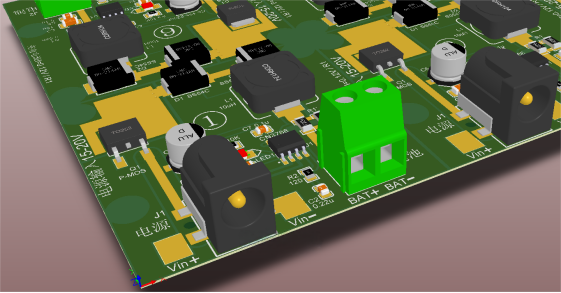
3D rendering after the redesign, featuring surface-mounted DC jack 5.5-2.5:
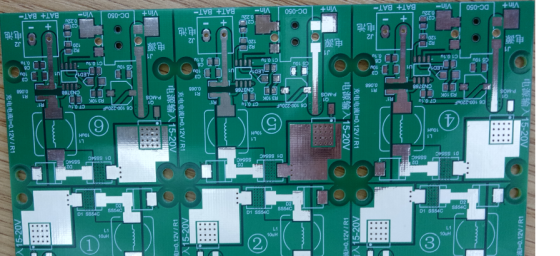
The large PCB board with six charging functions can be divided into six separate small boards, with increased front-facing heat dissipation area:
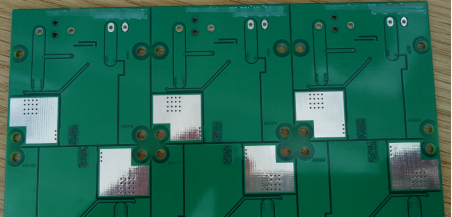
The backside of the PCB board, where heat dissipation windows are concentrated. Heat sinks can be installed on the backside, but proper insulation must be applied to avoid short circuits. It is also possible to leave the heat sinks uninstalled:
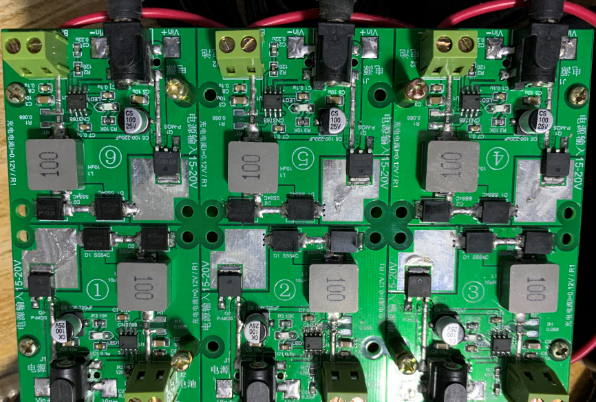
Front view of the assembled product after soldering:
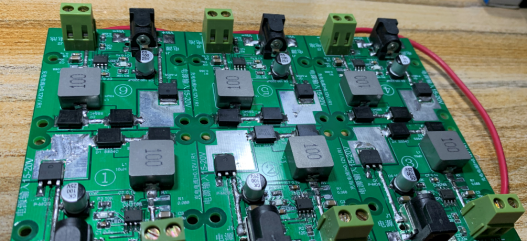
Back view of the assembled product, with jumper wire connections:
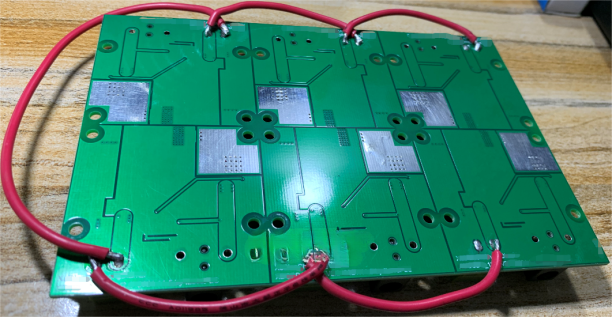
Illustration showing the installation of six plugs, using DC jack 5.5-2.5:
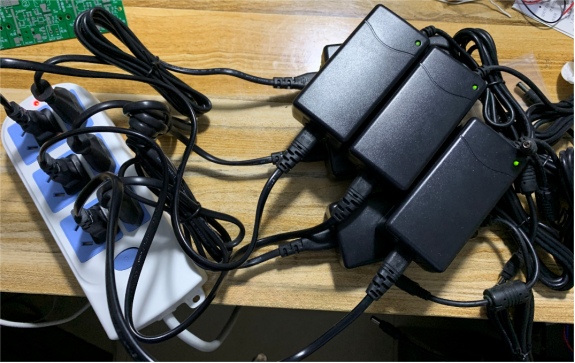
Balanced charging requires the use of six independent power supplies. It is strictly prohibited to use a single power supply to power all six charging boards, as it may result in an explosion:
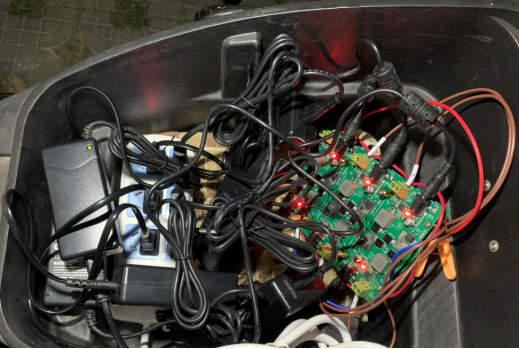
First-time charging may appear messy due to the limited space under the electric bike seat:
Organizing the power supplies in groups of three and stacking them will result in a neater appearance:
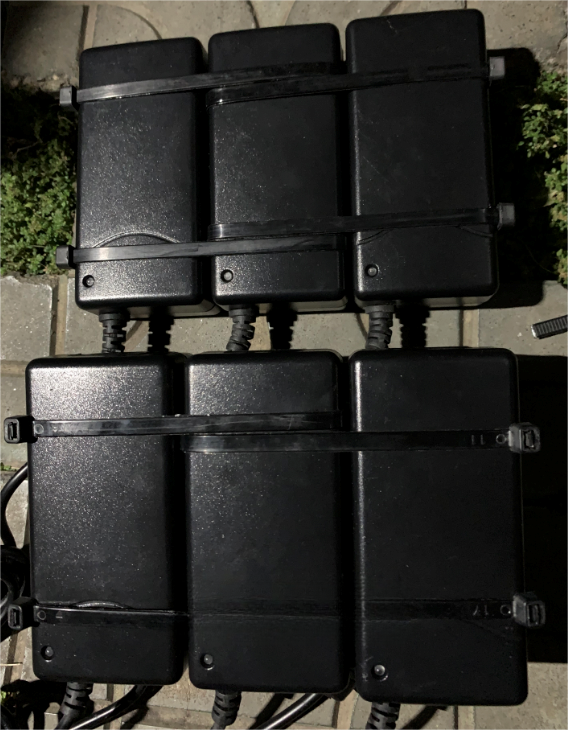
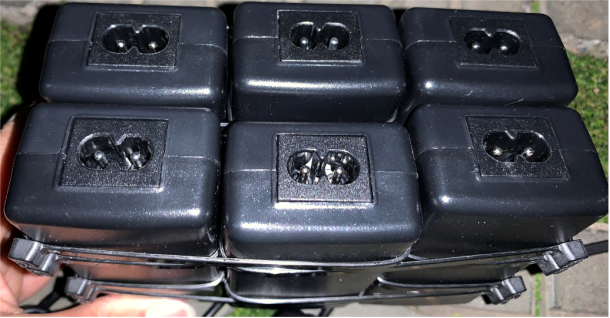
Rearranging the internal space under the electric bike seat will make it more tidy:
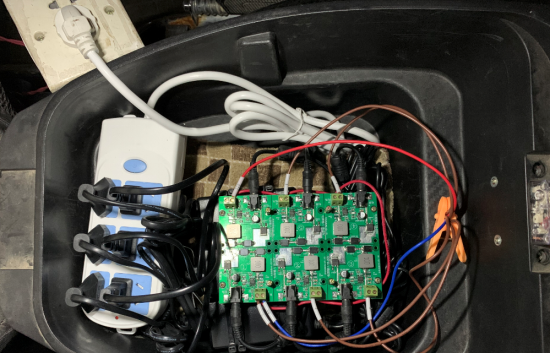
The measured voltage after a full charge is:
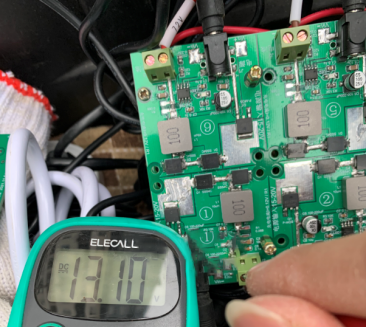
The resting voltage of each battery before charging is around 12.2V, while after a full charge, the resting voltage is around 13.1V. It is evident that each battery has been adequately charged. Now, you can conduct your own testing to verify the results.


