
DIY Home Sew-3037W Baby Wireless Monitor uses HX8238-D as the driving IC for the screen and ESP32S3's SPI to drive the 3.5-inch display. Prepare the unofficial version of the ESP32-S3-DevKitC-1 module. The module integrates a serial port.
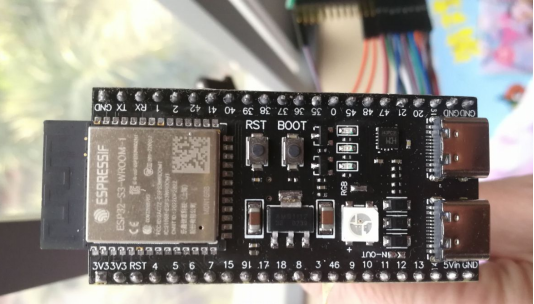
1. Baby Wireless Monitor Display Activation
1.1. The interface definition of the screen is obtained through testing with a logic analyzer, as follows:
PIN FUN
1 D0
2 D1
3 D2
4 D3
5 D4
6 D5
7 D6
8 D7
9 DOTCLK
10 VSYNC
11 HSYNC
12 SCK
13 SDI
14 CSB
15 VCC3V3
16 GND
17 BLED-
18 NC
19 BLED+
20 NC
.
.
.
39 RESB
40 NC
1.2. Interface Adapter Board
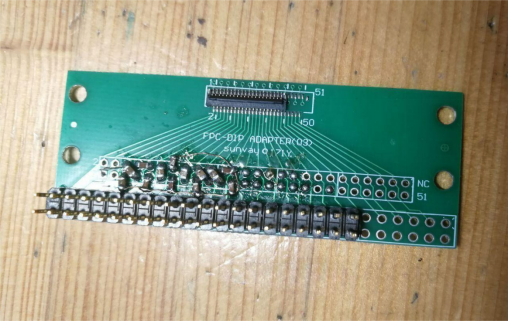
Prepare an interface adapter board that converts the interface to 2.54mm pitch for easy connection with DuPont wires.
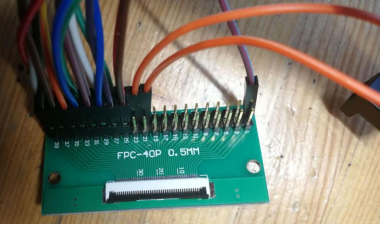
1.3. Wiring
Connect the development board and interface board according to the interface definition and the definitions in the code. Insert the LCD ribbon cable.
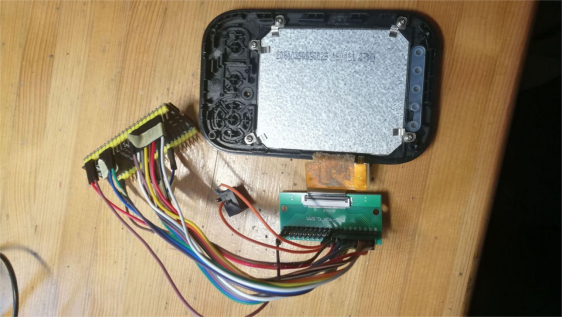
1.4. Code
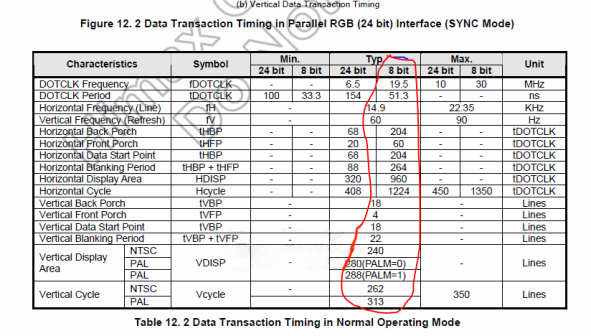
The reference code used is Espressif\frameworks\esp-idf-v5.0\components\esp_lcd\test_apps\rgb_lcd. An analog SPI configuration for the LCD is added. The code is relatively simple. Use the function call test_rgb_panel_initialization(8, 24, 0, false, NULL, NULL) to configure 8-bit RGB, where 24 represents the serial 8-bit RGB data, i.e., each pixel requires separate 8-bit data for the RGB colors. Use the function call esp_lcd_panel_draw_bitmap(panel_handle, 0, 0, TEST_LCD_H_RES, TEST_LCD_V_RES, img) to refresh the display buffer and show the image. The timing can be set according to the recommended values in the manual:
.timings = {
.pclk_hz = TEST_LCD_PIXEL_CLOCK_HZ,
.h_res = TEST_LCD_H_RES,
.v_res = TEST_LCD_V_RES,
.hsync_back_porch = 204,
.hsync_front_porch = 60,
.hsync_pulse_width = 1,
.vsync_back_porch = 18,
.vsync_front_porch = 4,
.vsync_pulse_width = 1,
},
1.5. Display
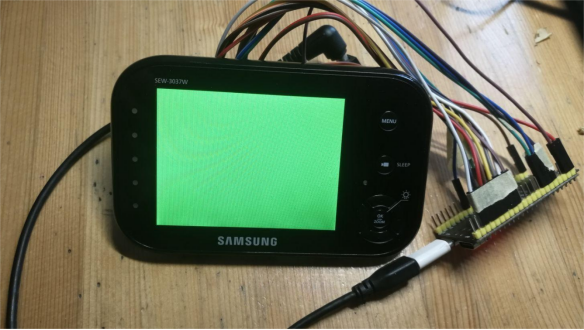
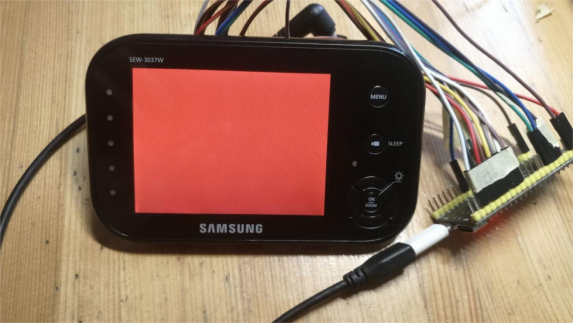
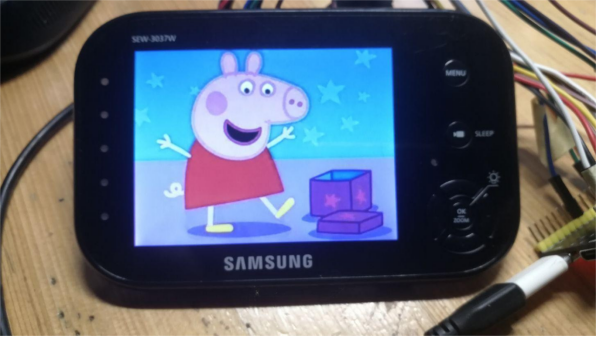
The image is displayed perfectly. The 3.5-inch screen has a resolution of 320x240, but it has a noticeable grainy appearance.
2. 3-inch Screen Driver
For driving the chip and interface, FPGA and STM32 can be used, but it is more convenient to use ESP32S3.
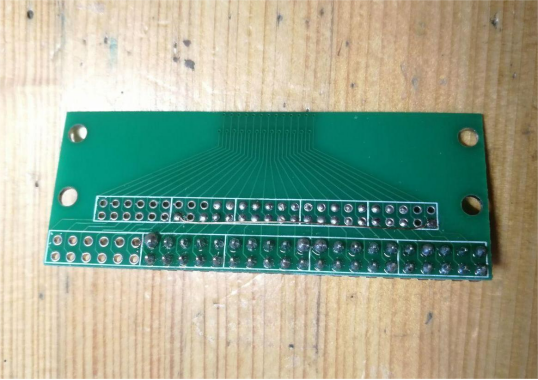
2.1. Similarly, use an adapter board.
This screen requires external capacitors, and the LED requires a voltage of 9.6V, which can be achieved by connecting a 12V adapter with a 120-ohm resistor for voltage reduction.
2.2. Wiring and Display
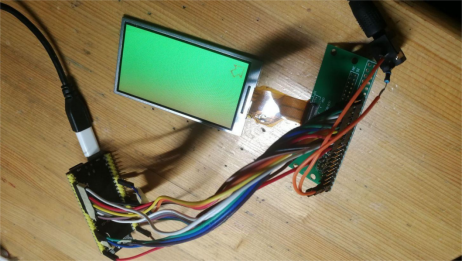
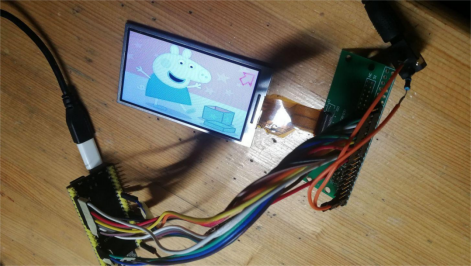
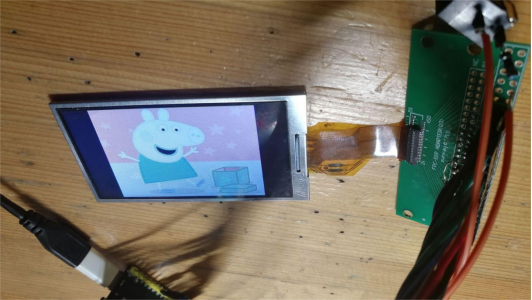
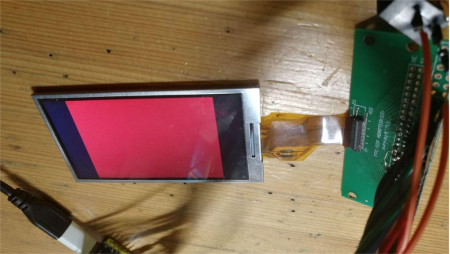
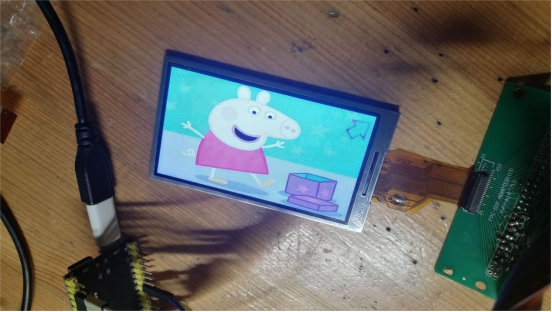
The physical size of the screen is 16:9, but the pixel aspect ratio is 4:3 with a resolution of 320x240. The SPI configuration allows switching between the two aspect ratios. The specific number of pixels in each mode has not been analyzed in detail.
2.3. Understanding the Delta Screen
If the colors are inconsistent, it may be caused by the Delta screen. For the baby monitor's screen, the data for each row is RGBRGB...RGB, while the data for this Delta screen is GRBGRB... for even rows and GBRGBR... for odd rows. The data needs to be processed and swapped to display colors correctly.
3. Some Notes:
The DOTCLK clock is set to 20MHz; setting it too high will cause horizontal drift in the screen display.
The ESP32S3 module should be the one with 8-line PSRAM as the example program requires PSRAM, and the PSRAM needs to operate at a rate of 80MHz with 8 lines for normal display.
The ESP32S3 SDK provides example programs for various screens, including SPI, I2C, i80, RGB, making it convenient to use.


