
Is your old battery tester gathering dust, serving merely as a reference for lithium battery capacity? It's time to breathe new life into this neglected device! In this article, we'll take you on an exciting journey of creativity and innovation, showing you how to upgrade its functionality and design. Get ready to unlock the full potential of your battery tester and elevate your testing experience to a whole new level!
The board's size is 97*62, and the bulky heat sink might be a bit obstructive.
Here's what you can do:
Step one: Disassemble the tester, removing the display board, heat sink, and sampling resistors.
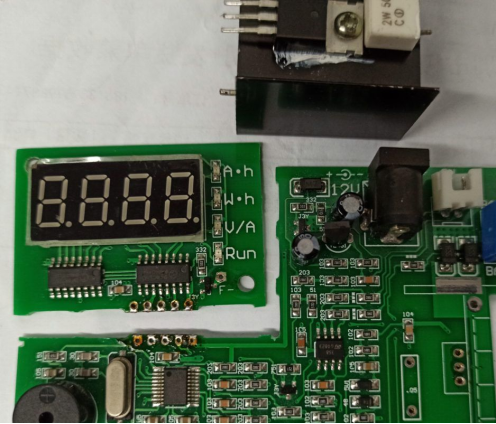
Step two: Design a new board, replacing the black heat sink with an aluminum substrate to reduce the overall height. You can use two MOS transistors in parallel for easier expansion.
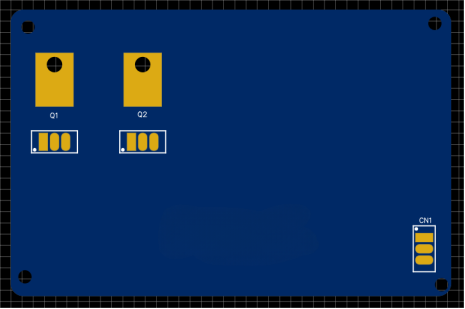
Step three: Assemble the aluminum substrate, and it should fit perfectly.
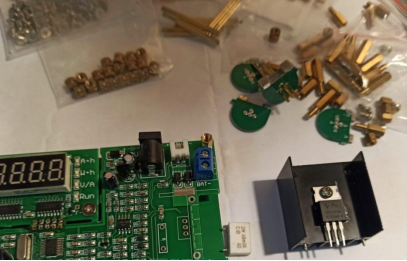
Next, solder the aluminum substrate, which can be done using an 80W soldering iron.
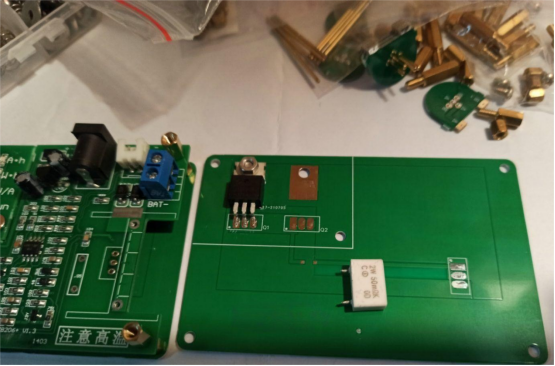
Now, design a bracket for the resistance testing probe. The board will serve as the base, and the vertical board will have gold-plated spring probes.
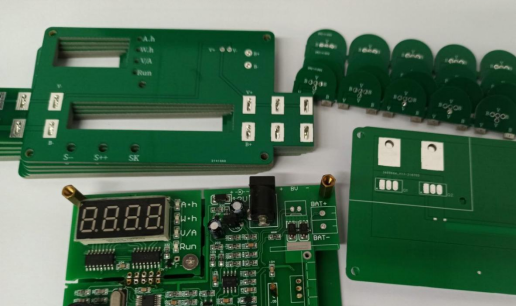
Proceed with assembling the probes.
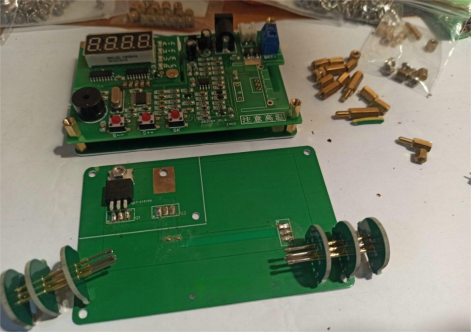
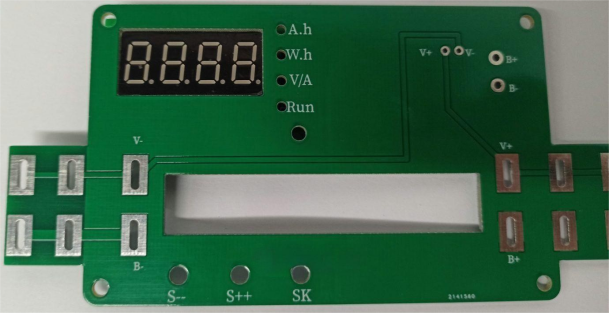
The expected panel result will have empty slots for securing the lithium batteries.
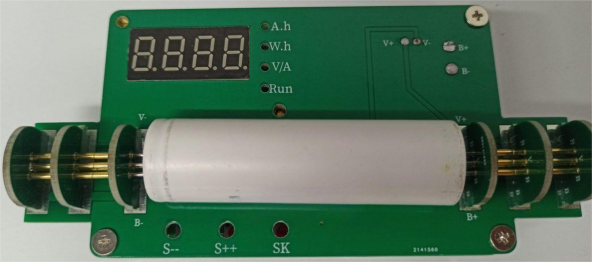
The final outcome shows that the gold-plated spring probes have the right amount of force, the bracket is stable, making future testing more convenient.
The boards are quite simple, with not many components or circuits; the focus is on the design concept.
Congratulations! You've revitalized your battery tester into a cutting-edge device that showcases your ingenuity. With its sleek aluminum substrate and thoughtfully designed resistance testing probe bracket with gold-plated spring probes, testing is now a breeze. Say goodbye to bulky heat sinks and hello to a compact and stylish gadget that fits perfectly into your workspace. Embrace the spirit of innovation and continue to explore the endless possibilities.


