
In this article, we will implement the addition of an SD card player and lithium battery power supply. This time, you need to convert the player to stereo sound and separate the audio tracer from the player to have its own speaker instead of sharing it with the player's speaker.
You will also need to add five new features:
Convert mono sound to stereo dual-channel.
USB playback functionality, allowing music files to be played directly from a USB drive.
SD card playback functionality, supporting various music file formats.
USB sound card functionality, enabling the repair kit to be used as a sound card when connected to a computer via an Android cable. These features not only make the repair kit a useful tool for repairs but also allow users to enjoy music during the repair process, making the work less monotonous and more enjoyable.
Lithium battery power supply: When not using a power socket for repairs, it's more convenient to power the kit using a lithium battery, avoiding the hassle of having to plug in a 220V power cord.
Take a look at the images below for further explanations.
If you find that the Bluetooth earphones modified with the I12 are relatively expensive and not very user-friendly but still want to add SD card playback functionality, you can consider getting a Bluetooth MP3 decoding module with audio receiver board. This module comes with Bluetooth, USB playback, SD card playback, and USB sound card features, as well as a remote control, providing a comprehensive set of functions. However, if the quality of this board is not satisfactory, for instance, if the left channel malfunctions during replacement, you will need an 8002E chip for repair and replacement.
To achieve stereo sound, you'll need two elliptical speakers. Additionally, for independent audio tracing, you need to require a 1.5CM circular speaker. Audio quality is not a major concern for the tracer, so compactness is the priority.
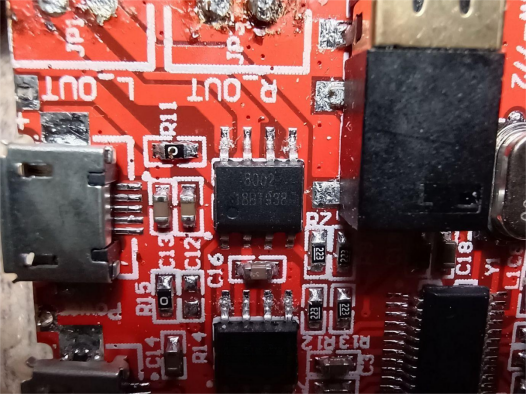
The Bluetooth board has an 8002 chip.
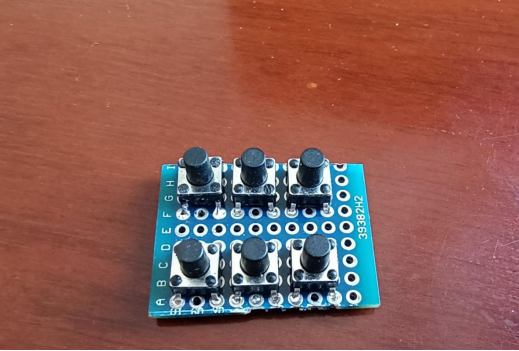
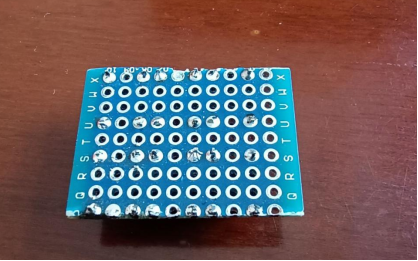
Make an ADKEY keyboard.
You have an adjustable boost module that can be set to 5V here.
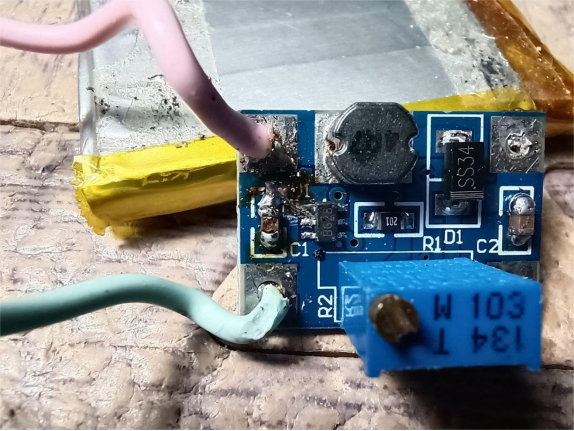
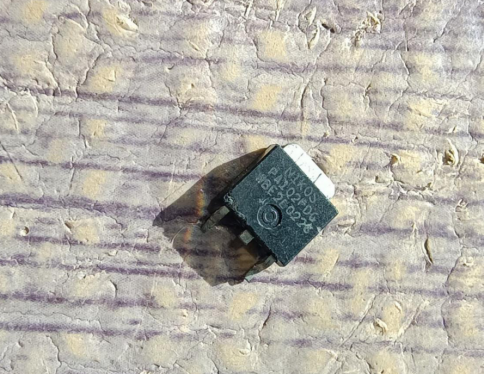
A P-type MOSFET is used to control the boost module.
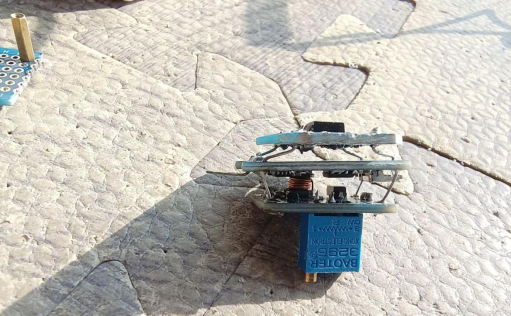
Lithium switch, TP4056 charging and protection integrated board, boost board (to be combined together in advance)
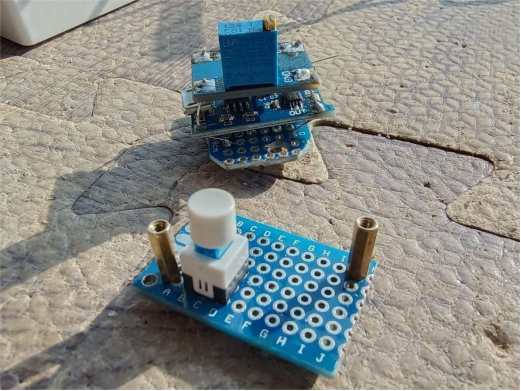
To handle the high current of the boost module, the self-locking switch won't suffice, so use a P-MOSFET as a switch, controlled by a self-locking switch with lower current.
The available space inside the I86 enclosure is already filled up, making it challenging to add more features.
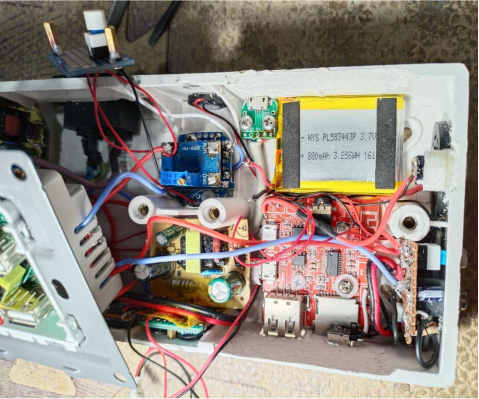
Examine the positions.
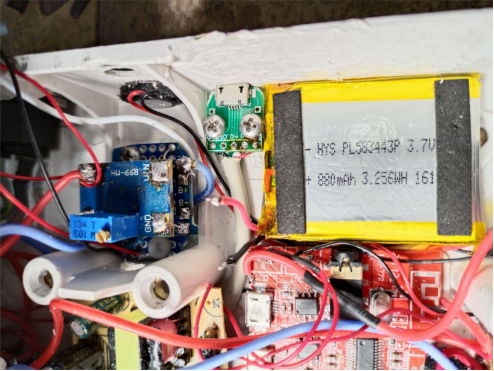
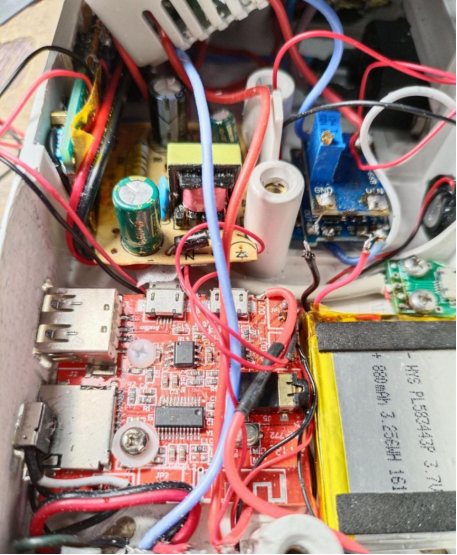
Add a small speaker on the left side for the left channel.
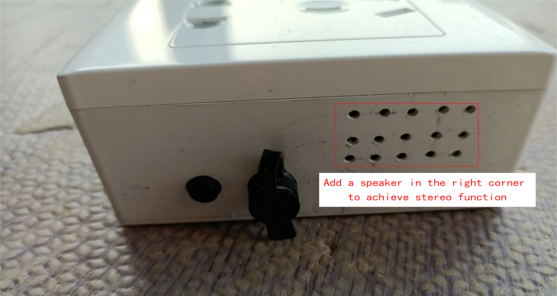
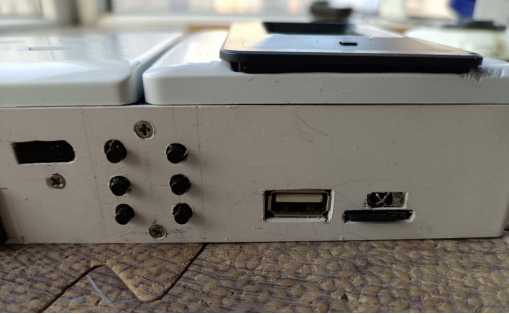
On the front right side, you need to add an ADKEY keyboard, a USB playback port, an SD card slot, and an infrared remote receiver.
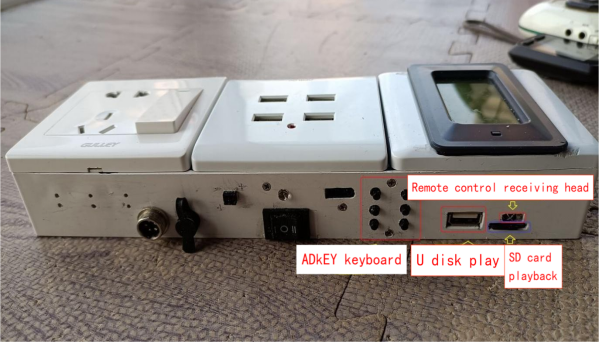
Add a player switch on the right side.
On the back, you need to install a USB sound card input port, an audio tracer output speaker, and a lithium battery power supply switch.
Here are some detailed shots taken with a macro lens, revealing even tiny dust particles and scratches.
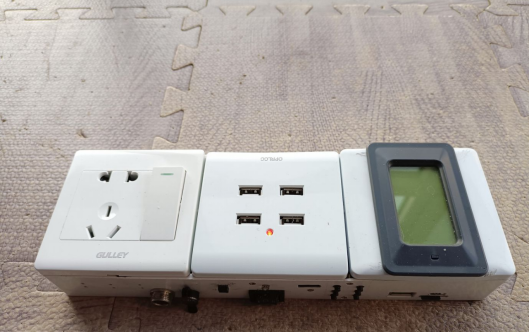
With no power cords restricting the movement, the box is now highly portable. This concludes the entire article.


