
How to DIY a 12V Power Supply Bare Board into a Dual-Use 12V Power Supply + Motor Speed Controller?
Transforming a compact 12V power supply bare board into a versatile tool that serves as both a 12V power source and a motor speed controller is a rewarding project. With its dimensions and quality in mind, you can enhance this board's capabilities by encasing it in a fitting aluminum alloy shell and integrating a DC motor speed control module. This ingenious setup finds its application in fine-tuning the speed of a small bench drill.
Here's how you can turn it into a dual-purpose 12V power supply and motor speed controller by adding a suitable aluminum alloy casing and incorporating a DC motor speed control board. This setup can be used for adjusting the speed of a small bench drill.
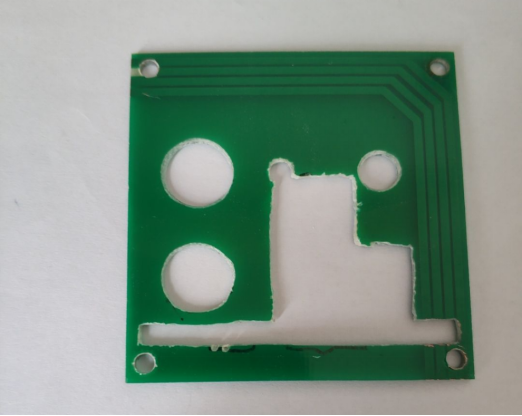
The process is straightforward and involves drilling holes in the front and back panels, as well as assembly. After drilling the holes and assembling the components, you might notice that the power supply board extends about 1mm beyond the casing's length due to the components being positioned too close to the edge. Even removing 1mm isn't an option. To address this, you can use a 1.6mm PCB as a spacer between the front panel and the casing, effectively resolving the issue. Here's the step-by-step process:
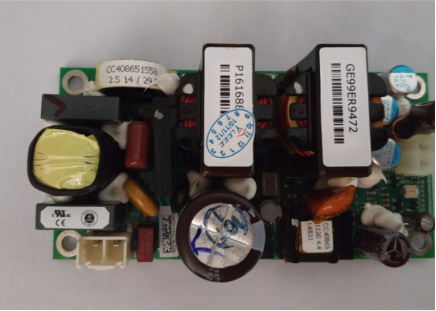
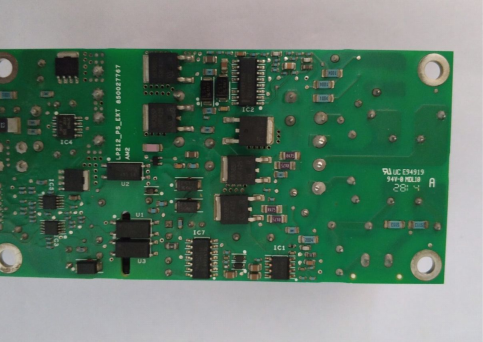
1. Start by examining the 12V 16.7A bare board power supply, which has synchronous rectification and measures approximately 101.xmm * 50.xmm * 35.mm.
2. The DC motor speed controller includes a speed adjustment potentiometer, indicator light, forward and reverse buttons, and convenient leads for attaching to the panel.
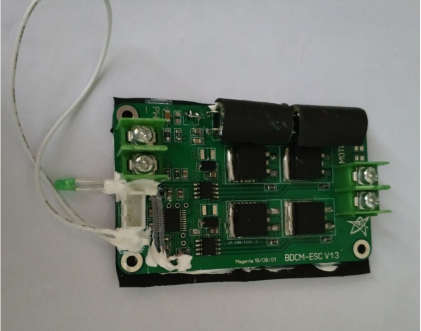
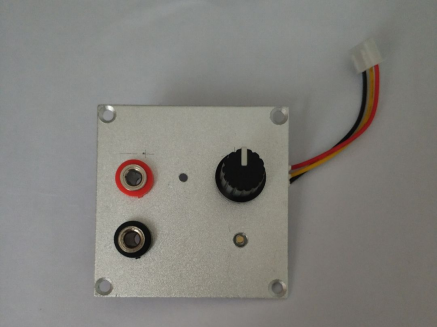
3. Drill the necessary holes in the panel.
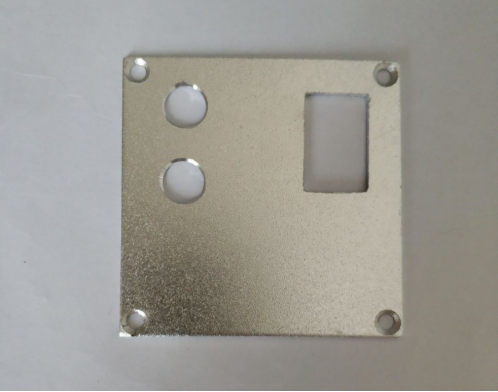
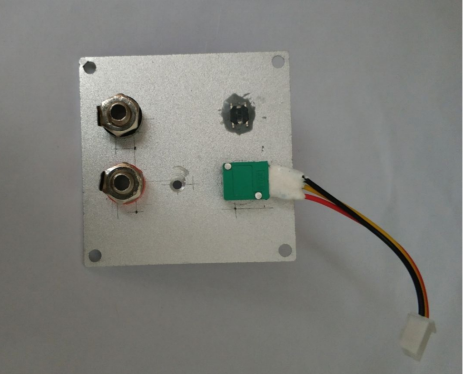
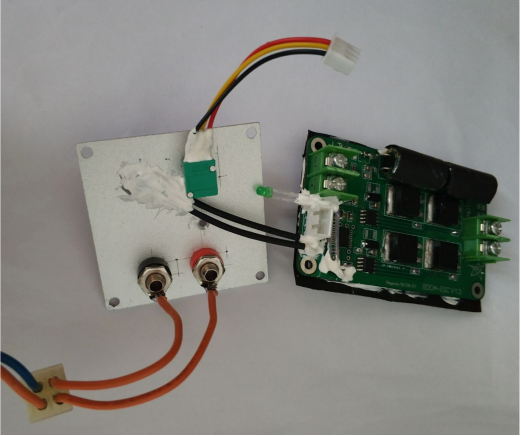
4. Use a PCB as a spacer to resolve the issue of the casing being 1mm too short.
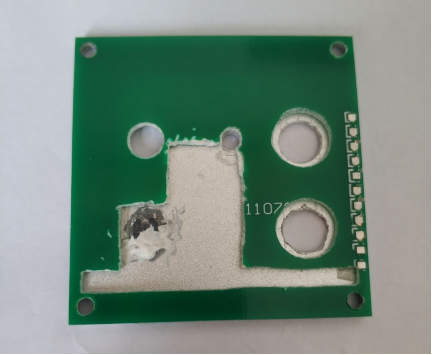
5. Reconnect the wiring and install the front and back panels. The front panel features banana jacks for 12V output, speed control, indicator lights, and forward/reverse buttons. The back panel includes an eight-shaped power socket and speed control output.
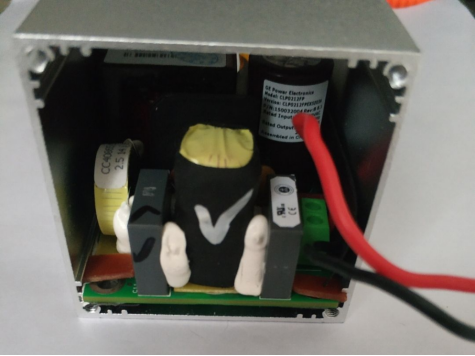
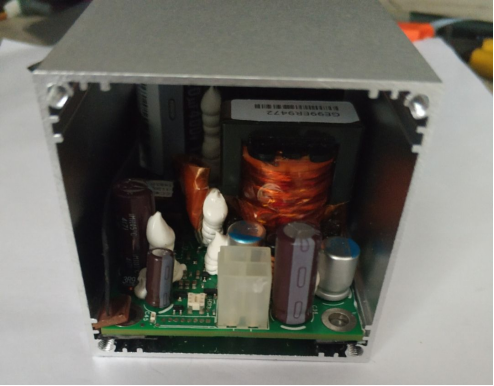
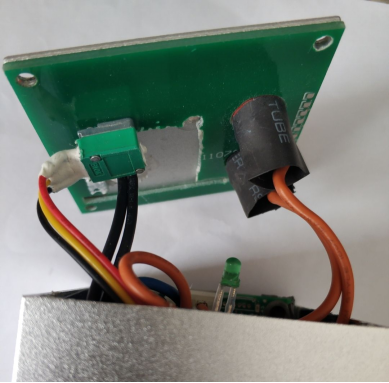
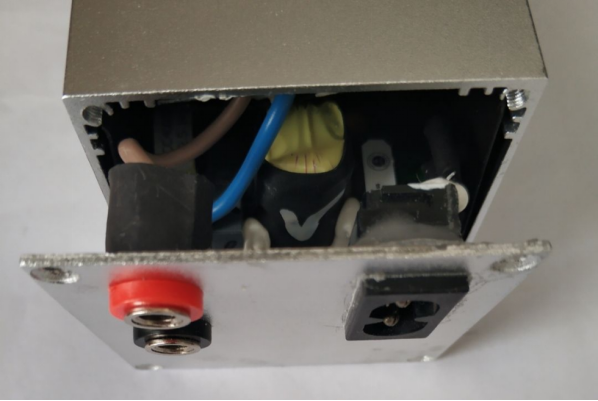
6. Complete the installation.
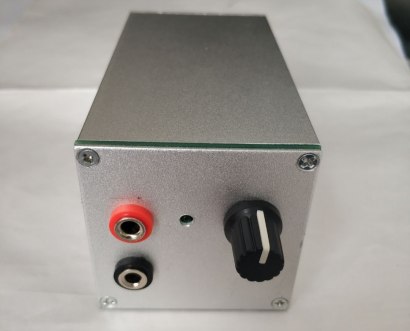
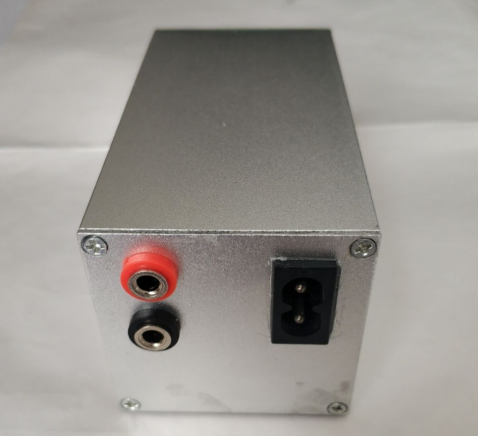
7. Perform a test with power applied to the motor.
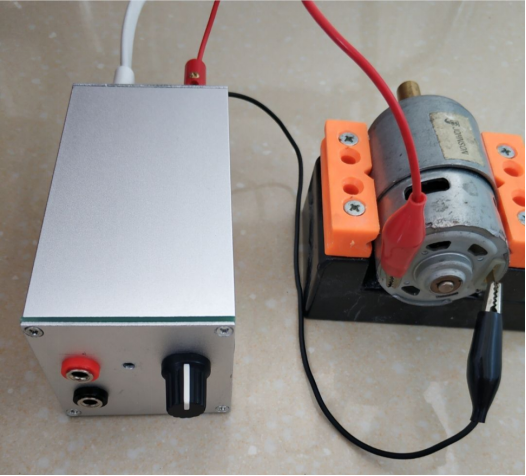
8. Press the forward or reverse button, and the indicator light will briefly flash.
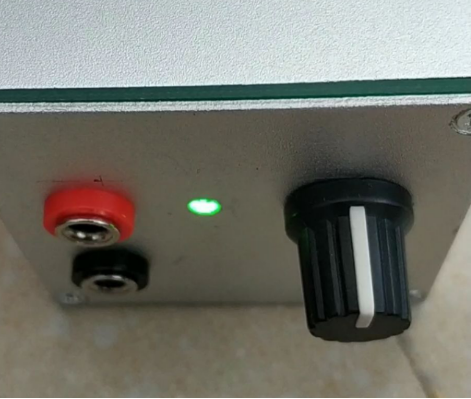
9. The motor operates, but there might not be a video for a more visual demonstration.
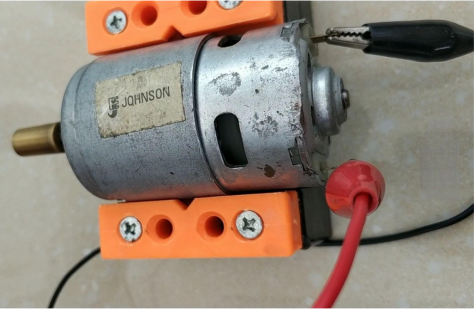
Once this compact 12V power supply with a DC motor speed controller is assembled, it works well. Due to limited space, adding a small fan or a voltage meter might not be feasible, but if you wish to customize further, you can devise your modifications.
In conclusion, the process to craft this dual-purpose device is straightforward and satisfying. By deftly addressing the casing's size discrepancy and thoughtfully designing the layout of controls, you achieve a seamless 12V power supply and motor speed control unit. While it may not accommodate additional features due to its compact nature, the satisfaction of crafting your own functional and efficient tool is truly priceless.


