
In a world where smartphones like the Xiaomi 8 with Type C charging ports and accessories such as Redmi Airdots with Micro B connectors have become ubiquitous, the inconveniences of carrying multiple charging cables have become all too familiar. However, a solution lies in the realm of DIY modifications, allowing us to transform the charging landscape and make our lives more streamlined.
If your phone is Xiaomi 8 with a Type C charging port and you're using Redmi Airdots with a Micro B charging port for Bluetooth headphones, it can be inconvenient to carry two different types of charging cables when going out. However, you have the option to modify the charging interface of the Redmi Airdots to make things more convenient.
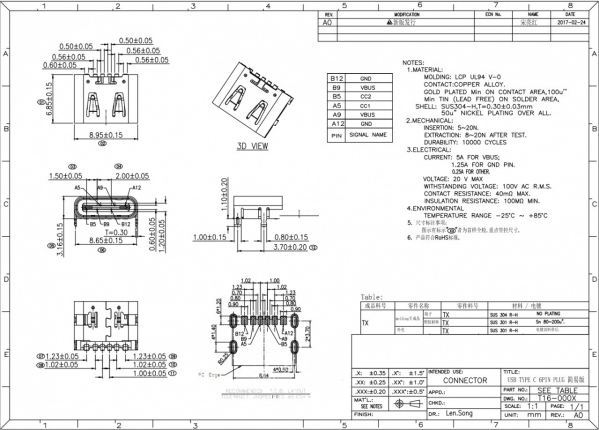
Online, there are various Type C interfaces available with different pin configurations, so careful attention is necessary. There are two options to consider: one with 6 pins and another with 16 pins. However, note that the 6-pin version only supports charging, while the 16-pin version only supports USB 2.0. Since this modification is for the charging port, the 6-pin version is suitable for use, as it allows for easy pin soldering.
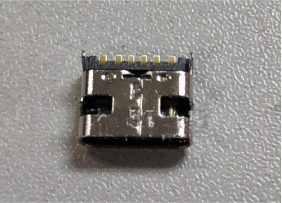
Here's a diagram with the pin definitions for the Type C interface.
Now, focusing on the Redmi Airdots:
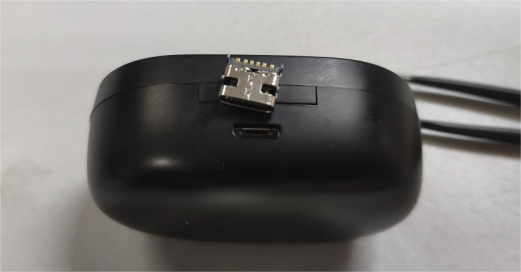
The charging case is fastened with a clasp, not ultrasonic welding, making it relatively easy to disassemble. The battery has a capacity of 300mAh.
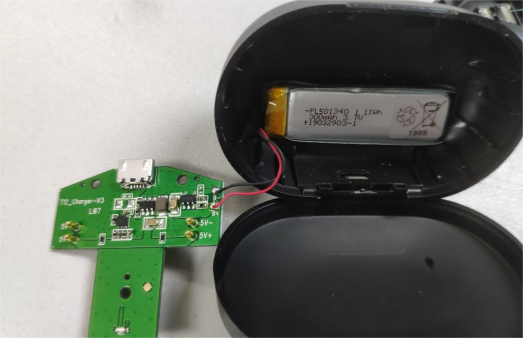
The circuitry isn't overly complex. In simple terms, the charging module takes input to charge the battery, which then boosts the voltage to 5V for charging the headphones.
Comparing Micro B and Type C, the Type C connector is slightly larger.
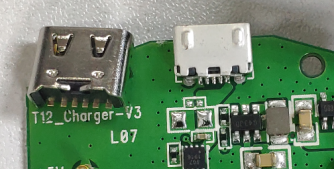
Start by disconnecting the battery wires and then proceed with the disassembly.
Use a heat gun to remove the original Micro B connector.
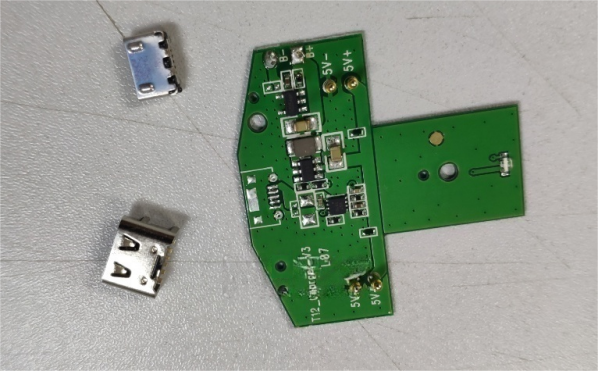
Compare and confirm the positioning for securing the connector pins.
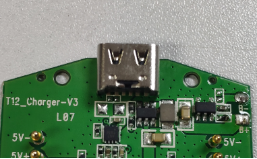
Select an appropriate drill bit and begin drilling the holes.
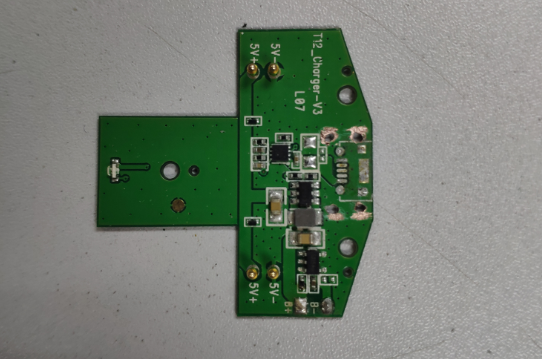
The casing needs to be expanded as well. Gently use a file to widen it on the sides and the top.
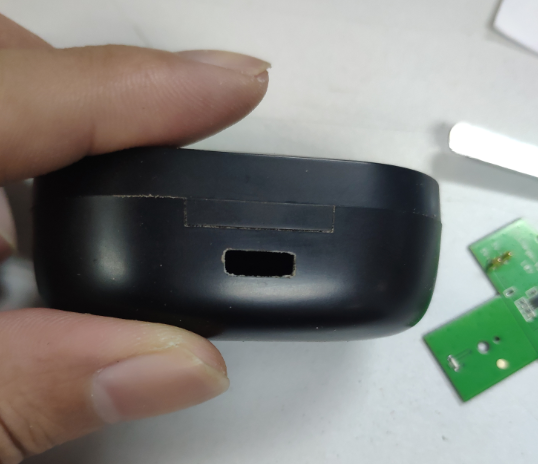
Proceed to solder the Type C connector in place.
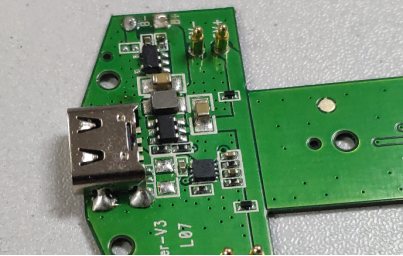
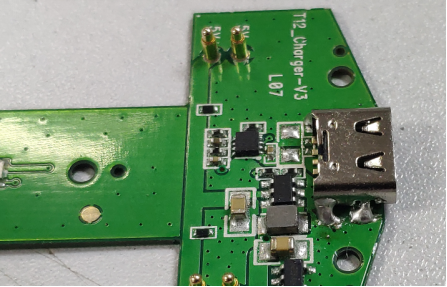
The power pins align perfectly with a solder pad of a capacitor, eliminating the need for extra wiring.
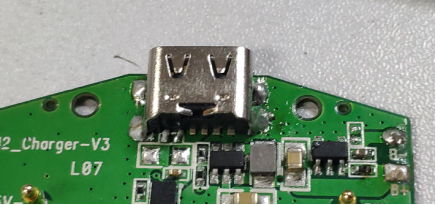
Trim a portion of the upper support bracket, as it was initially designed to stabilize the Micro B interface and prevent damage from forceful insertion.
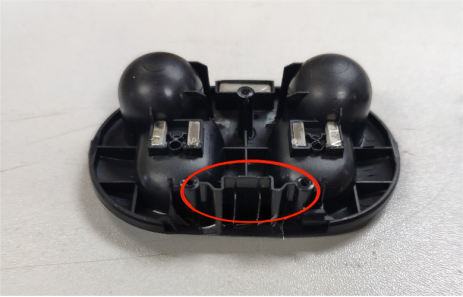
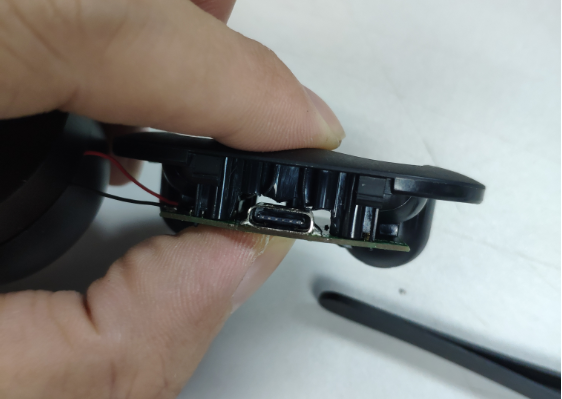
Reassemble the components.
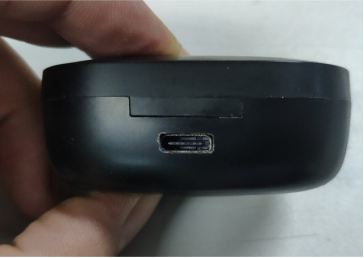
Now you can proceed with charging.
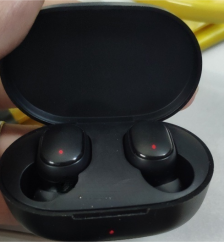
And there you have it, the modification is complete.
As the final solder joint is made and the components are reassembled, the once-disparate worlds of Micro B and Type C connectors have merged into a harmonious unity. This DIY endeavor not only simplifies our daily routines but also serves as a testament to the human capacity for adaptation and innovation.


