
1. Introduction:
In this article, we will discuss a significant modification to improve the functionality of label printers. The primary objective is to transition the power input configuration from an internal negative and external positive setup to the more common positive internal and negative external configuration. Additionally, we'll explore the integration of a voltage step-down module, expanding the label printer's operational range beyond the standard 9V power source.
2. Label Printer Specifications:
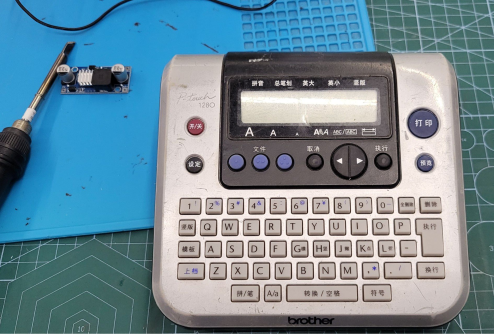
Let's begin by examining the label printer's specifications:
· Power Supply Options: The label printer can be powered by either a 9V 1.5A adapter or six size 7 batteries.
· Label Compatibility: It supports labels with widths ranging from 3.5mm to 12mm.
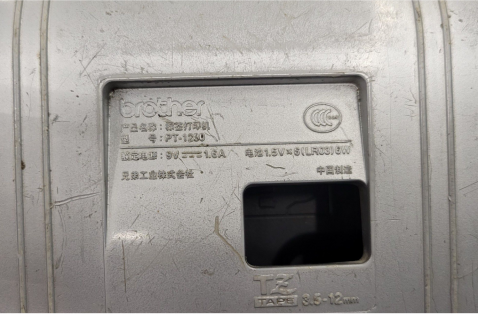
3. Internal Overview:
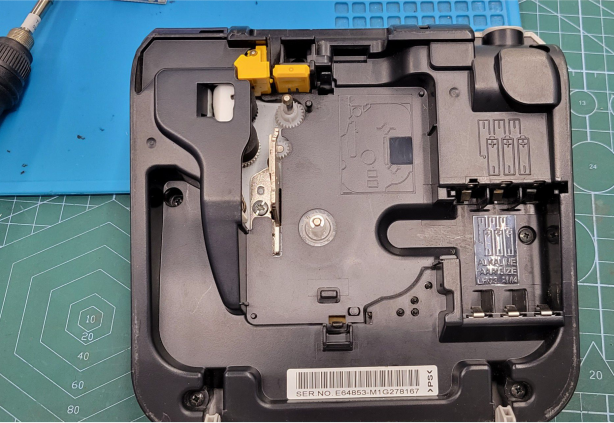
Internally, the label printer maintains a clean and organized layout. One crucial component to note is the yellow cutting blade. Occasionally, suboptimal paper cutting performance can be attributed to irregular support on the opposite side of the blade.
4. Identifying the Issue:
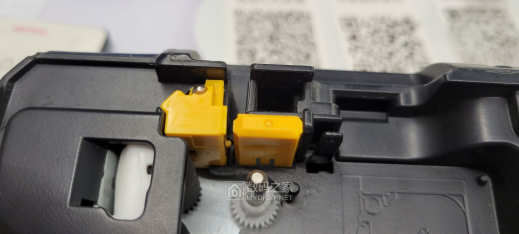
The plastic support plate opposite the cutting blade reveals signs of wear, particularly on the left side. This wear results from the prolonged exertion of cutting force and can disrupt the paper-cutting process. Fortunately, there is a straightforward solution.
5. Solution:
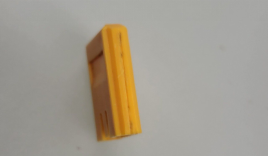
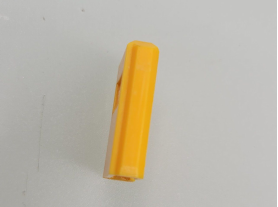
To address this issue, align the opposite face of the support plate (the right side) with the cutting blade. This adjustment will significantly improve paper-cutting precision.
6. Introducing the DC-DC Step-Down Module:
Now, let's delve into the DC-DC step-down module:
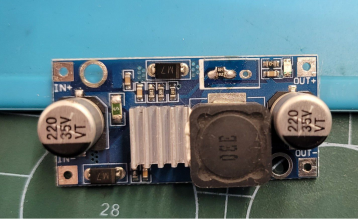
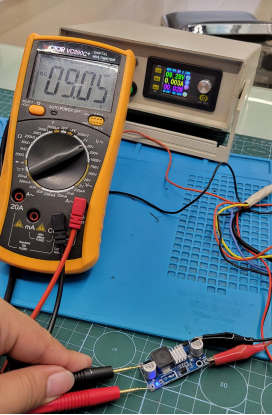
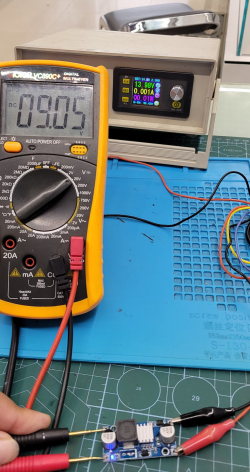
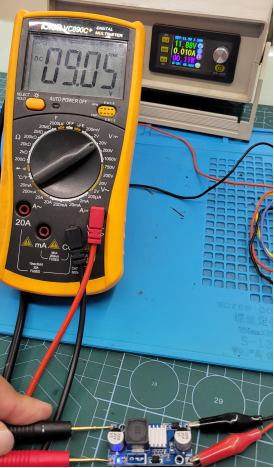
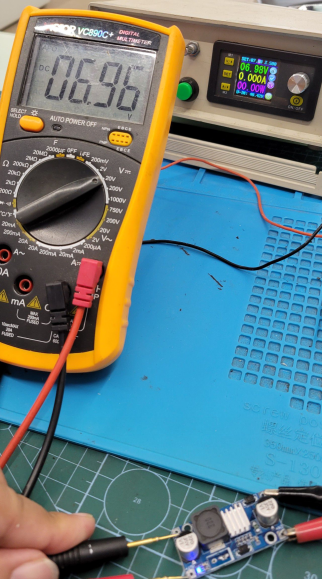
· Voltage Compatibility: The module is compatible with input voltages of 9V or higher. When the input voltage falls below 9V but remains above 6V, it maintains relatively consistent output. However, if the input voltage drops below 6V, the module ceases to provide an output.
7. Installation:
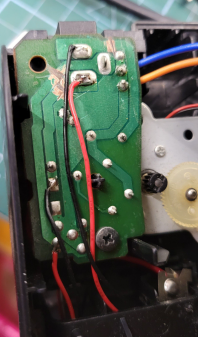
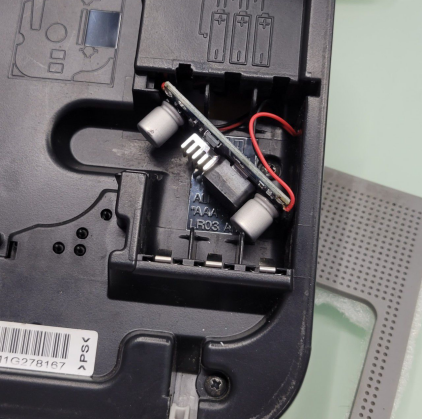
Installing the DC-DC module involves disconnecting the original DC input, reversing its direction, and soldering the DC-DC module's output back in place. Although the module has a slightly larger footprint, it neatly fits into the battery compartment. In the absence of heat shrink tubing, temporary omission is an option.
8. Enhanced Functionality:
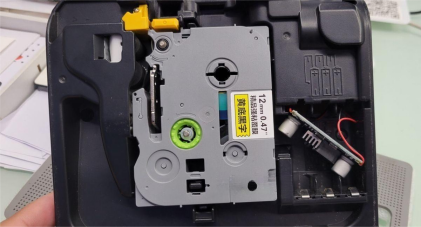
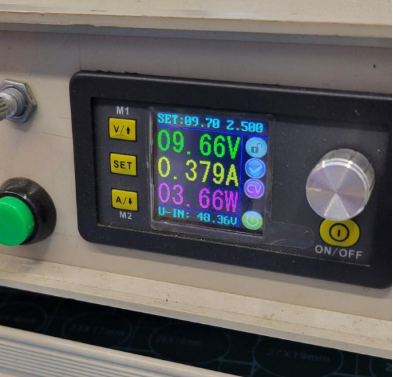
Following the modifications, the label printer becomes compatible with power sources ranging from 9V to 32V, eliminating concerns about incorrect power connections causing operational issues.
9. Additional Considerations:
· For those interested in alternative power sources, the label printer can be adapted to incorporate a 5V boost module and a USB port for convenient USB charger-powered operation.
· Caution is advised when working with DC-DC modules. To prevent voltage spikes that may damage downstream circuit components, thorough testing with an oscilloscope is recommended.
10. Conclusion:
By implementing these modifications, you can significantly enhance the performance and versatility of your label printer. Whether you seek improved power configuration or expanded voltage compatibility, these enhancements provide a practical solution for optimized label printing operations.


