
Are you considering upgrading your shoe cabinet's motion sensor lights to operate independently of motion detection?
In this detailed guide, we'll walk you through the entire process step by step.
Understanding the Circuit
To start, let's examine the circuitry.
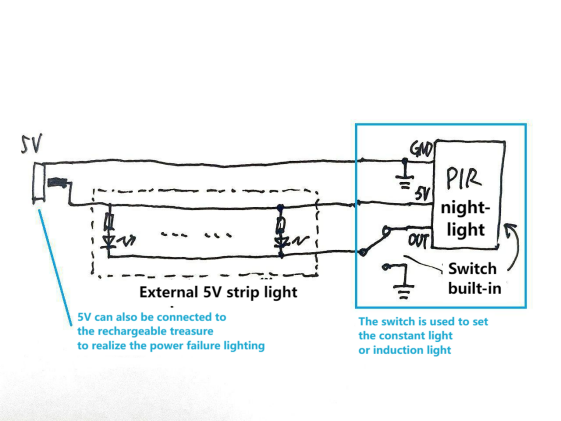
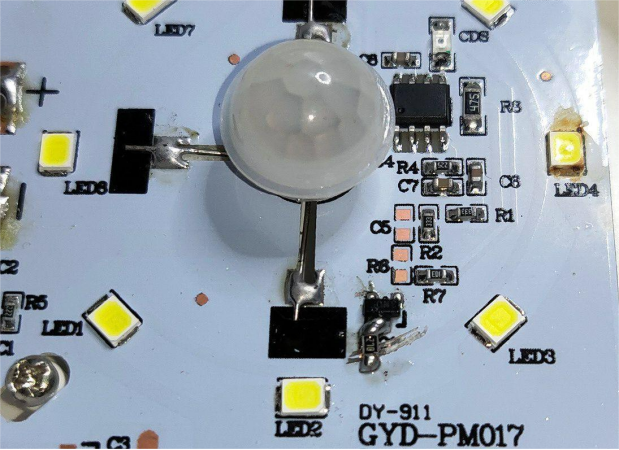
1. Swap out the motion sensor light board's drive transistors with MOS transistors.
2. Incorporate resistors for current control.
Preparing the Power Supply and Manual Switch
Next, we'll prepare the power plug socket and a manual switch for convenient control.
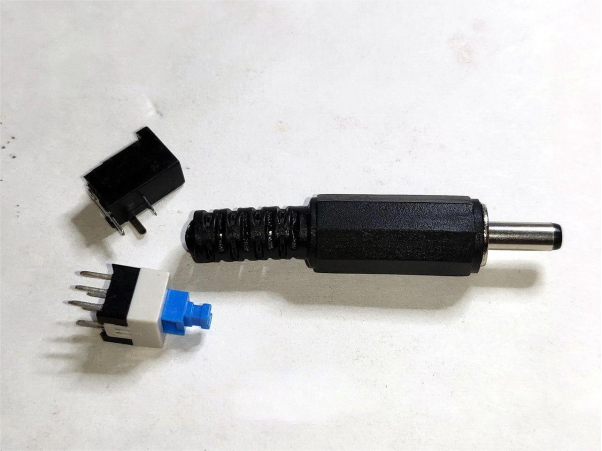
1. Connect the switches in parallel and create suitable openings in their casings.
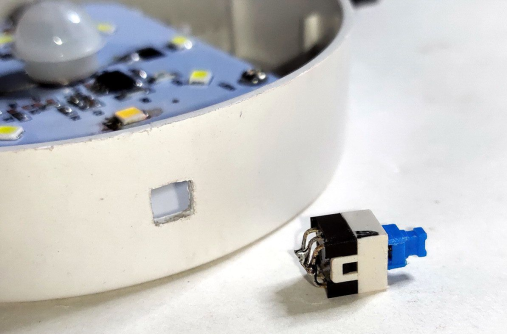
2. Securely bond them using instant adhesive.
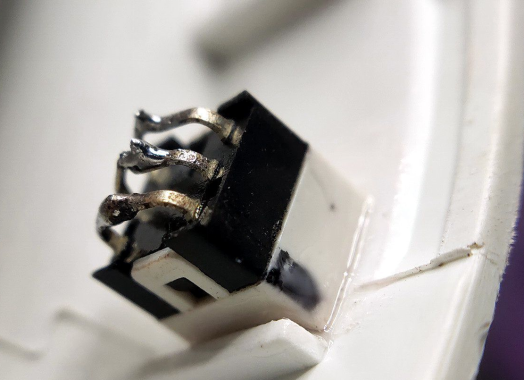
3. Strengthen the bond with hot glue.
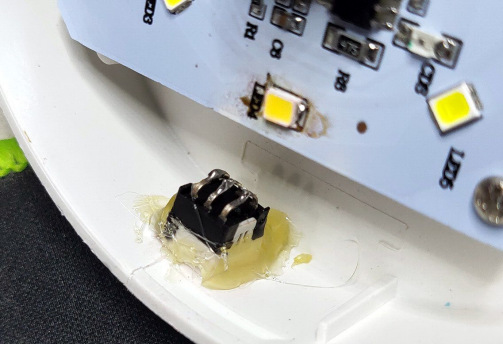
4. To facilitate the installation of heat shrink tubing, ensure the casing of the 3.5mm socket is smooth, and shape the terminals.
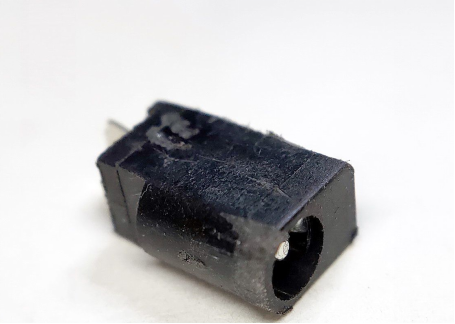
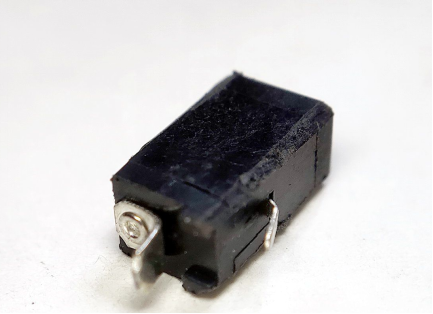
5. Proceed to solder the wires.
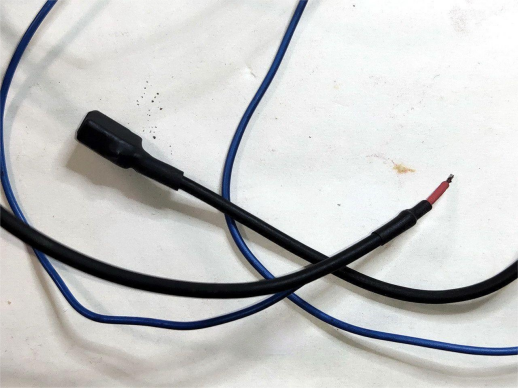
Integrating the 5V LED Strip
Utilize a 5V LED strip for enhanced lighting.
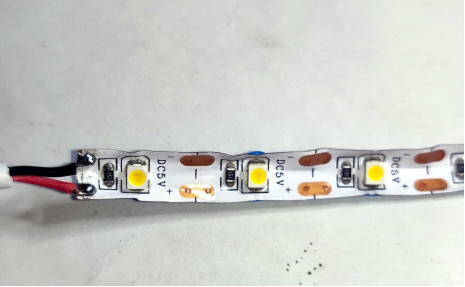
1. Solder the 5V+ to the LED strip.
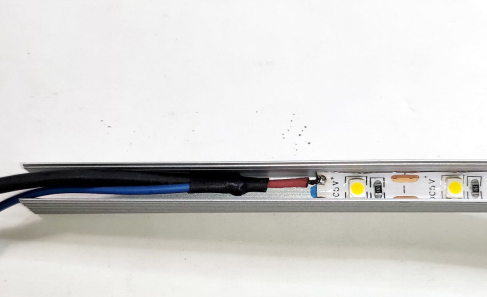
2. Route the ground wire from the back of the light slot, securing it in place with instant glue.
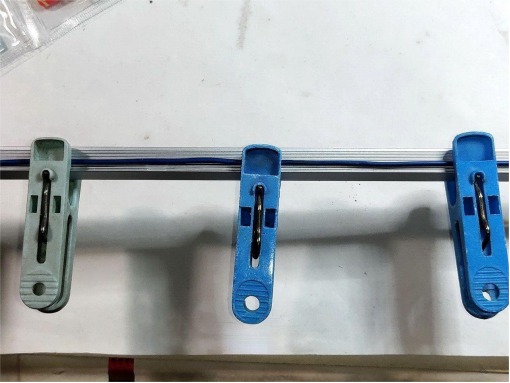
3. Solder the other end of the LED strip to the 5V+ and the light driver wires.
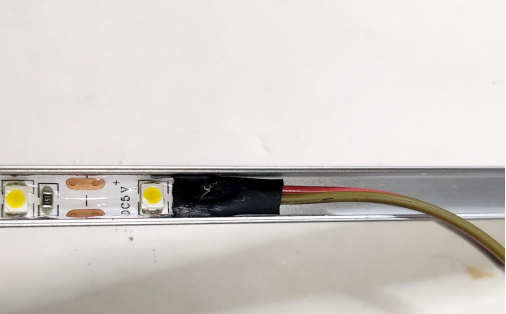
4. Connect the three wires to the switches and the board.
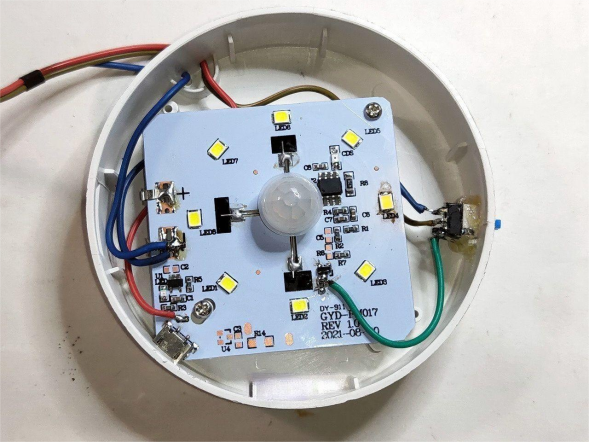
Testing the Lights
Once the modifications are complete, source a 5V power supply and replace it with a 3.5mm DC plug. Power up the system to observe its behavior:
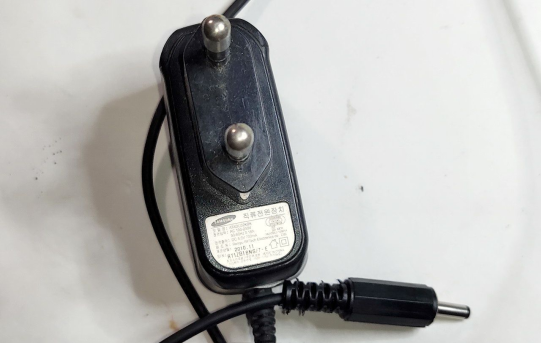
1. In well-lit environments, the motion sensor lights will be in a charging state.
2. In low-light conditions, both lights will activate upon detecting motion.
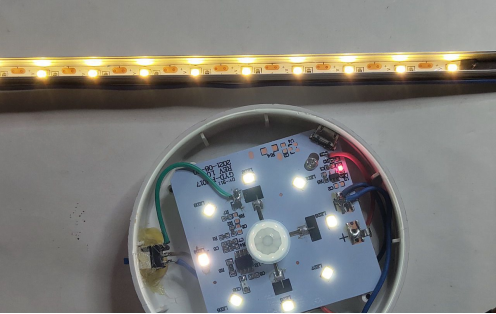
3. In the absence of motion, simply press the switch to manually illuminate the LED strip.
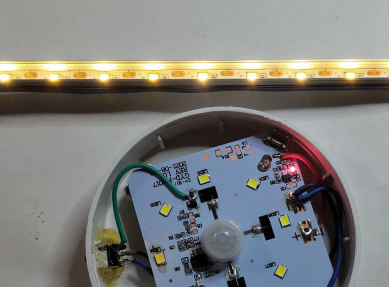
4. Complete the setup by attaching light diffusers.
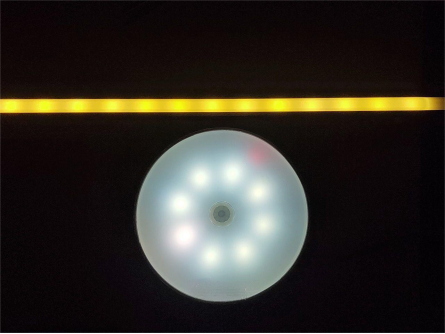
Installation Process
Now, let's proceed with the installation process. Installing the newly modified lights in the open-grid section of your bookshelf is the next step. While attaching the lights is straightforward, concealing the power source can be challenging.
1. Drill a slanted hole through the top cabinet above the open grid to pass the power cable.
2. Create a vertical hole for the light cable.
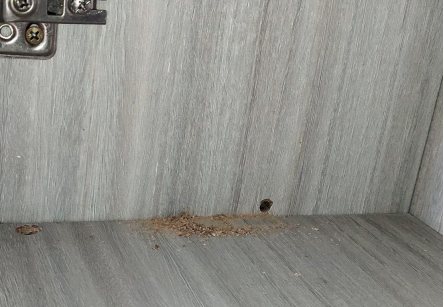
3. Cut a two-core extension cord to connect to the 220V power source.

4. Thread it through the power socket in the side wall.
5. Use an electrical wire hook if the cable is too soft.
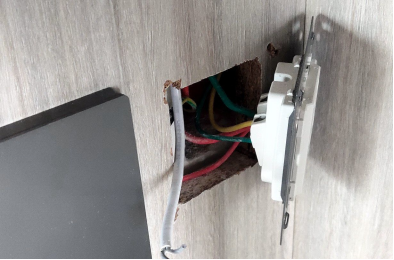
6. If the core wires in the connecting cable are thin, strip them longer, fold them, and connect them to a 5V power supply (MOTO's).

7. Secure both sections of the light cable with transparent tape for a seamless look from a distance.
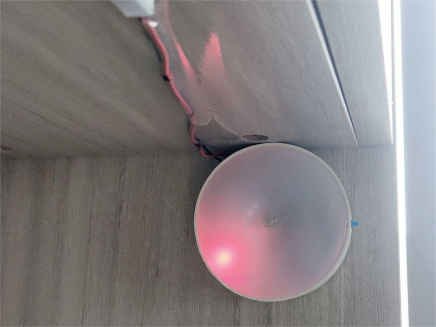
Upgrading Motion Sensor Lights
For added convenience, consider upgrading the motion sensor light in the shoe cabinet's open grid using the same method. The inclusion of a switch makes operation significantly more user-friendly.
Optimizing Power Connections
Ensure ease of power connection by running it directly from a visible socket to the cabinet above. An HTC power source is recommended for this purpose.
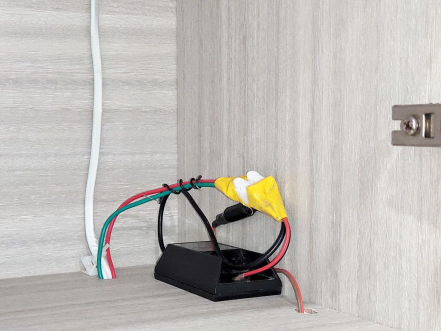
Final Outcome
Once everything is set up, and the lights are active, you'll enjoy a well-illuminated space.

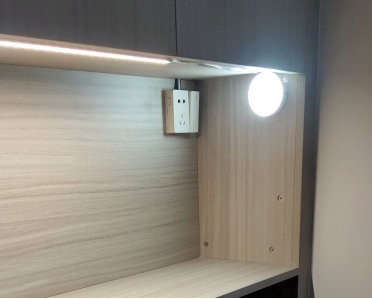
Benefits of Motion Sensor Lights
Motion sensor lights offer unparalleled convenience. With motion-sensing lights installed at these four strategic locations, including the hallway, you'll rarely need to manually operate a light switch when entering or leaving a room or heading to the bathroom.
Conclusion
In conclusion, this comprehensive guide empowers you to upgrade your shoe cabinet's motion sensor lights for greater control and functionality. Please note that if you encounter any sensitivity issues or experience automatic lighting problems, regular monitoring and adjustments may be necessary.


