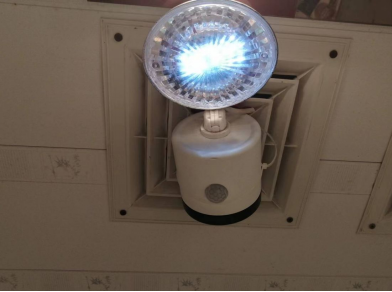
To facilitate nocturnal bathroom visits with convenient illumination, consider crafting a personal motion-sensor light during your leisure time. This DIY project features core components, such as the SR501 motion sensor module, a 5V piranha LED illumination board, a mobile phone charger, and a readily obtainable plastic food container, along with an emergency light head. The key principles governing this endeavor encompass resourcefulness, practicality, aesthetic appeal, and straightforward maintenance and troubleshooting. Let's embark on this endeavor:
1. Select a readily available waterproof casing that offers ease of disassembly.
2. Precisely drill an aperture on the casing's side, sufficiently spacious to accommodate the motion sensor's lens.
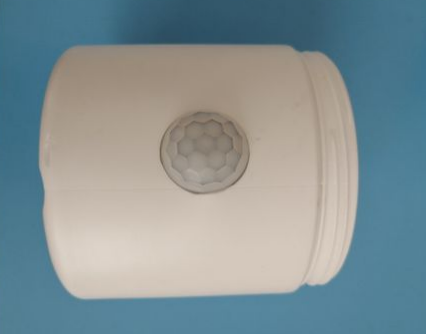
3. Safely ensconce the SR501 motion sensor module within the plastic container, affixing two accessible potentiometers atop for effortless calibration.
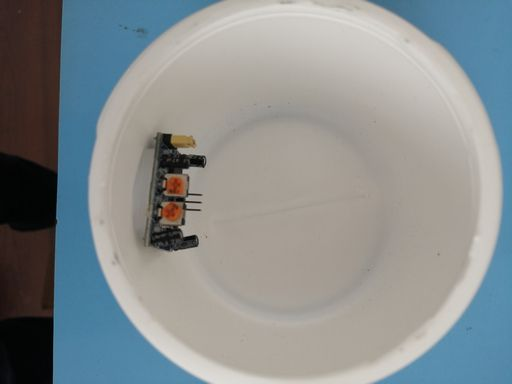
4. Ensure the periphery remains sealed with adhesive to prevent the intrusion of bathroom humidity onto the circuit board.
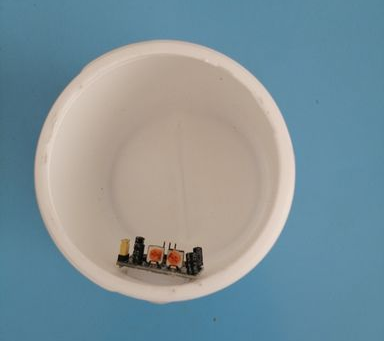
5. Employ an available mobile phone charger with its casing intact to bolster safety and minimize the risk of short circuits.
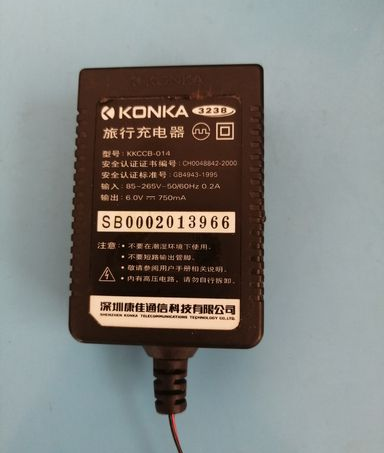
6. Revealing an internal perspective highlighting superior craftsmanship.
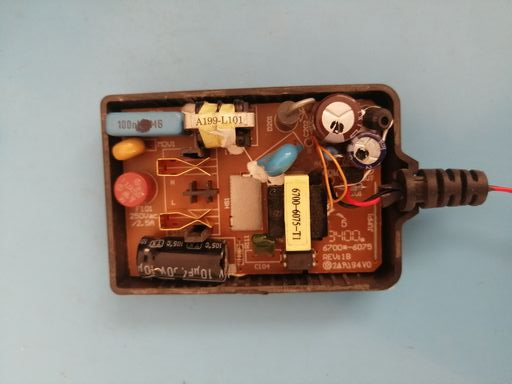
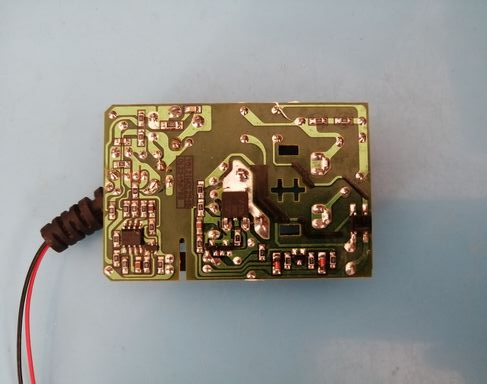
7. Providing a rear view of the mobile charger.
8. Embed the piranha LED light board into the emergency light head, aiming for an illumination level that allows for object visibility without causing discomfort to nocturnal vision.
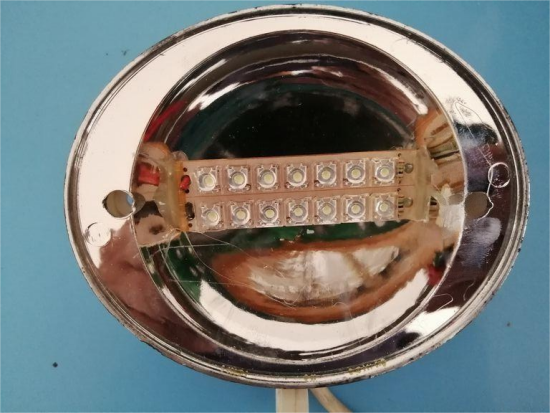
9. Display the fully assembled front cover.
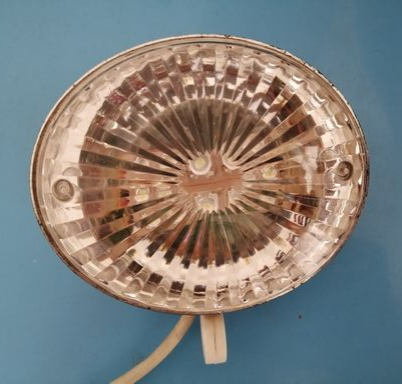
10. Introduce an NPN transistor into the vacant area on the charger's circuit board to manage the LED light board's power supply. Segment the wires into three categories: one for the module's power supply and signal (+ and -), a second for the light board's input power supply, and a final set for the 220V AC power source.
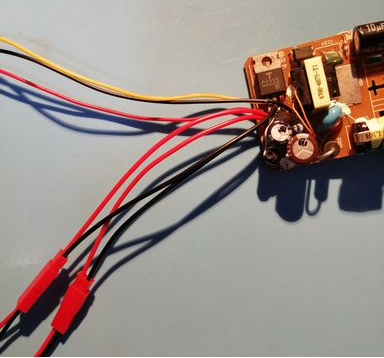
11. Affix external wires to facilitate maintenance, employing plug connectors for seamless transitioning between the module and the light head.
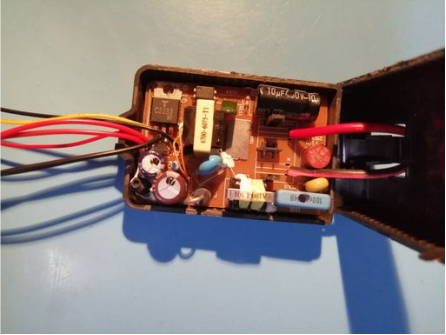
12. Carefully reassemble the charger's protective cover.
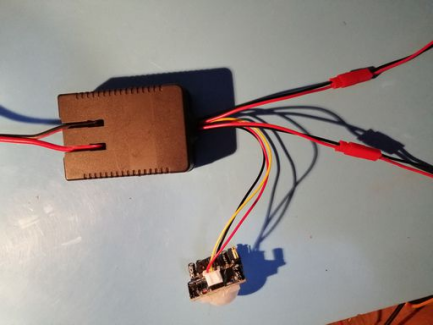
13. Position both the charger and module within the plastic container.
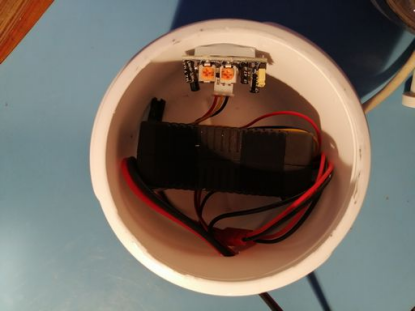
14. Establish the connection with the external light head.
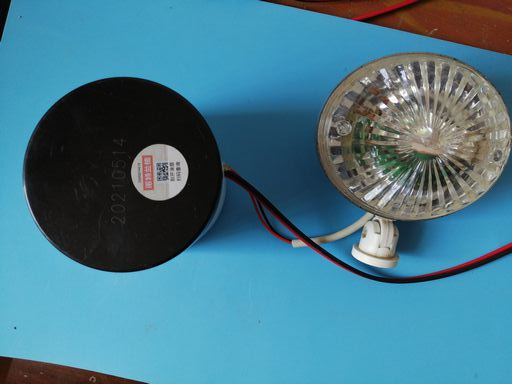
15. Secure the light head firmly to the plastic casing.
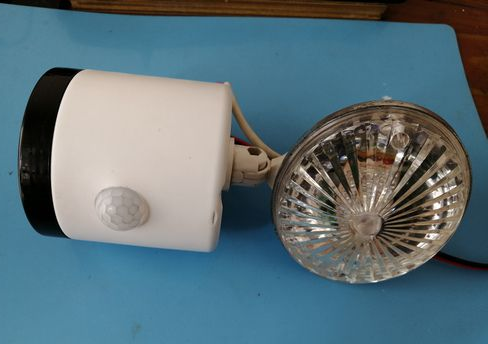
The final product may be affixed to the bathroom ceiling, with a 220V power supply originating from above. This innovative solution significantly enhances the ease of late-night bathroom visits, elevating overall comfort and quality of life.
