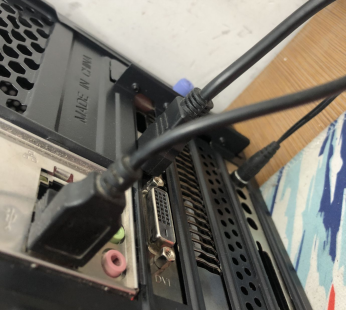
Enhancing the performance of a computer with a G3900 processor, 4GB of integrated graphics, a 240GB solid-state drive, and a 1TB HDD is essential for a seamless user experience. If you are experiencing difficulties while playing games, it is highly likely that the culprit is the graphics card. In such cases, the ASUS RX580 can be a valuable solution.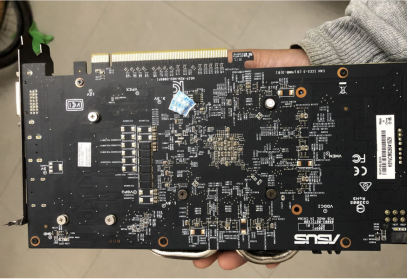
Key Details:
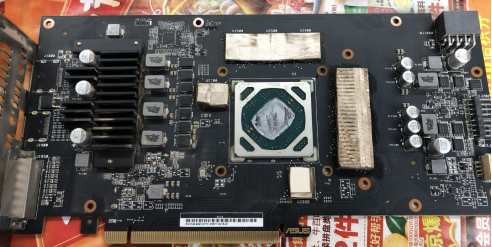
This ASUS mining card is meticulously tailored for mining purposes, equipped with a single DVI interface. While the mainboard is originally an RX470, it utilizes an 8-pin power supply and features an RX570 chip with a chip ID of 215-0910052, confirming its RX570 classification. It's worth noting that ASUS subsequently released a batch of budget-friendly RX580 (2048SP) models for the consumer market, utilizing RX570 chips due to the original RX580's 2304SP configuration. This resulted in a unique hybrid version - the RX570 flashed with RX580 firmware.
Installation Insights:
When installing this configuration, it's advisable to use a DVI to HDMI adapter for connectivity. If benchmarking with a 3D MARK11 stress test only yields an 87% score, it indicates suboptimal performance. In such cases, disassembling the graphics card and replacing the thermal paste with a higher-rated 8W.MK thermal paste can elevate the benchmark score to nearly 100%.
Additionally, if your monitor struggles to support a 75Hz refresh rate, it may be due to the monitor having a single-channel DVI, limiting it to 1080P60Hz. In this scenario, disassembly is recommended, allowing for a close inspection of the board's output section, where necessary modifications can be made.
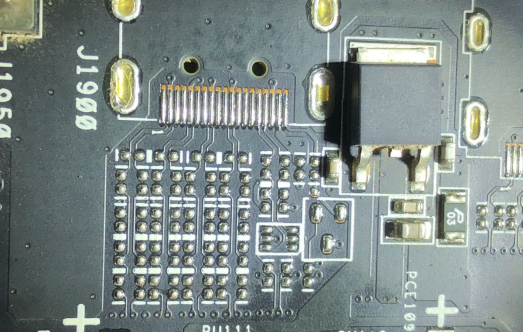
Graphics Card Schematics:
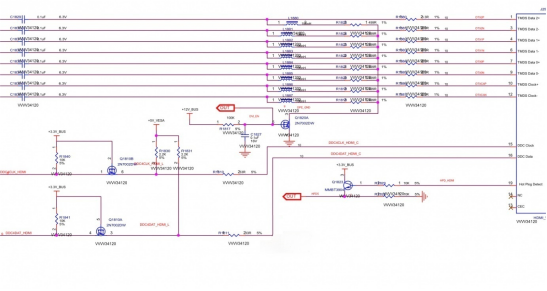
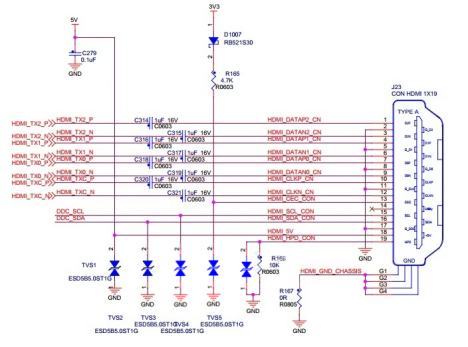
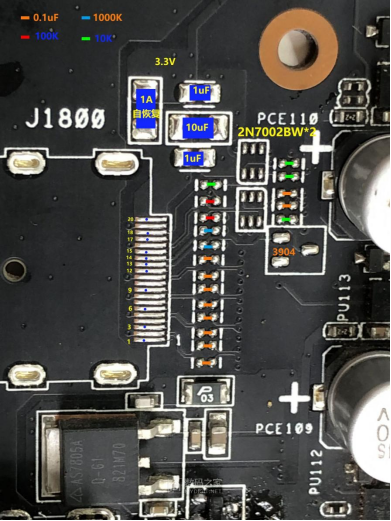
The design of this board closely mirrors that of MSI's circuit. However, it notably lacks anti-static clamp tubes, which may have been omitted to reduce component costs. Notably, the inductance and capacitance components, used to mitigate interference issues related to grounding, are absent. Only the two signal lines necessary for data communication handshake are retained, secured with MOSFET clamps. To achieve the necessary modifications, components such as 2N7002BW transistors, 0.1uF capacitors, 33-ohm resistors, and HDMI sockets with screw holes are required. It's essential to ensure that these components are of the 0402 size.
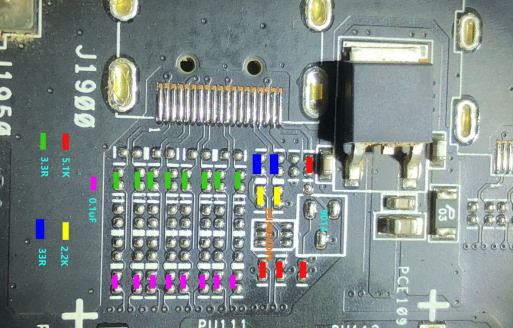
Important Considerations:
When purchasing HDMI sockets with screws, meticulous attention to detail is imperative. Even a slight discrepancy of 2-3mm in screw hole spacing can lead to alignment issues. The center of the screw hole should be approximately 12mm from the bottom, which is essential for compatibility with ASUS products that demand a 9-10mm spacing.
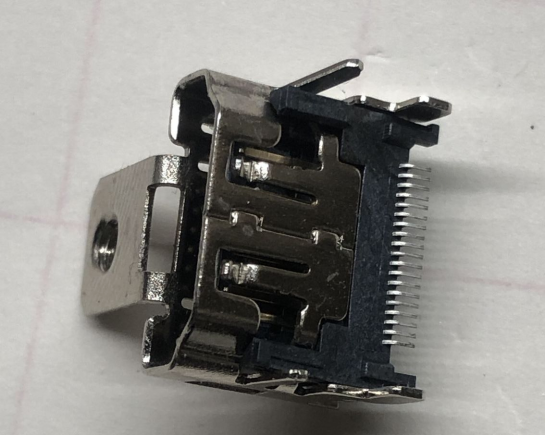
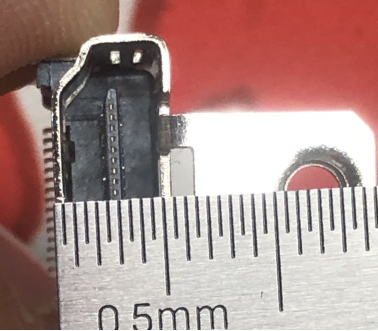
A T12 pointed tip soldering iron is recommended for the soldering process, ensuring a secure and stable connection.
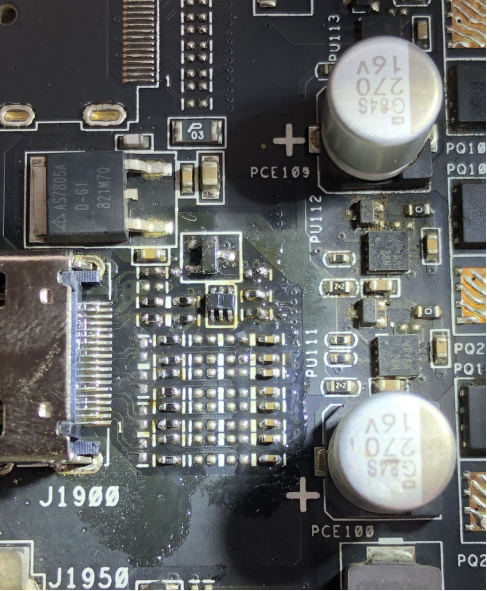
If you encounter situations where the system displays an "out of range" message on the monitor, it is advisable to uninstall the graphics card driver and restart the system. In some instances, the graphics card and monitor may fail to synchronize correctly, leading to an output signal that surpasses the monitor's display capabilities. In such cases, a simple solution is to directly short-circuit the MOSFETs and remove the two 10K resistors.
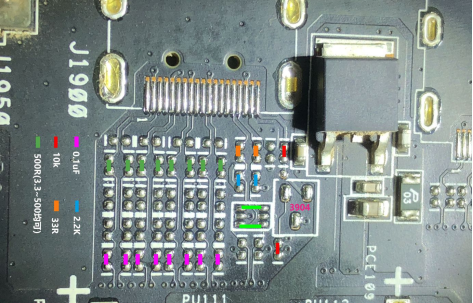
By implementing these adjustments, while the protective measures may be slightly reduced, the system can effectively utilize HDMI with a 75Hz refresh rate. This not only improves the gaming experience but also opens the door to future upgrades, such as adding a DP interface for enhanced performance.
