
In this comprehensive guide, we will delve into the process of creating a 12W waterproof ceiling light with integrated sound and light control. This innovative project combines the power of a high-quality lighting source with an efficient control system, resulting in an attractive and functional lighting solution. We'll explore the components, assembly, and testing procedures in detail to help you craft your own sound and light-controlled ceiling light.
1. 12W Waterproof Ceiling Light

This plastic-cased LED waterproof ceiling light has an average shell material. The packaging specifies 12W.
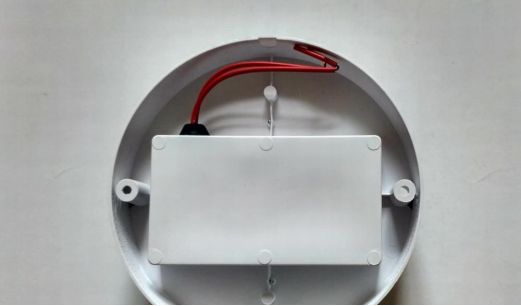
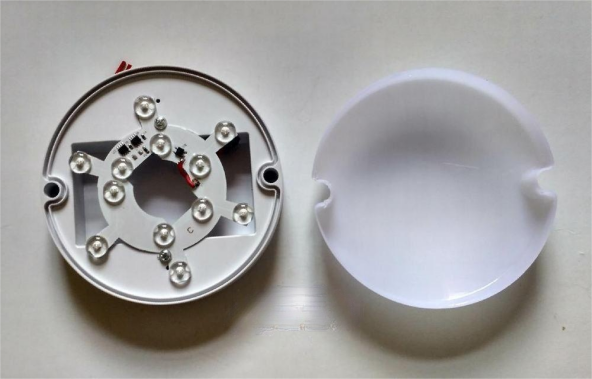
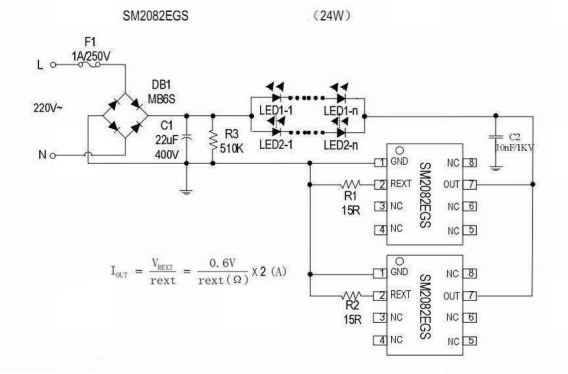
It has an integrated light source driver board with an aluminum substrate. It uses the MLS3535A solution from Senxin Micro, featuring 12 lensed 2835 surface mount LEDs arranged in 2 parallel sets of 6.
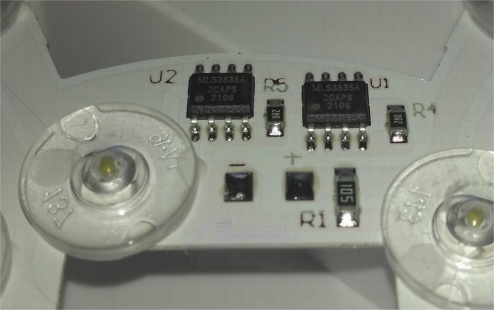
It has dual parallel routes, with a single-route current sampling resistor of 8.2 ohms, which is slightly small, leading to some heat generation. You can replace it with a 12-ohm resistor or retain only one route.
2. Sound and Light-Controlled LED Constant Current Driver

The sound and light control part uses the CD4011 solution, controlling the live wire and common neutral wire. It has a measured delay of 31 seconds. The LED constant current source part uses the CL1503S solution, which is non-isolated. It has a measured unloaded output of 188V and operates a 15W LED board with 2 parallel sets of 15 LEDs at a working current of 185mA.


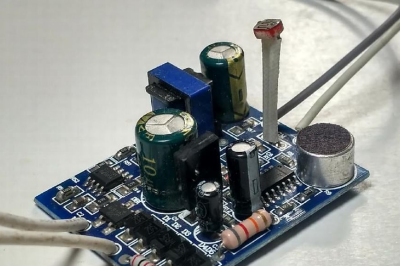
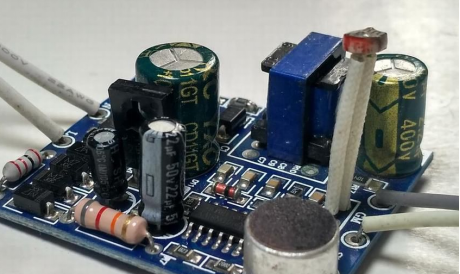
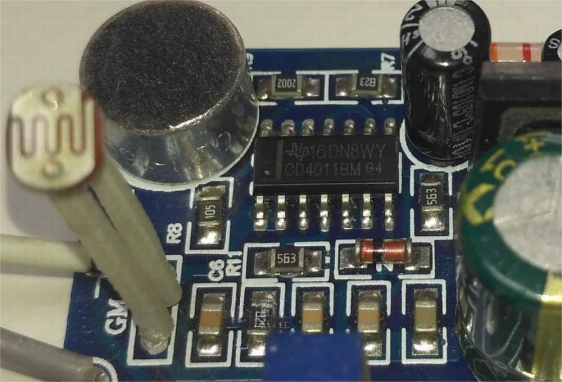
· CD4011BM - Quad 2-Input & Negative Gate IC


· 2P4M - Unidirectional SCR, TO-252-4R Package, 400V/2A

· CL1503S - ChipLink Semiconductor's Step-Down Non-Isolated Constant Current Driver IC


· Circuit Framework Schematic

· Measured no-load output 188V, with 2-parallel 15-series 15W light board, LED terminal operating current 185mA, delay 31 seconds.

3. Assembly Process

For this sound and light-controlled LED constant current driver, the LED driver part has no output, but the sound and light control part is functioning correctly. Only use the sound and light control part. Follow the circuit framework diagram for connections.


To disconnect the negative pole of the LED driver part, which appears to be internally short-circuited in the main control chip (not disconnecting it may affect the normal operation of the LEDs that are connected in parallel).

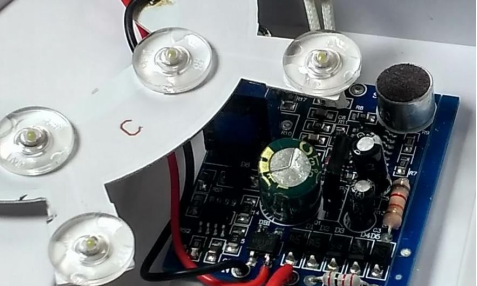

The sound and light-controlled LED constant current driver is fixed to the lamp housing using double-sided foam tape and is further secured by pressing it onto the lamp board using foam tape. It is attached to one corner of the lamp housing. We initially planned to make a hole to increase sound sensitivity, but testing showed that the effect is good even without a hole. Within a 3-meter range, snapping your fingers will activate the light.
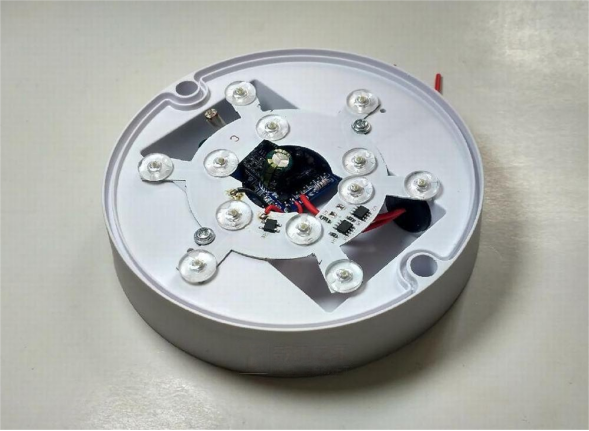
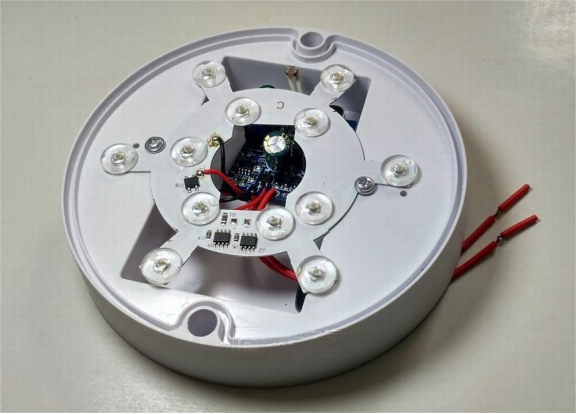
After verifying that everything works correctly, proceed with the assembly.

4. Testing and Performance

When not illuminated, the standby power consumption is 0W. Once illuminated, it starts at around 20W and gradually decreases. After a 31-second delay, the light goes off. With infrequent activation, the lamp board's temperature does not become excessively high.
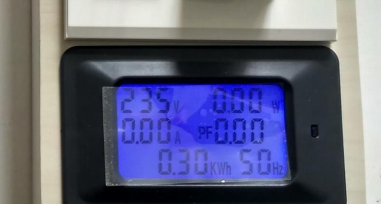
Standby
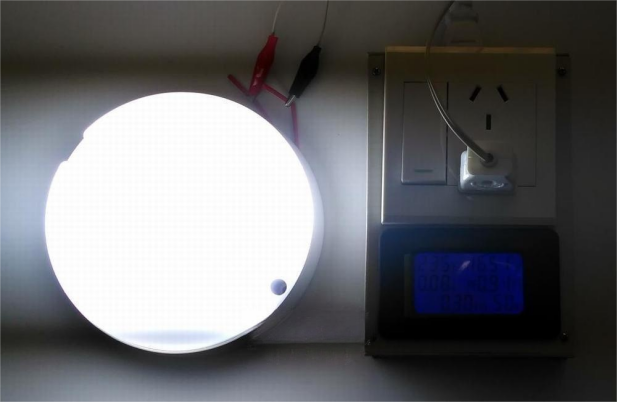

Illuminated.

5. Conclusion
In conclusion, this guide provides a step-by-step approach to creating a 12W waterproof ceiling light with sound and light control. By following these instructions, you can design a lighting solution that combines efficiency and aesthetics.


