
In this comprehensive guide, we explore the process of upgrading the Philips PQ182 Classic electric shaver for improved performance and battery life.
1. Introduction
The Philips PQ182 Classic Model: This electric shaver has seen minimal usage and originally came equipped with a 450mAh battery (as indicated by the green battery in the accompanying image). However, an upgrade to the Feike 2/3AA 600mAh battery has proven to yield effective results. Upon disassembling the shaver to inspect its internal components, it becomes evident that by relocating certain elements on the circuit board (resistors, diodes, and the Q1 transistor), it is possible to incorporate an additional battery for enhanced performance.
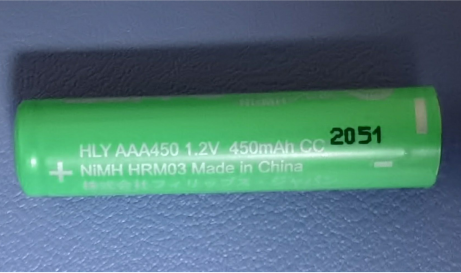
2. The Shaver and Required Batteries
In this section, we delve into the details of the electric shaver and the batteries required for the modification.
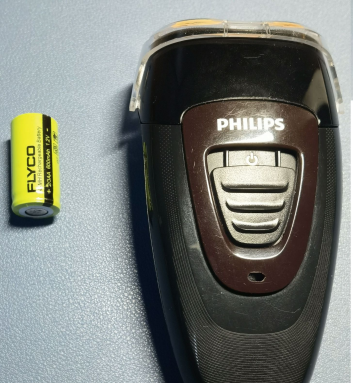
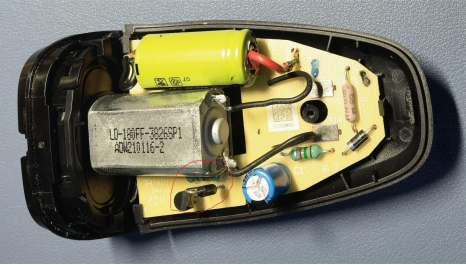
3. Adjustable Components on the Circuit Board
Here, we discuss the adjustable features of the circuit board. In the provided image, the three components highlighted in red at the top left corner are prime candidates for removal. Relocating the resistor and diode to the back and extending the pins of the Q1 transistor to a position below the motor can significantly improve the shaver's performance.
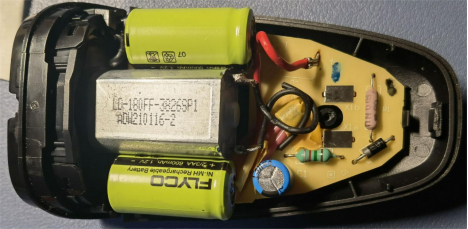
4. Modified Internal Structure
This section provides a visual representation of the shaver's internal structure after the modification.
5. Installation of the Casing and Testing
Following the successful modification, it's time to reassemble the casing. Once reassembled, a test charge should be conducted.
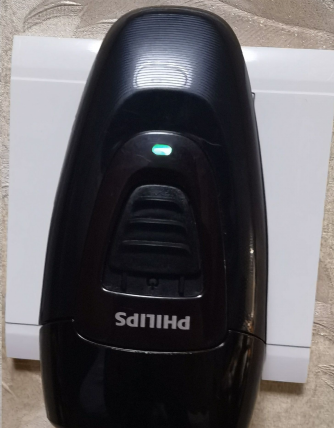
A successful test is indicated by the illumination of the green LED. Subsequent observations will help evaluate the shaver's performance in real-world usage scenarios.


