
Enhance the functionality and aesthetic appeal of your bedside touch lamp with a straightforward modification. If you find the current switch experience lacking due to the cumbersome operation requiring substantial force, consider implementing a simple improvement. Eliminate the existing three springs and introduce two rubber components to significantly refine the tactile response.
Enhancements:
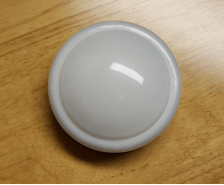
Exterior
Interior
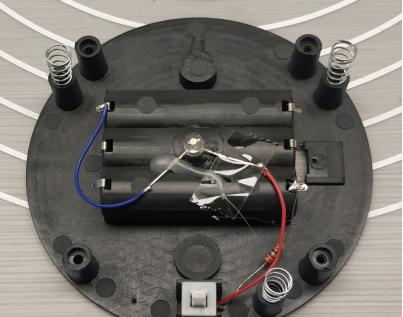
Streamlined functionality by replacing three springs with two rubber components.
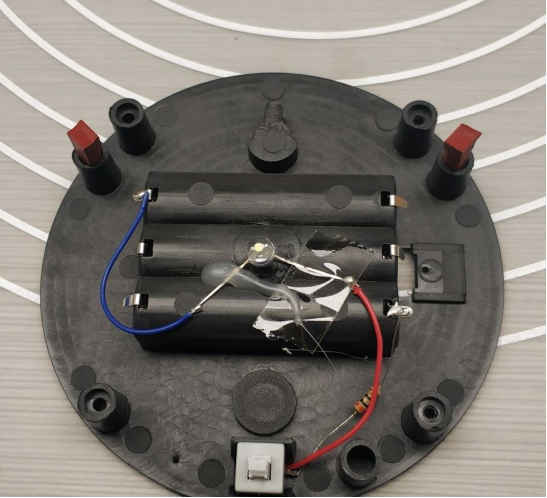
The initial configuration utilized a blue-toned straw hat LED, resulting in a cooler color temperature. By transitioning to a warm white LED and incorporating reflective background paper, we've successfully enhanced both the visual appeal and ambiance.
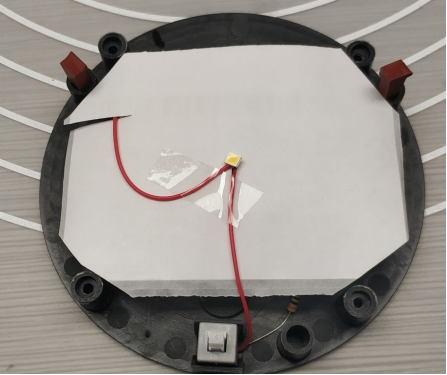
In a side-by-side comparison with the original design, the former's blue hue is readily apparent.
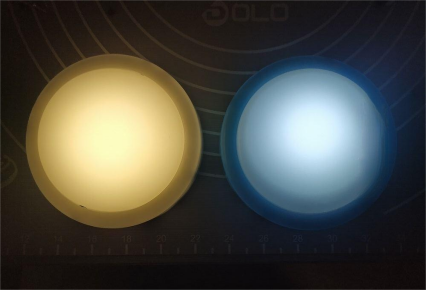
Post modification, one observed challenge is the notable fluctuation in brightness corresponding to variations in battery voltage. Additionally, concerns arise regarding potential oversight in turning the lamp off or accurately assessing battery depletion, leading to increased power consumption.
To address these concerns, your improvement objectives include the implementation of a constant current drive and an automatic shutdown mechanism at low voltage. Let's commence with the schematic diagram.
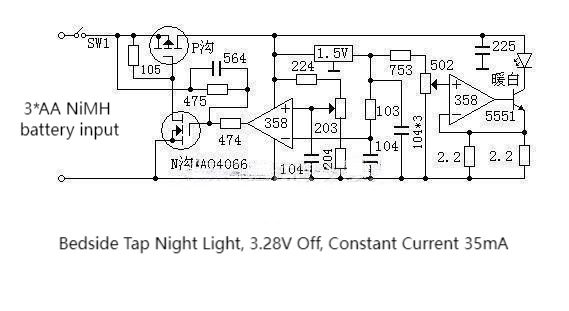
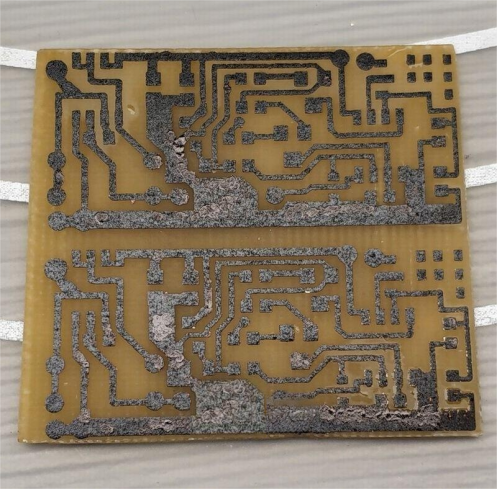
Begin with a conceptual drawing on a designated board, followed by the application of heat transfer techniques, ensuring the image is appropriately flipped.
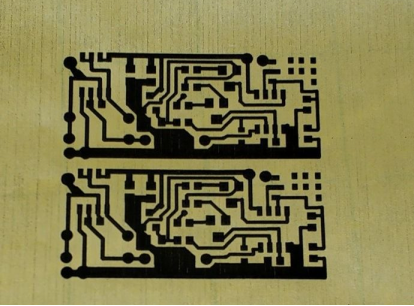
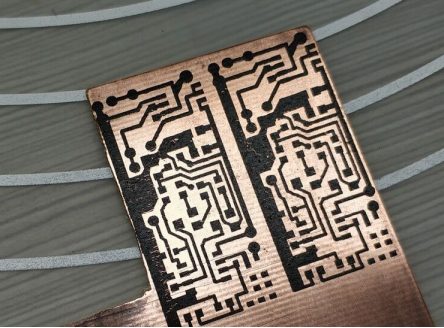
Post revision, precision is key—utilize a saw for meticulous cuts.
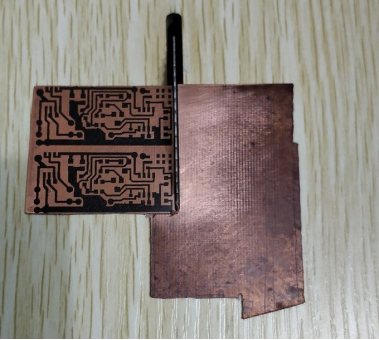
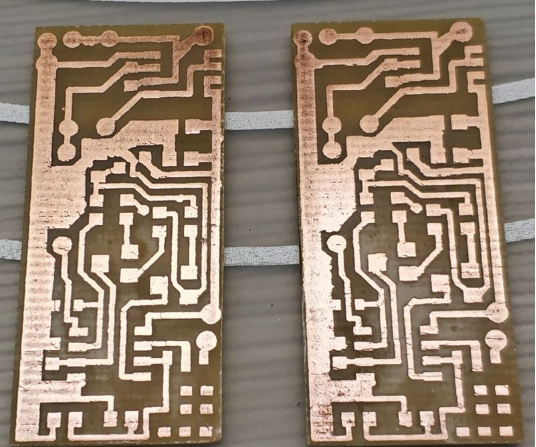
A subsequent corrosion process refines the components.
Two distinct segments, initially separate, are meticulously joined through a precise welding process.
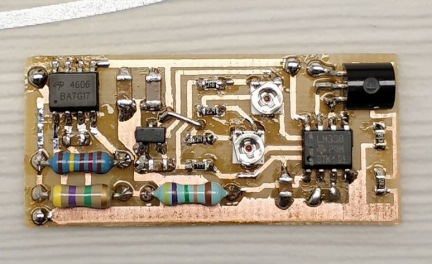
Employing the reliable 3M double-sided adhesive, affix the components securely in place.
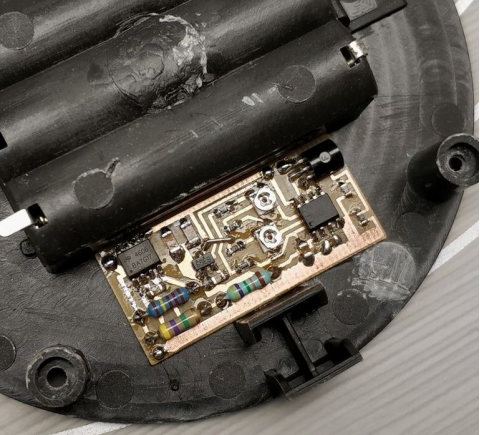
Establish a seamless connection between the switch and battery box.
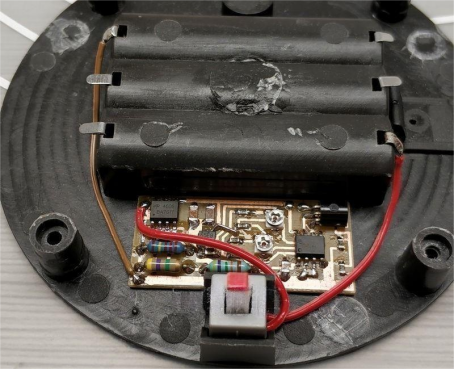
For those seeking an enhanced switch experience, consider the removal of the two rubber components. Introduce an acrylic column precisely opposite the switch, providing both stability and an improved tactile response.
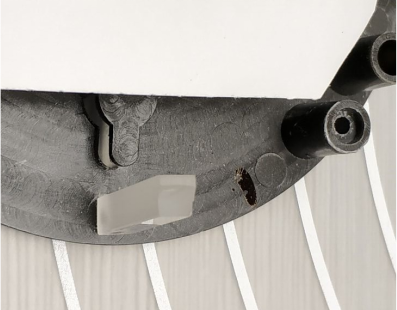
Simultaneously, discard the three columns originally housing the springs, opting instead to augment the switch's button column with a modest increase in height. This strategic adjustment results in a vastly improved switch feel.
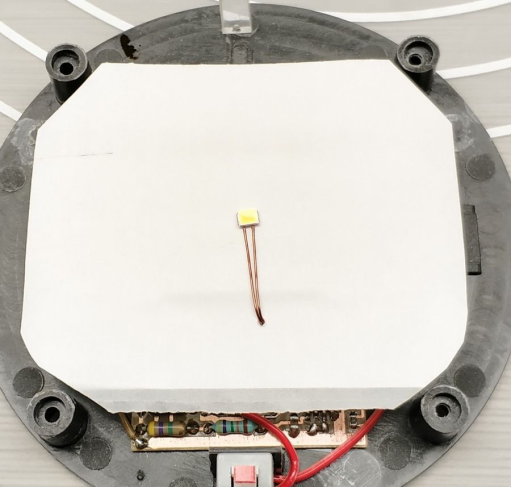
The culmination of these refinements yields a polished final product.

Significant improvements include an enhanced switch experience, refined LED color rendition, improved illumination uniformity, consistent brightness, and a safeguard against low-voltage battery depletion.


