
Explore the process of creating a versatile and adjustable power supply unit through the innovative combination of 3D printed constant current and constant voltage modules. This guide provides step-by-step instructions for assembly, highlighting key components and techniques.
Step 1: Initial Preparations
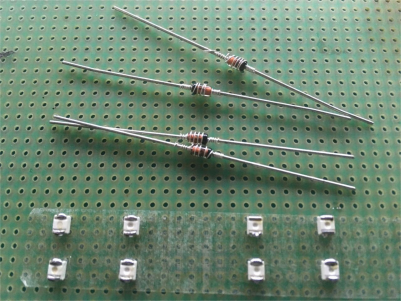
Commence the project by obtaining a suitable bulb. In the absence of lengthy rigid iron wire, substitute with pins for convenience.
Step 2: Indicator Light Installation
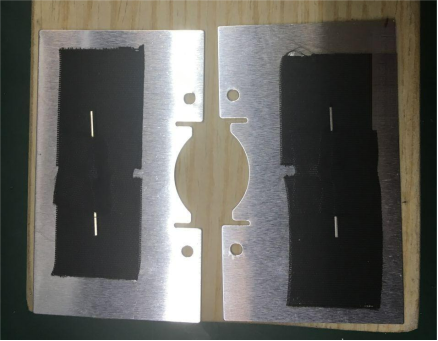
Enhance functionality by incorporating an indicator light atop the unit, serving as a visual cue for seamless transitions between constant voltage and constant current modes.
Step 3: Wiring Connection
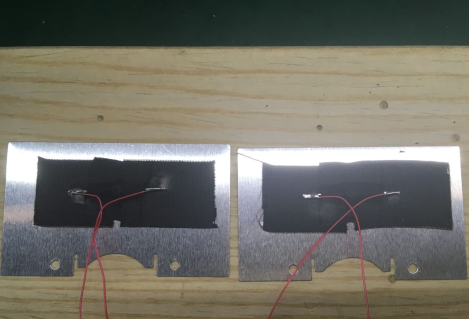
Efficiently connect two wires, maintaining a neat and organized appearance when viewed from the front.
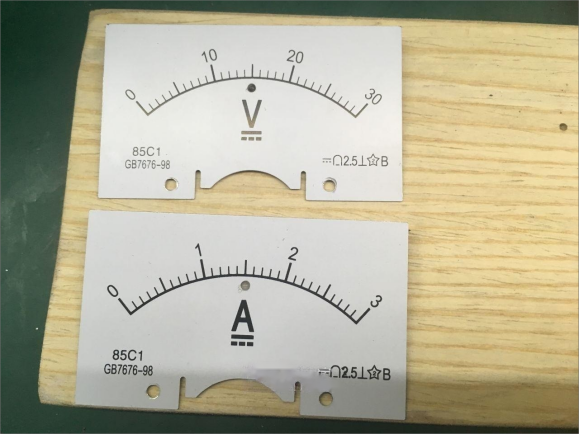
Step 4: Structural Stability with 3M Adhesive
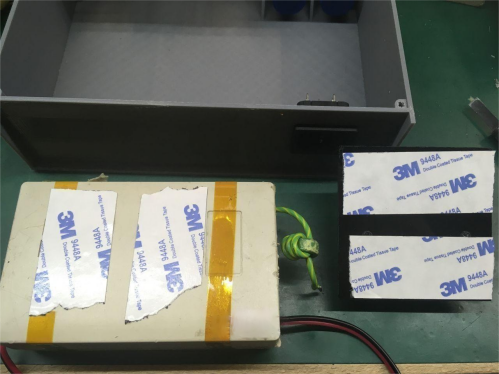
Ensure structural integrity by employing 3M adhesive for initial sketches and subsequent fixation, providing a solid foundation for the components.
Step 5: Module Layout
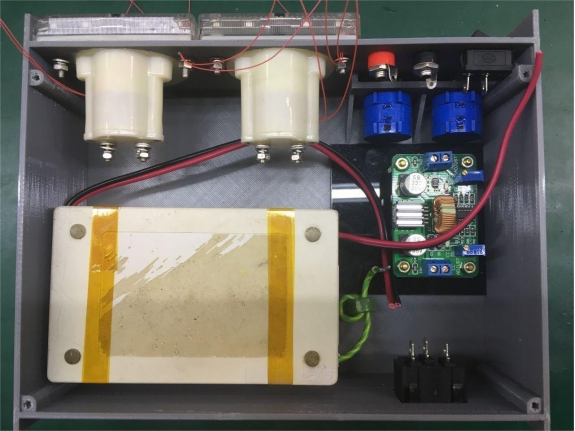
Strategically position the components, utilizing existing power supply switches and integrating Panasonic knobs for precise adjustment of output current and voltage.
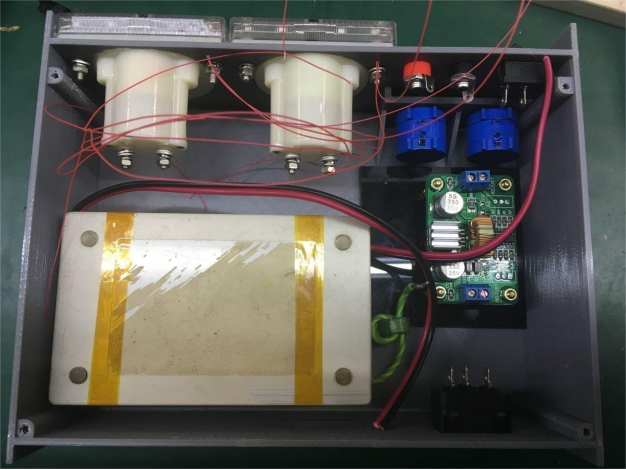
Step 6: Final Wiring Configuration
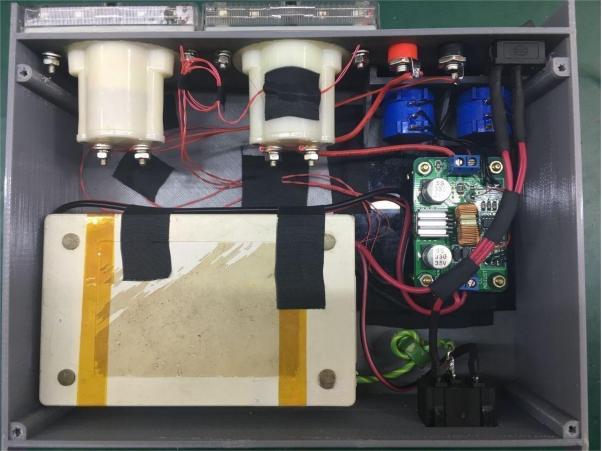
Securely fasten wires using black tape treated with vinegar-soaked fabric, ensuring stability and a professional finish.
Step 7: Glue Application for Durability
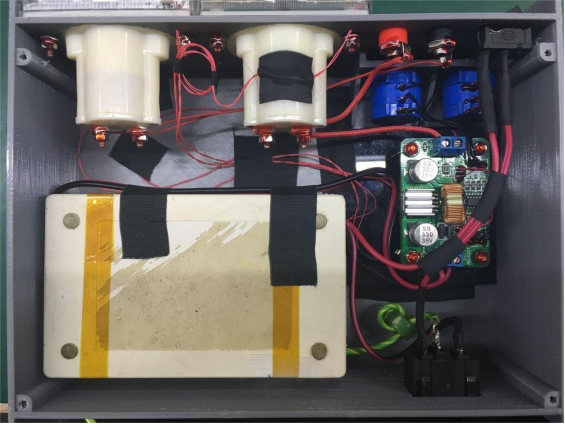
Apply adhesive to fortify wire connections, facilitating easy dismantling and showcasing remarkable resilience.
Step 8: Bottom Cover Seal
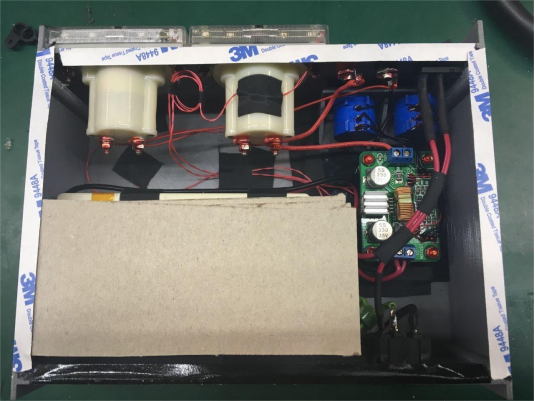
Complete the assembly by sealing the bottom cover, reinforcing the structural integrity with an additional layer of 3M adhesive. Despite the absence of ventilation holes or fans, the device's lower voltage and current requirements make these exclusions inconsequential.
Step 9: Polished Final Product
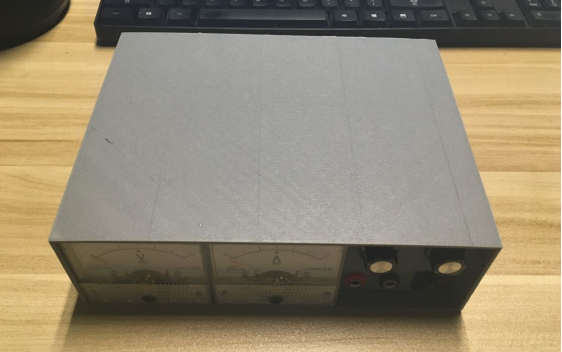
Presenting the finished power supply unit, meticulously crafted for optimal performance and visual appeal.
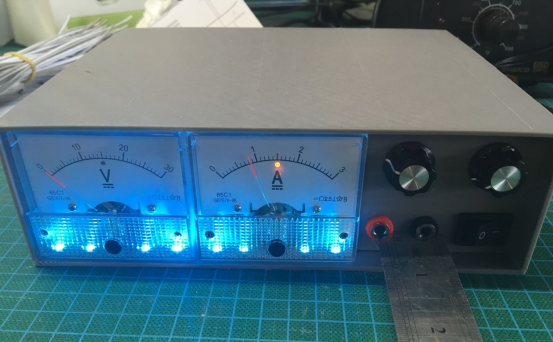
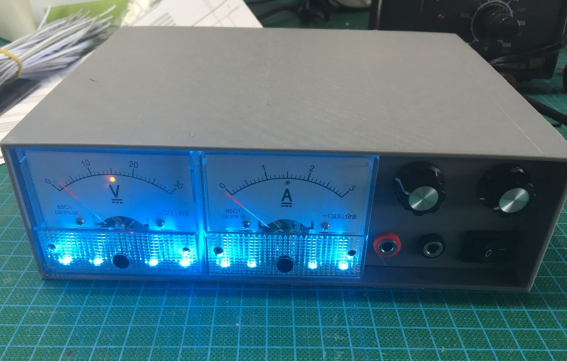
Conclusion:
Experience the seamless operation of your custom power supply unit, seamlessly transitioning between constant current and constant voltage modes. Noteworthy are the adjustable knobs, providing precision control and adaptability. Should these knobs prove challenging to fit, employ a milling cutter or handheld drill for a customized solution, ensuring a snug and secure integration.


