
Explore a comprehensive guide on constructing a state-of-the-art DIY spot welder using super capacitors. This guide emphasizes safety, efficiency, and user-friendly controls, making it an ideal project for welding enthusiasts.
Materials Needed:
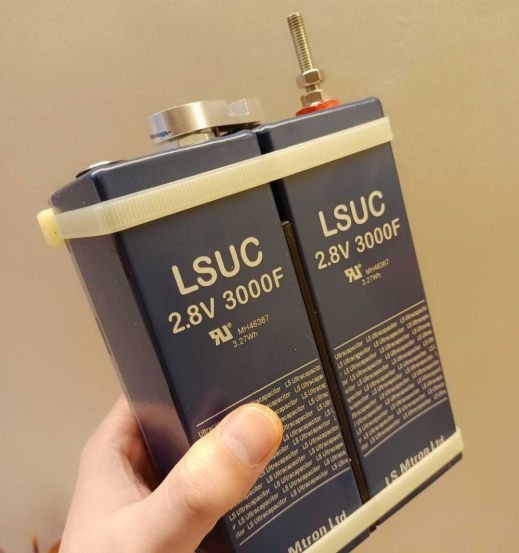
l Two super capacitors
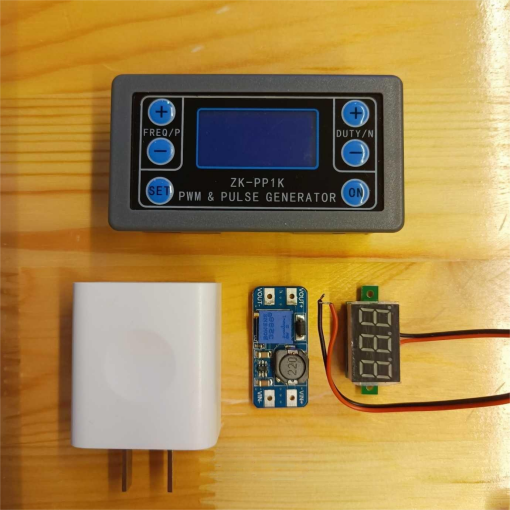
l One pp1k module
l One boost module
l One mobile phone charger (5V2A)
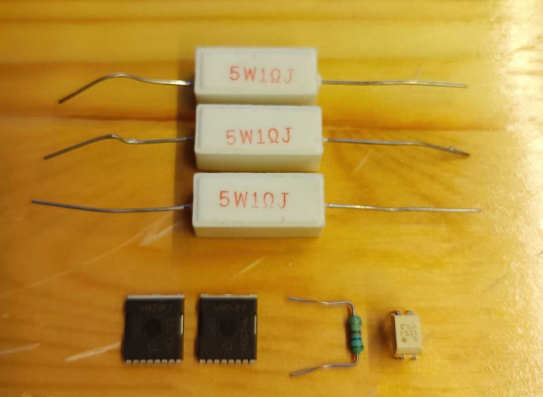
l Five resistors
l One optocoupler
l Two mosfets (mos4n04r7)
Power Supply Setup:
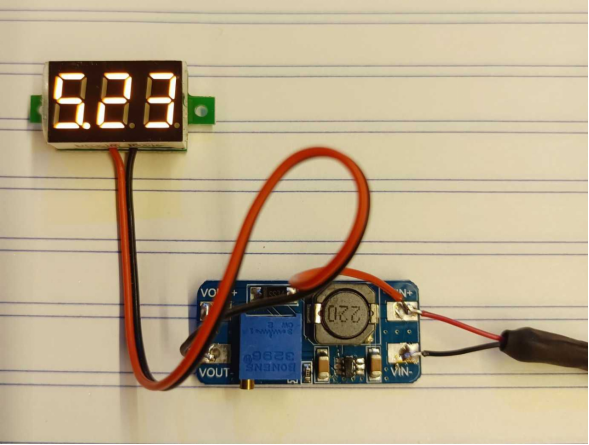
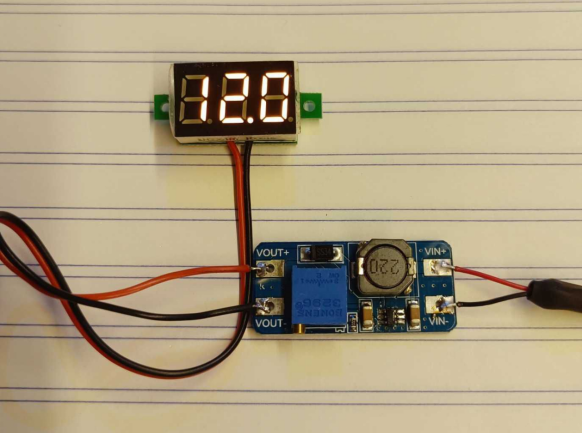
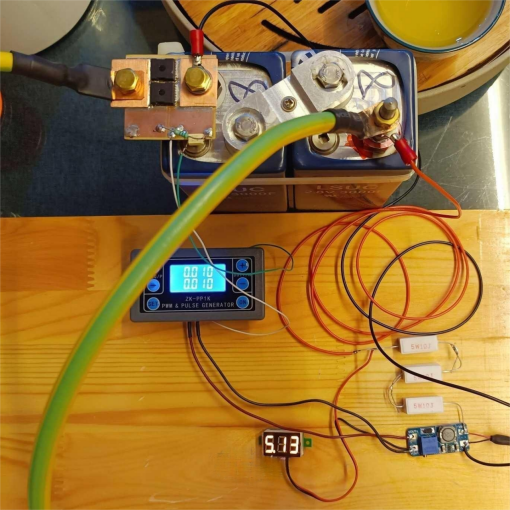
Begin by testing the charger voltage (5.23V) and adjusting the boost module to achieve a 12V output.
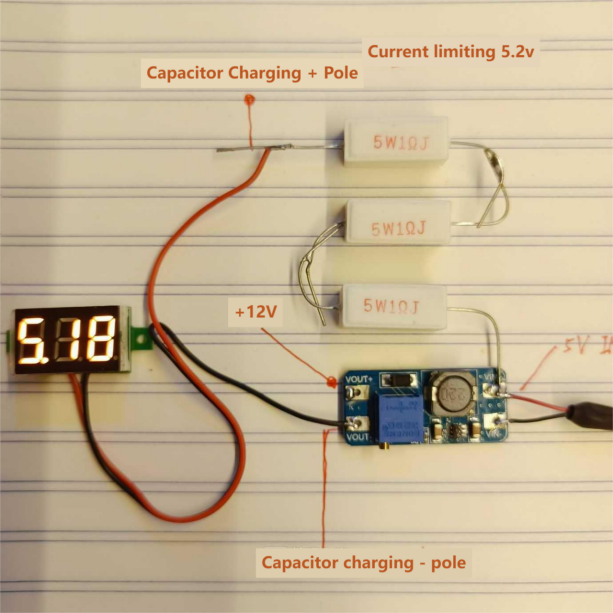
Connect the capacitor charging current-limiting resistor and ensure safety by using a charger with a voltage below 5.4V and an output capacity of 2A.
Welding Machine Control:
Effortlessly configure the pp1k module for welding control.
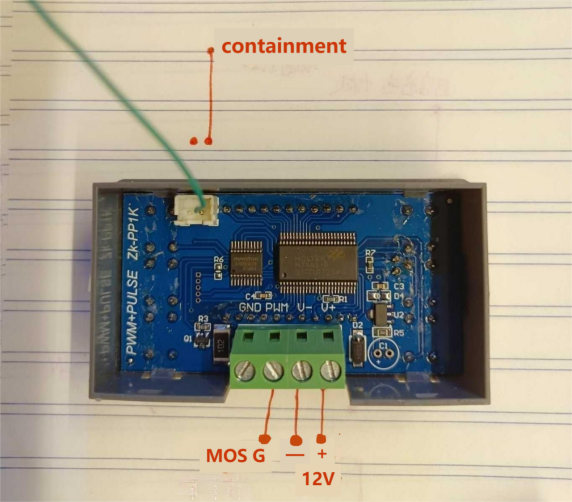
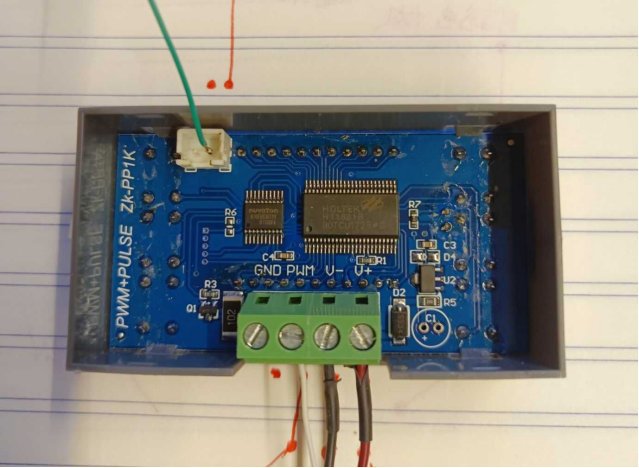
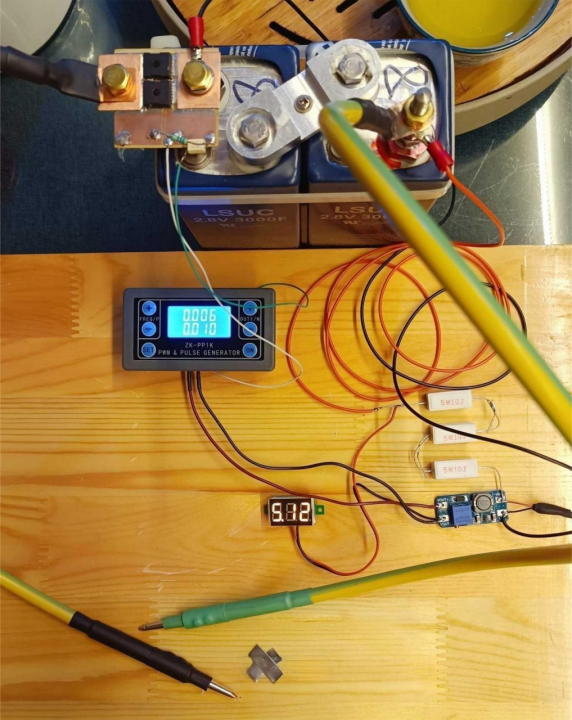
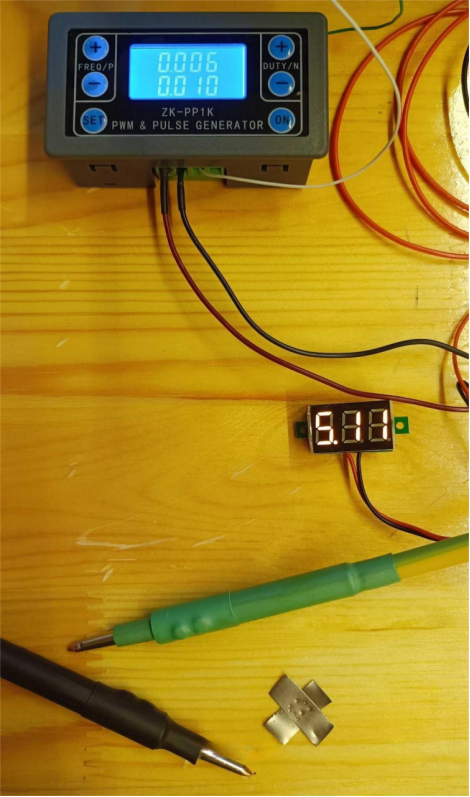
Enter pulse mode by long-pressing the "set" button for 6 seconds. Adjust pulse width (10ms) and pulse interval (10ms) using the +/- keys.
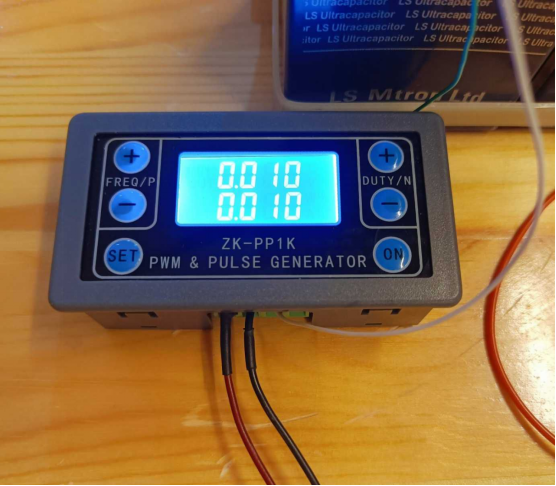
Navigate to page 2 for additional settings such as delay time and pulse repetition.
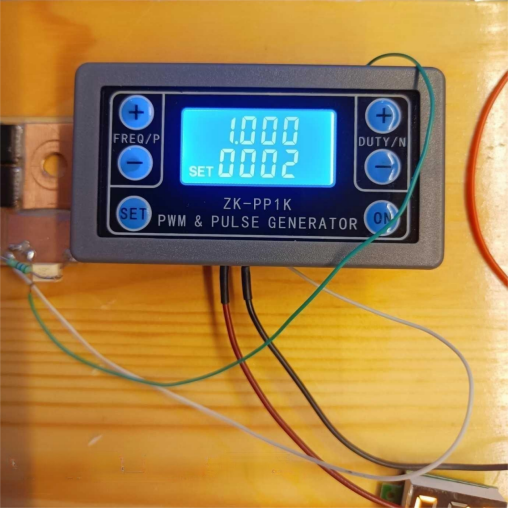
Mosfet Integration:
Select and connect the appropriate mosfets, such as mos4n04r7, and incorporate an optocoupler for optimal performance.
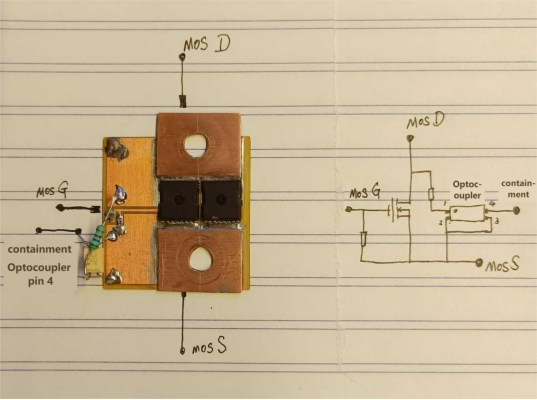
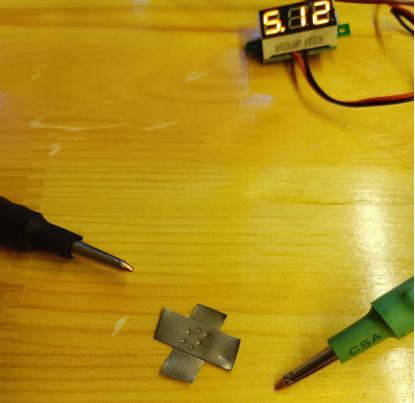
Follow the diagram to connect the modules, setting parameters like a 6ms pulse width, 10ms interval, and 2 pulses. Achieve success with a 1-second trigger delay.
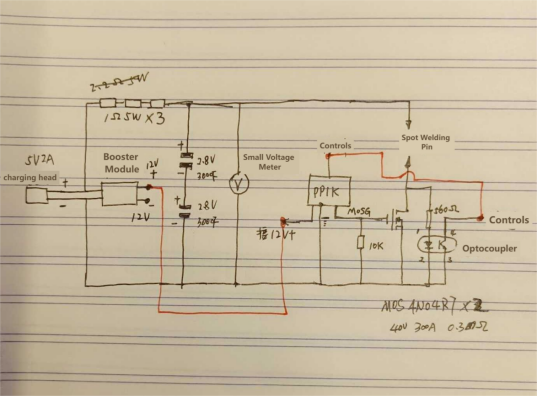
Conclusion:
Cap off your DIY spot welder project by considering long-term use. Include a balance module on the capacitor for extended durability and functionality. This detailed guide ensures a seamless construction process, combining safety, precision, and innovation for an efficient DIY welding solution.


