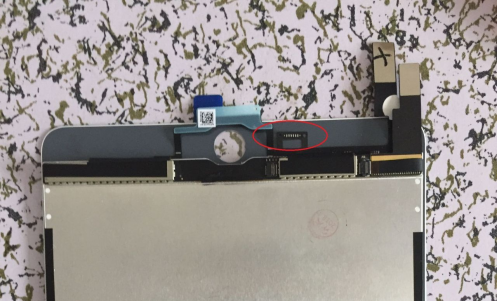
In the event of accidental damage to your Apple mini 4, if the device remains recognizable by the computer, consider attempting a repair. Acquire a responsive touch display, reshape and replace the back cover, and verify hardware integrity using iTools. Proceed by obtaining compatible accessories for the repair.
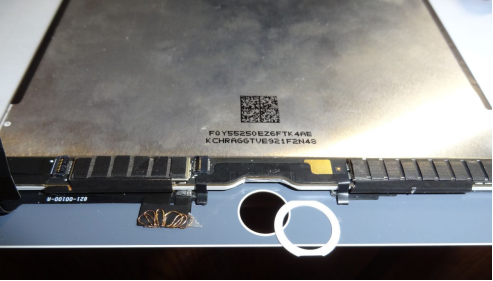
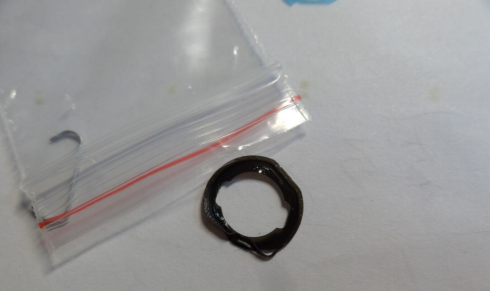
It is advised not to reinstall the white ring extracted from the original screen, as this may compromise the fingerprint button's functionality. Precise positioning using tweezers ensures concentricity for optimal performance.
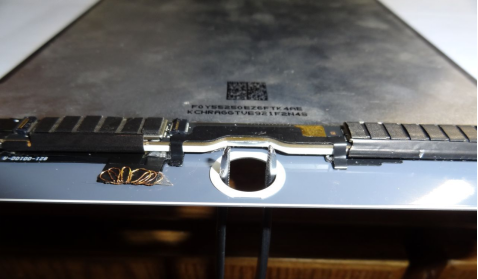
Upon successful reassembly, the appearance should reflect a seamless restoration.
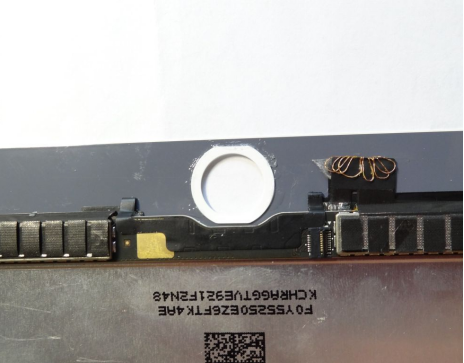
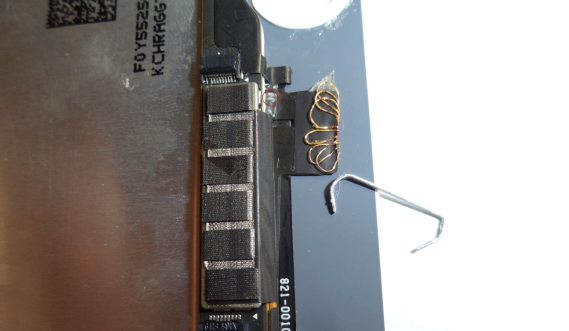
For the lock screen components removed from the original display, a meticulous soldering process involving six thin copper wires is required. The resulting soldered configuration is depicted in the image, with two red circles denoting the presence of two Hall sensors.
Should the rubber ring encapsulating the fingerprint button be compromised, replacement is imperative.
Installation of the fingerprint component should follow, securing the screen in place with double-sided adhesive.
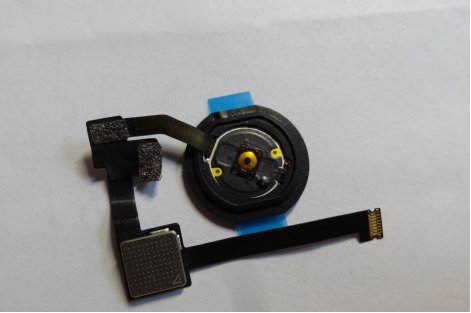
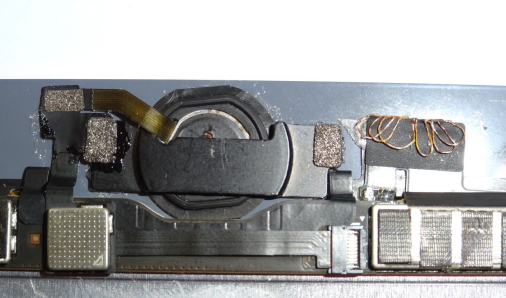
Ensure successful power-up by connecting the screen joints and affixing the joint press plate.
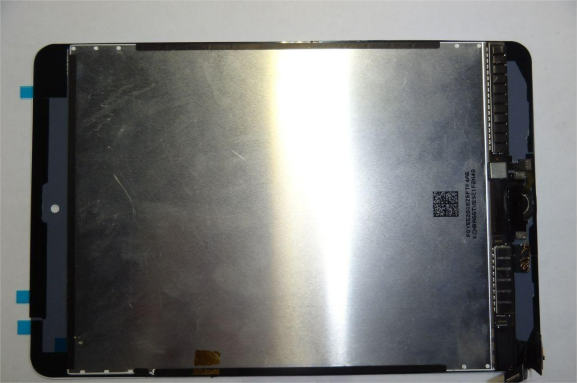
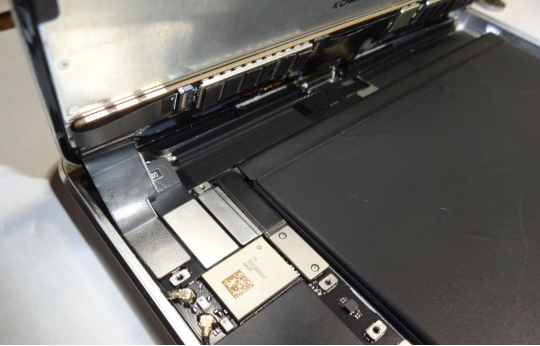
Caution is advised to position the screen against the speaker component to prevent damage to the screen cable.
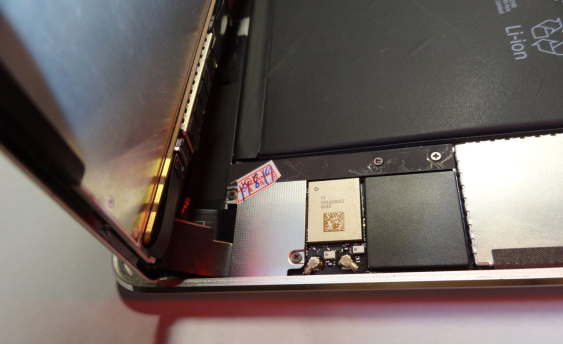
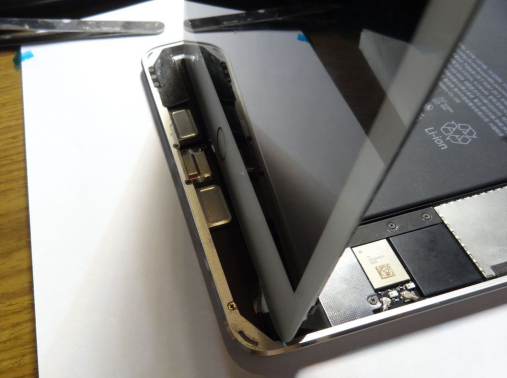
Confirm proper alignment, assess functionality, and enable the lock screen feature.

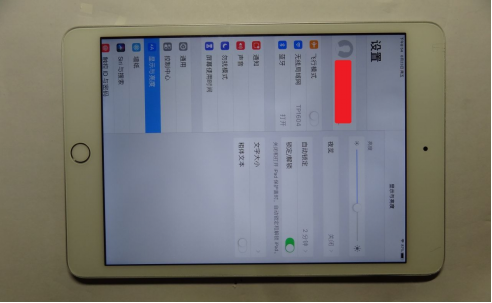
Enhance user experience and functionality by strategically placing two magnets in alignment with Hall sensors, as indicated in the provided image. This facilitates automatic screen deactivation upon magnet placement, with reactivation following magnet removal.
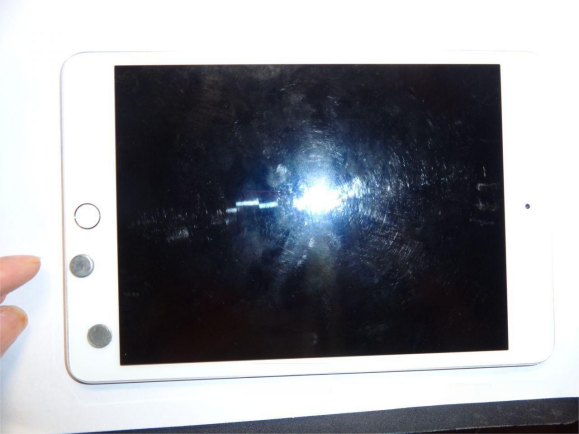
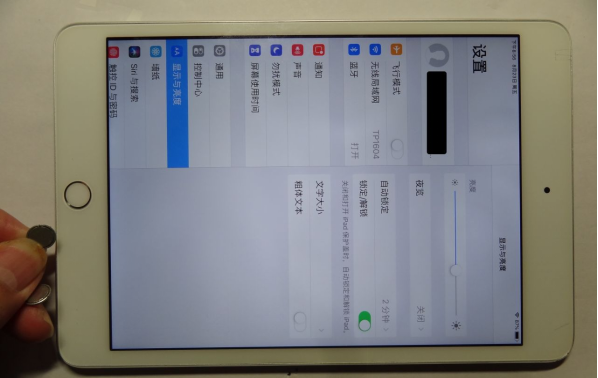
For further clarity, the six solder points corresponding to the lock screen sleep component are outlined within the red circles in the accompanying image.
