
Crafting a bespoke night light not only enhances nighttime convenience but also promotes optimal sleep conditions, fostering a cozy bedroom ambiance. This guide outlines the meticulous process of creating a high-quality bedside night light with a focus on efficiency, low flicker, and safety. Follow these step-by-step instructions to fashion a personalized and aesthetically pleasing addition to your home.
Step 1: Gather Materials
Begin by locating an unused earphone case for the base of your night light.
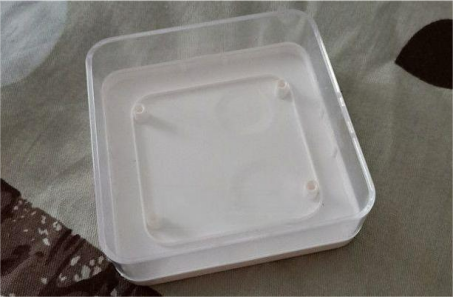
Step 2: Marking and Drilling
Precisely mark the plastic case based on electrical plug specifications and prepare for hole drilling.
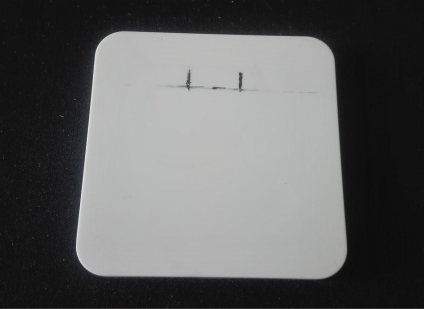
Step 3: Hole Creation
Using a heated steel needle from a sewing kit, carefully perforate the marked spots on the plastic case. Subsequently, refine the holes with a blade.
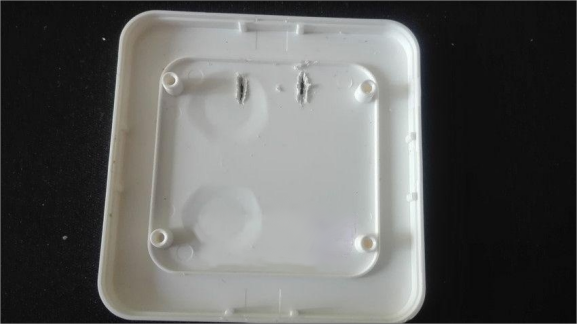
Step 4: Plug Core Preparation
Source an unused charger case, dismantle it to obtain the plug core, and fashion the tail into an L shape.
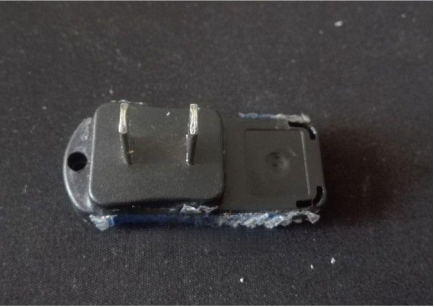
Step 5: Mainboard Assembly
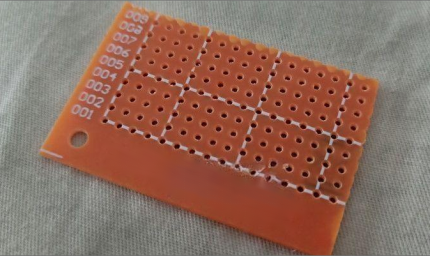
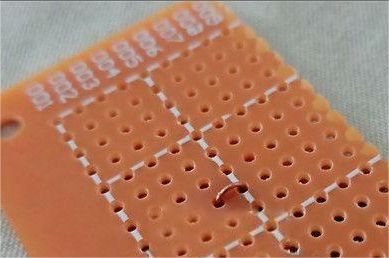
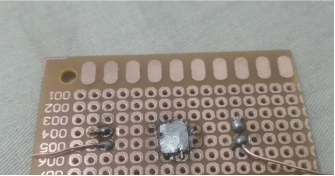
The core component, the mainboard, involves cutting a hole-filled board, threading a copper wire through, and soldering it for stability.
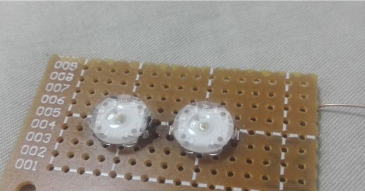
Attach OSRAM warm light LED beads, ensuring secure connections.
Step 6: Capacitor Installation
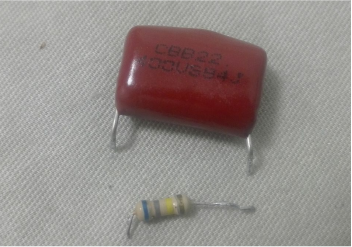
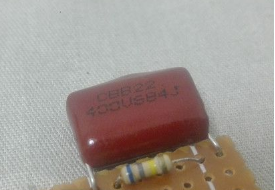
Incorporate a 0.68U400V, 680K capacitor onto the board for optimal performance.
Step 7: Diode Placement
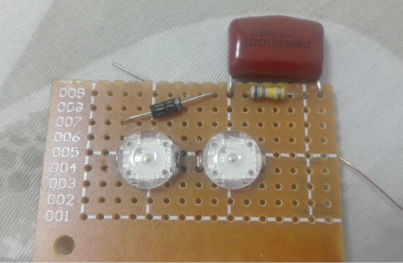
Strategically place diodes to complete the rectifier bridge.
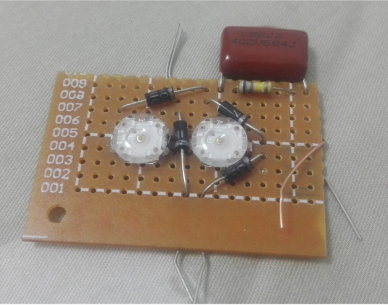
Step 8: LED Integration
Install LED current-limiting resistors and filter capacitors to enhance functionality.
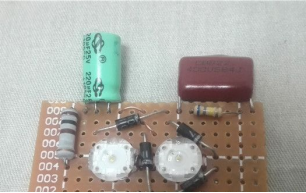
Step 9: Circuit Connection
Connect the circuit, solder wires, and trim excess components. Add a protective resistor to the 220 input terminal.
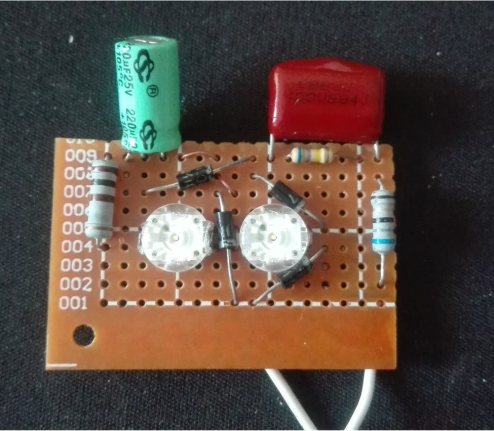
Step 10: Safety Measures
Ensure PCB reverse side cleanliness and necessary safety distance for accident prevention.
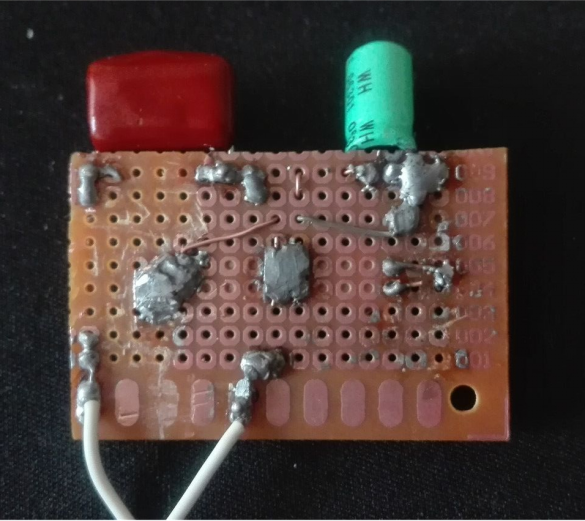
Step 11: Trial and Safety Check
Test the circuit without the cover for safety purposes, ensuring the lighting effect meets expectations.
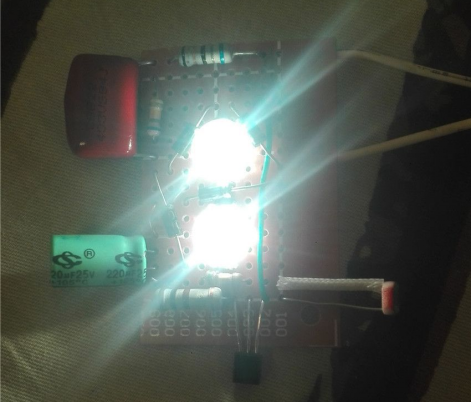
Step 12: Plug Integration
Connect plug pins, insulate with heat shrink tubing, and securely fix them in the reserved socket.
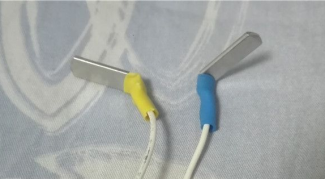
Step 13: Mainboard Placement
Apply strong glue to the earphone case pillars, align and affix the mainboard, ensuring centralized light source positioning.
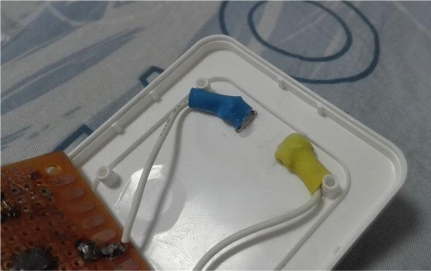
Step 14: Decorative Touch
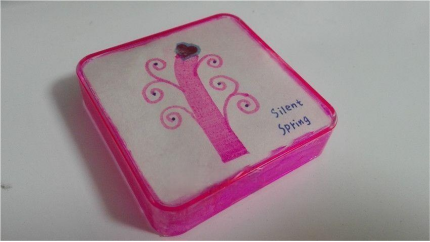
Enhance the transparent cover aesthetically with a colored marker and add a white paper layer for a soft light effect.
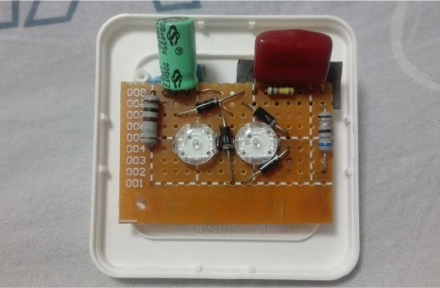
Step 15: Heat Dissipation
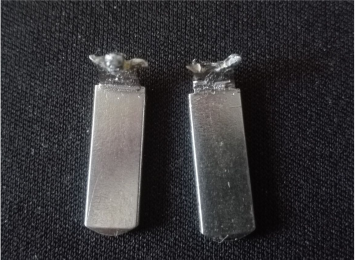
Although the OSRAM LED beads are low-heat, being white light LEDs, they can still overheat when enclosed for long periods. To enhance heat dissipation, cut two small aluminum pieces into heat sink shapes and apply thermal grease.
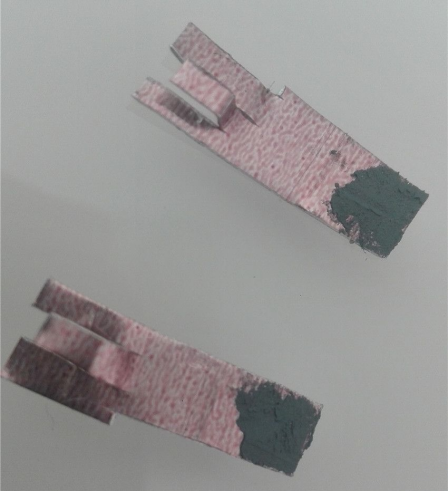
Insert the heat sink forcibly under the LED beads, fix it with strong glue, raising the beads to maintain good contact with the circuit.
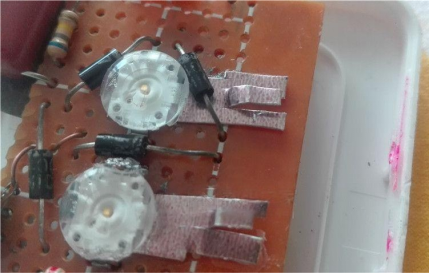
Step 16: Final Assembly
Use strong glue to reattach the lampshade, completing your custom night light. Evaluate the lighting effect.
Nighttime Illumination Showcase
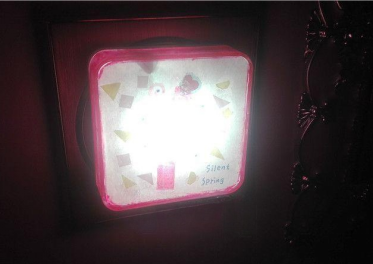
Capture the enchanting lighting effect for a visually appealing presentation.
Explore this comprehensive guide to create your personalized night light, striking the perfect balance between functionality and aesthetics. A friendly reminder: prioritize safety throughout the DIY process to ensure a secure and enjoyable crafting experience.


