
If you've been diving into STM32 microcontroller lately, consider trying your hand at crafting a learning board for studying the SPI protocol. Also, take a shot at sketching the peripherals of the STM32 microcontroller, laying a solid foundation for better circuit design in the future.
Process:
1. Photosensitive method for circuit production:
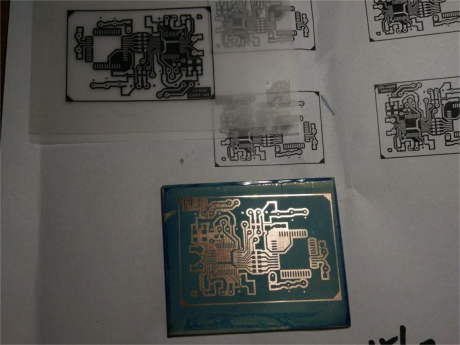
When applying ink, be mindful of cleaning off dust to avoid potential damage to specific areas of the circuit. Although it might cause minor disruptions, it generally doesn't affect functionality.
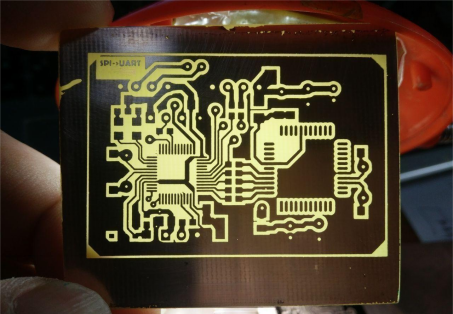
2. After etching:
· Drill holes.
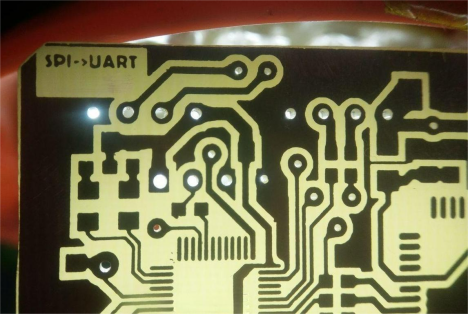
· Apply rosin.
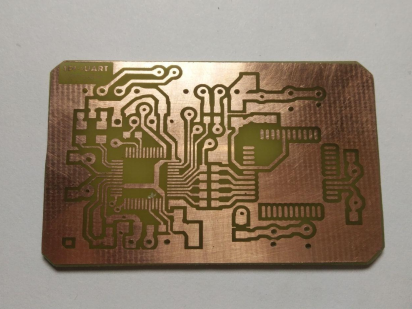
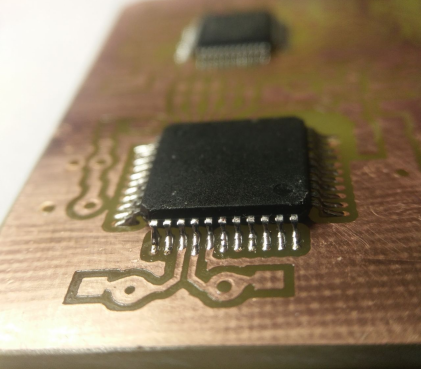
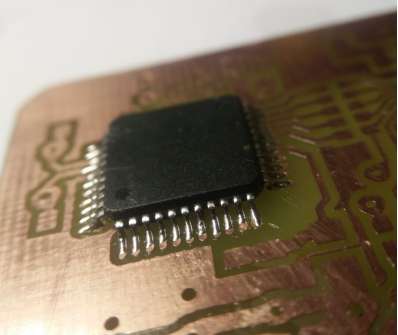
3. Initiate the STM32 microcontroller soldering.
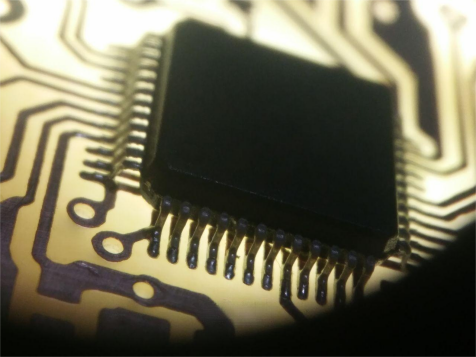
The packaging is quite compact:
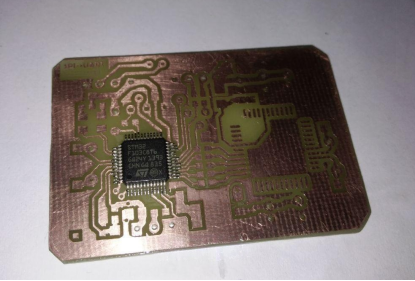
Pay attention to pin details.
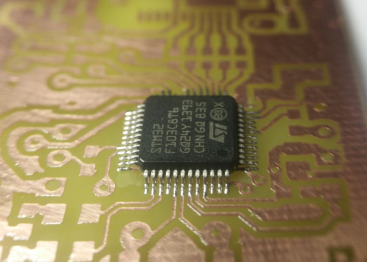
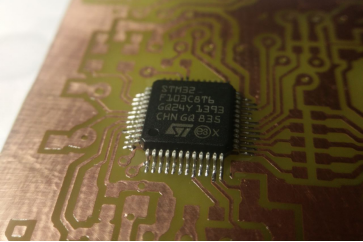
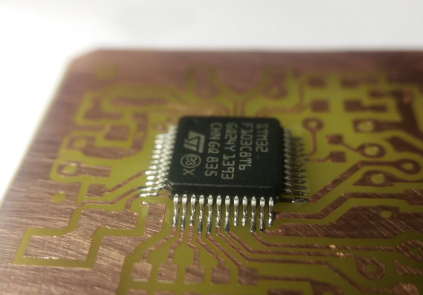
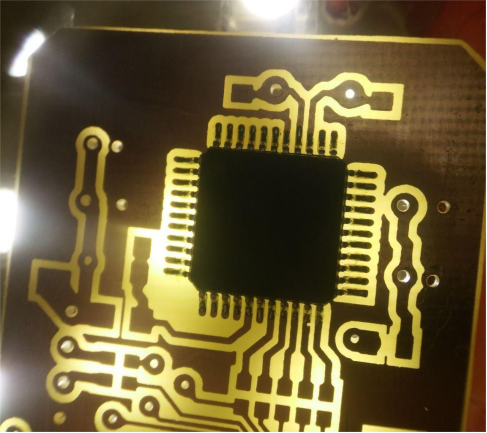
4. Backlight check - ensure there's no adhesion issues.
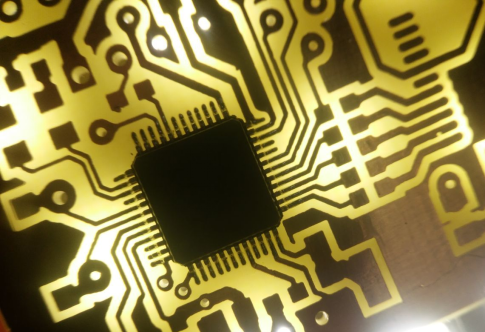
When soldering, be cautious about the temperature.
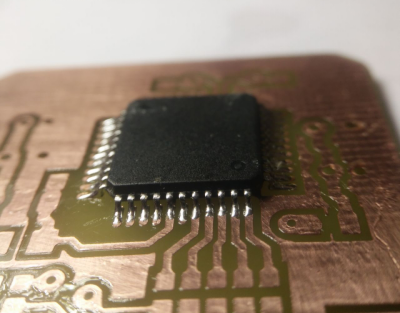
5. Solder another microcontroller:
This chip is larger, making the soldering process easier.
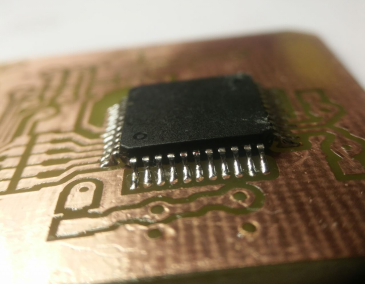
6. Effect under backlight:
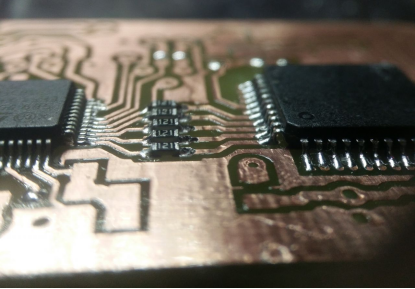
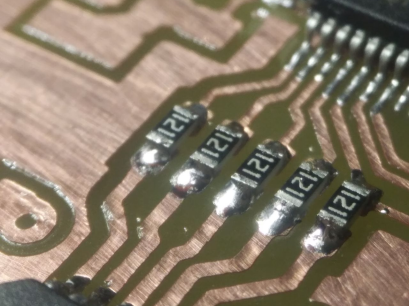
Proceed with soldering smaller components, starting with resistors mostly in the 0603 package.
7. Add connecting wires.
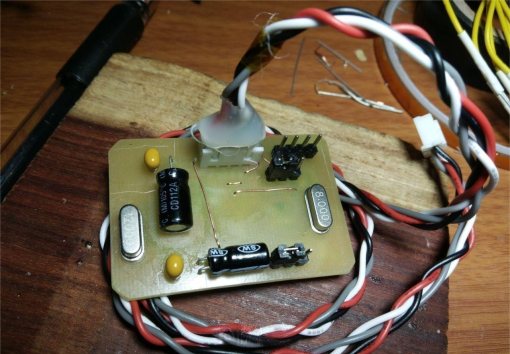
8. After alcohol cleaning, apply a thin layer of rosin.
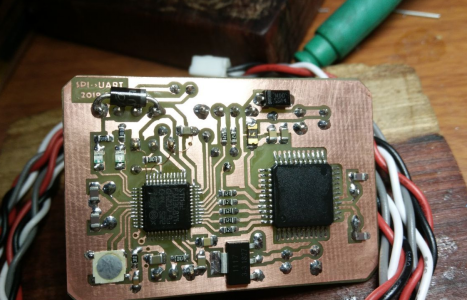
The board is now complete.
Note: In the images, the orientation of the STM32 chip is soldered in the wrong direction. When doing it yourself, be careful not to solder it the wrong way, as it won't connect to the computer once completed. Additionally, after correcting the orientation, there's a power supply on one side of the STM32 microcontroller that isn't drawn; a jumper wire is needed to remedy this. This is the successful version of the board.


