
In the quest to infuse warmth into shadowy rooms and evoke positive emotions with just a glance, embark on a do-it-yourself project to create a tender night light. The following comprehensive guide outlines each step with clarity and precision.
Materials Needed:
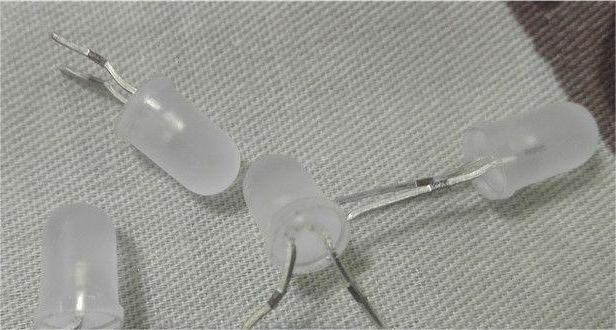
Several Pink LEDs, Perforated Board, 47uF Capacitor, 15-ohm Resistor, Abandoned LED Light Strip (for a miniature bridge rectifier), Tiger Pliers, Insulating Paper, Universal Glue, White Adhesive Tape, 502 Adhesive, CBB Capacitor (0.1uF, 400V), 2.2 Megohm Resistor, Charger Case (for repurposing)
Step-by-Step Instructions:
1. LED Placement:
· Cut a small piece of perforated board.
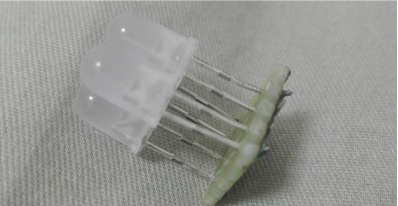
· Insert four pink LEDs into the corners.
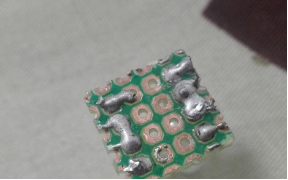
· Solder the pins, ensuring correct polarity.
· Connect LEDs in pairs.
2. Add Capacitor and Resistor:
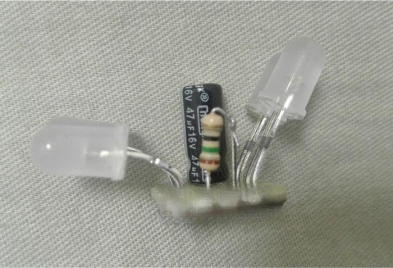
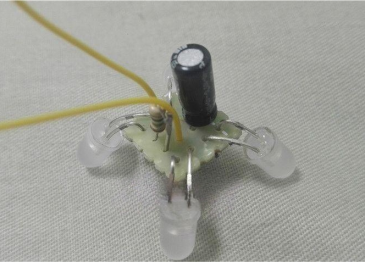
Integrate a 47uF capacitor and a 15-ohm resistor into the circuit.
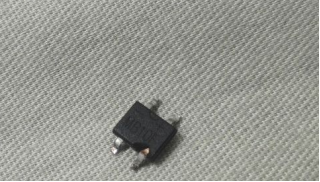
3. Bridge Rectifier Assembly:
Disassemble a miniature bridge rectifier from an unused LED light strip.
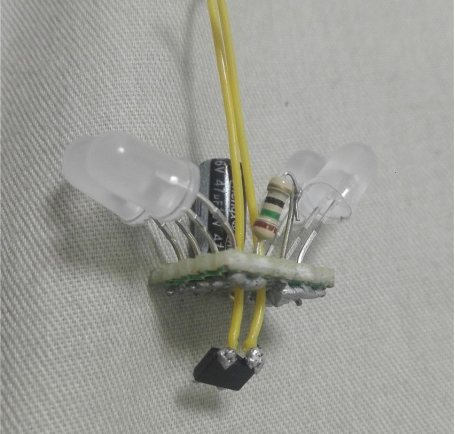
4. AC Wiring and Integration:
Connect the AC wire and integrate the bridge rectifier onto the perforated board.
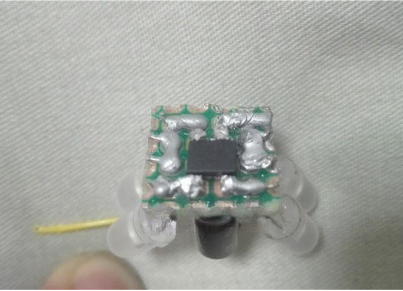
5. Careful Soldering:
Solder the bridge rectifier onto the solder pads of the filtering capacitor.
6. Component Arrangement:
Observe the side view to ensure a compact and organized layout.
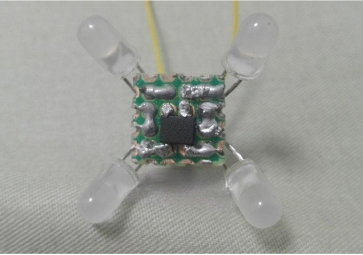
7. Completion of Light Board:
Marvel at the final appearance of the assembled light board.
8. Resistance-Capacitance Voltage-Dropping Component:
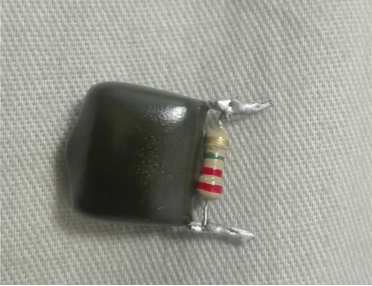
Extract a CBB capacitor (0.1uF, 400V) and add a 2.2 Megohm resistor from an abandoned energy-saving lamp ballast.
9. Charger Case Repurposing:
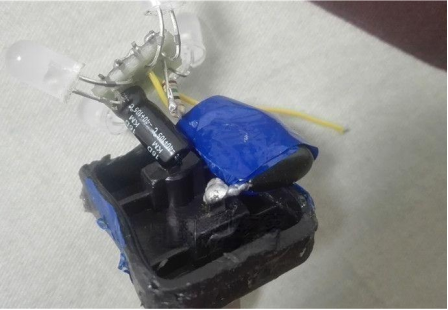
· Cut the plug section from an old charger case.
· Connect wires from the light board to the charger case, considering insulation.
10. Insulation and Gluing:
· Insert insulating paper between plug and light board.
· Connect the other AC plug foot with a 10-ohm resistor to the light board's remaining wire.
· Secure the components with universal glue, ensuring insulation to prevent short circuits.
11. Final Touch:
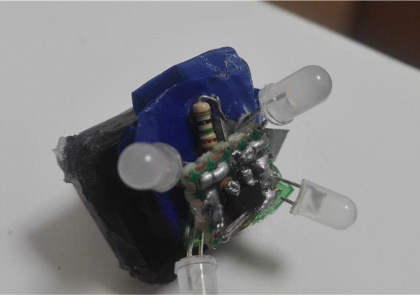
Apply a strip of white adhesive tape to affix the light board to the plug.
Seal both ends with 502 adhesive.
12. Soft Light Diffusion:
· Use pliers to remove LED heads for better light dispersion.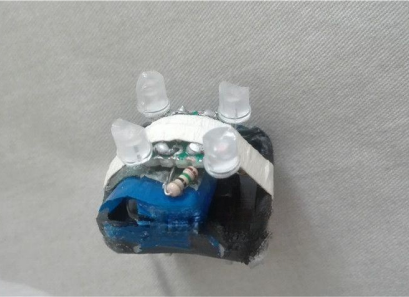
· Plug it into the socket, and it lights up when powered on:
13. Encasing in Frosted Plastic:
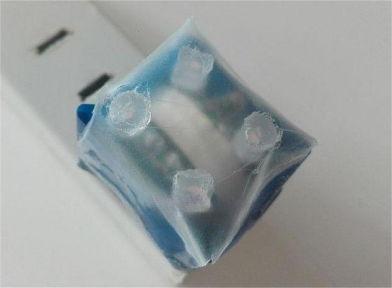
· Insulate the surroundings of the light core with electrical tape, then stick a layer of plastic film as a soft light film (the heat generated by the resistance-capacitance voltage-dropping is minimal, so there's no need to worry about heat dissipation):
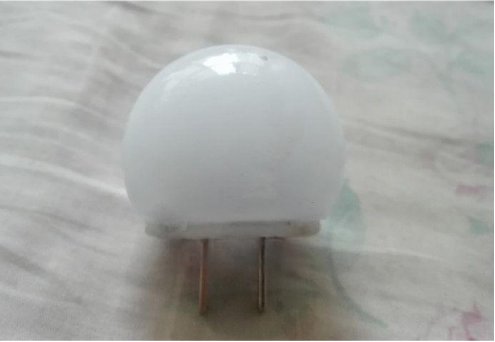
· Find a frosted plastic case, cover it, wedge the plug into the opening of the plastic case, and securely fix it with strong glue. The night light is complete, and here's the finished appearance:
14. Project Completion:
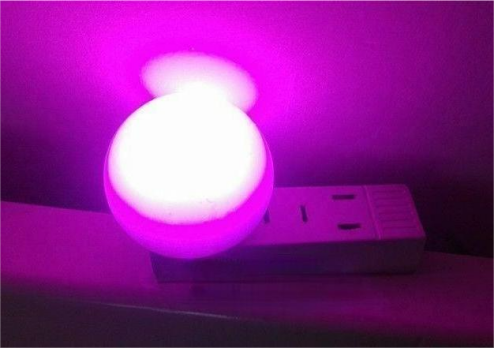
Plug it into the power strip, turn it on, and you can feel the warmth even through the screen:
15. Circuit schematic:
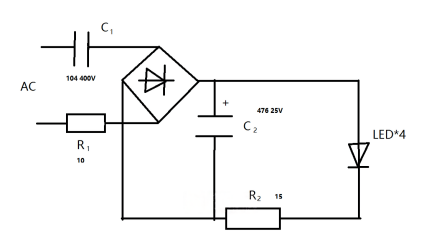
Whether it's day or night, this little gadget stays lit without worrying about wasting electricity, with a power consumption of only 90mW, much lower than the 200-400mW of typical power strip indicator lights.


