
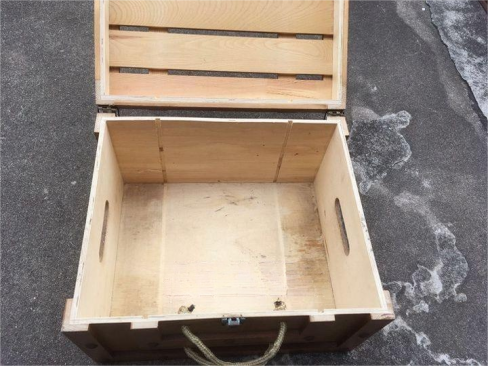
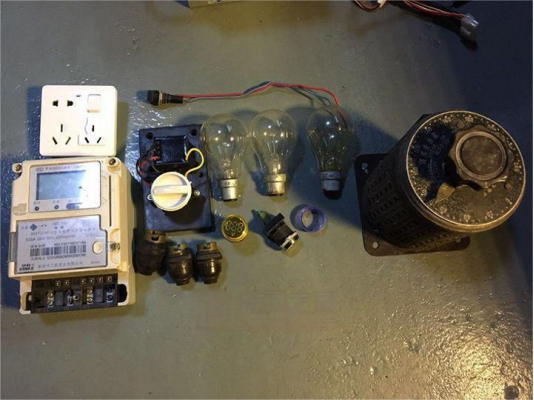
Transform your unused wine box into a state-of-the-art multi-functional maintenance socket with this comprehensive DIY project. Enhance your capabilities by incorporating a smart voltmeter, voltage regulator, light bulbs, lamp holders, and a fan speed controller.
Key Features:
· Voltage Regulation: Achieve precise output voltage control (0-250V) with a visible display.
· Testing Capabilities: The five-position rotary knob allows direct access to a testing socket, enabling accurate measurement of AC current and power using a smart voltmeter.
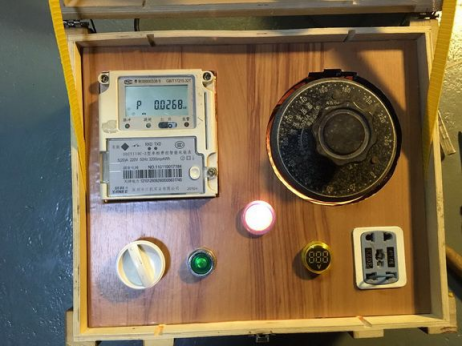
· Variable Light Bulbs: Positions 2-5 are connected to 25W, 60W, 100W, and 150W light bulbs respectively, facilitating experimentation with different power switch power supplies. The central observation hole indicates the status of the bulbs.
Step-by-Step Process:
· Prepare a series of plug sockets with lights for the foundation.
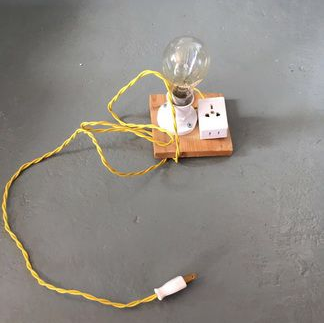
· Cut out a panel from a piece of scrap wood.
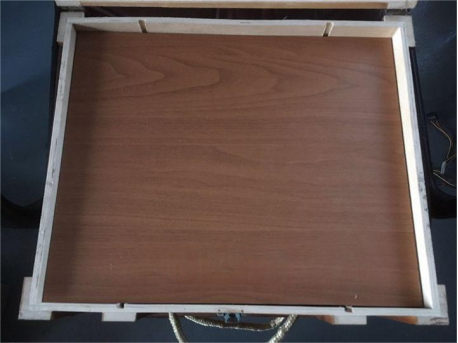
· Drill precise holes for components, ensuring accuracy for optimal functionality.
· Use spare pieces of board and putty to rectify any misaligned or oversized holes. Sand the surface and apply PVC wood grain paper for a polished finish.
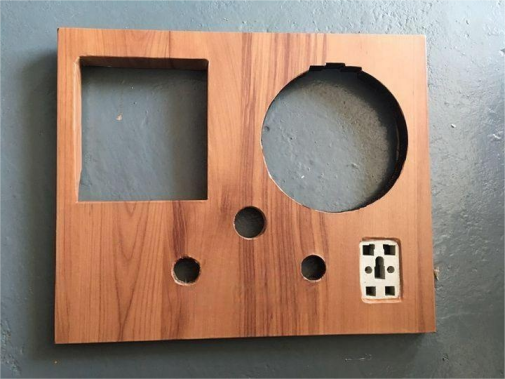
· Utilize drawer slides for added reinforcement.
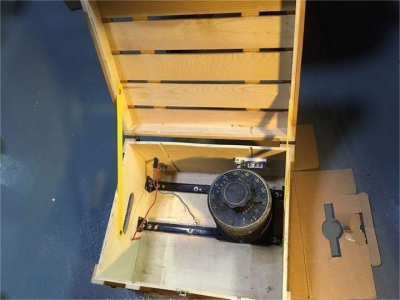
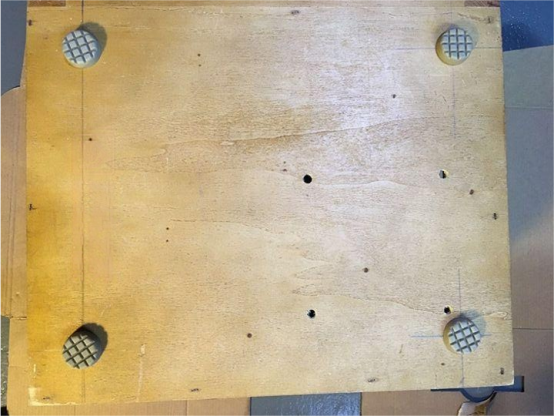
· Install feet to enhance stability.
· Execute meticulous internal wiring for seamless functionality.
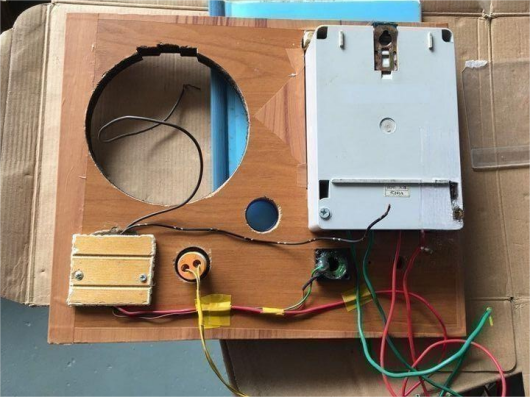
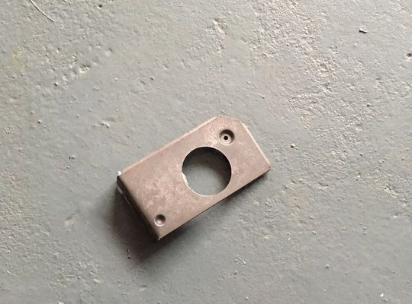
· Craft a durable lamp holder using thin sheet metal.

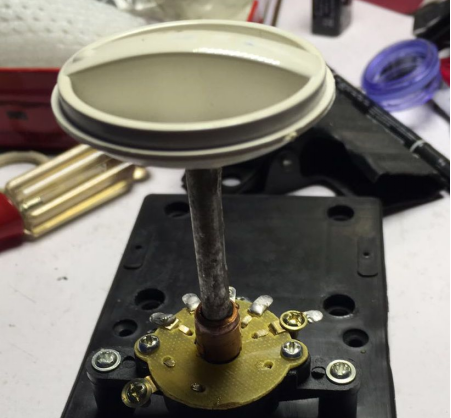
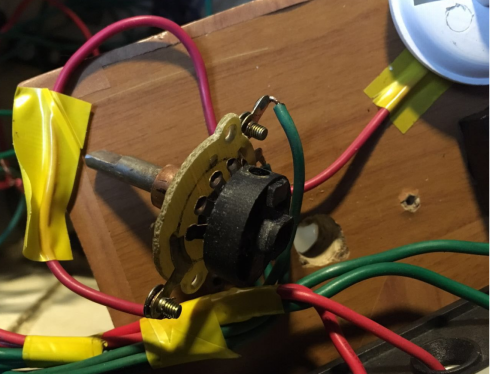
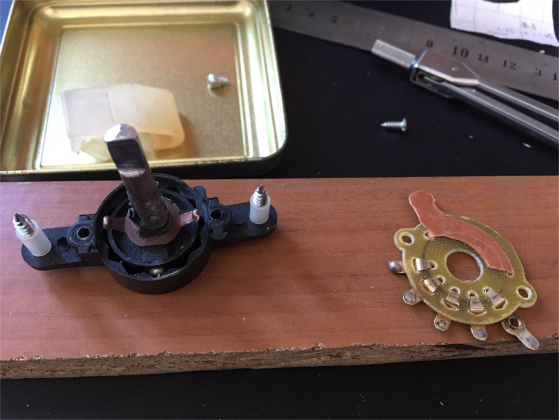
· Modify the fan speed controller selector switch, considering the thickness of the panel by lengthening the shaft.
Post-Completion Testing:
· Power on and switch to position 1; observe the illumination of the green power indicator light.
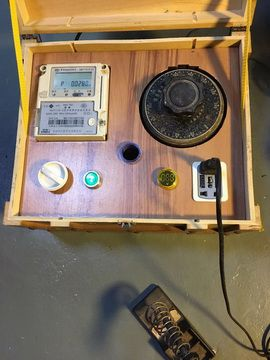
· Activate the rear voltage regulator switch and smoothly adjust the voltage. Images demonstrate the adjustment to 110V output.
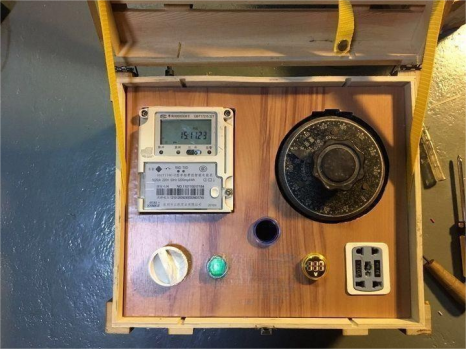
· Plug in a 30W soldering iron for practical testing.
· Simulate short circuits in power supply by turning to positions 3, 4, 5. Observe the bulbs' bright illumination and the panel's green indicator light dimming.
Experience the culmination of these features and functionalities, meeting and exceeding the expectations set during the production process. This DIY project promises enhanced capabilities and a versatile maintenance solution.


