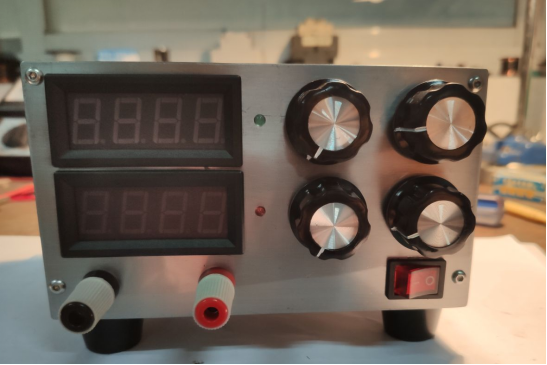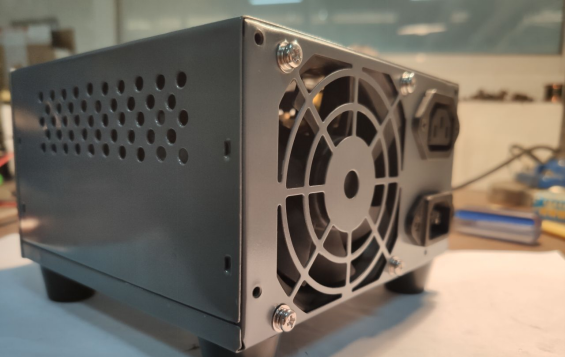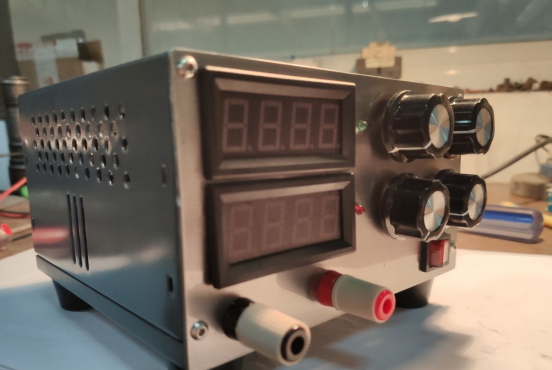
If there Construct an adjustable power supply model inspired by a black knight, employing an ATX power supply casing for streamlined enclosure production. Craft the control panel by precision drilling and subsequent refinement with a file.

The chosen ATX power supply casing is integral to the project.
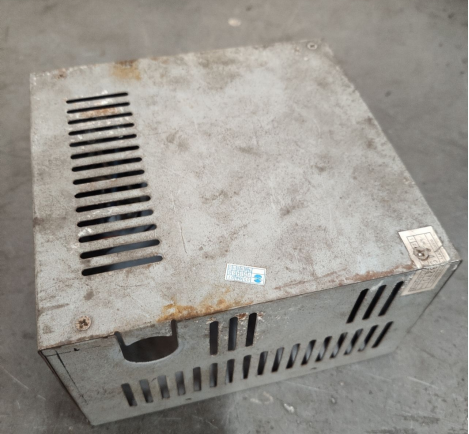
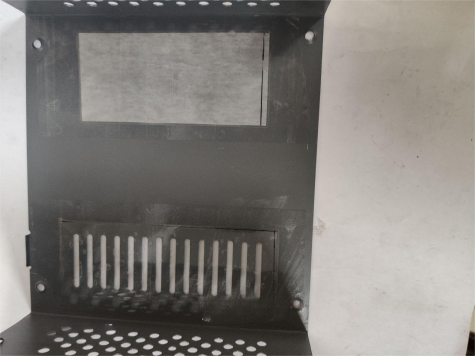
Strategically drill panel holes for alignment with designated positions and introduce ventilation openings along the cover's side.
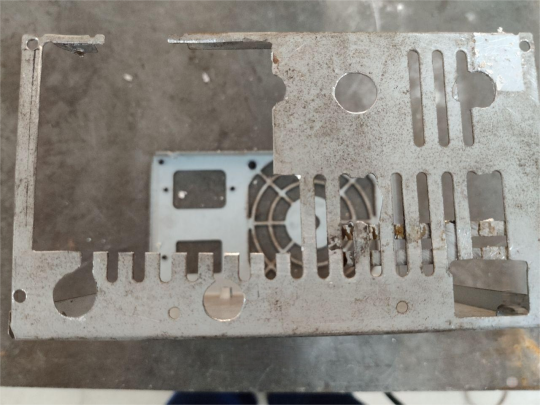
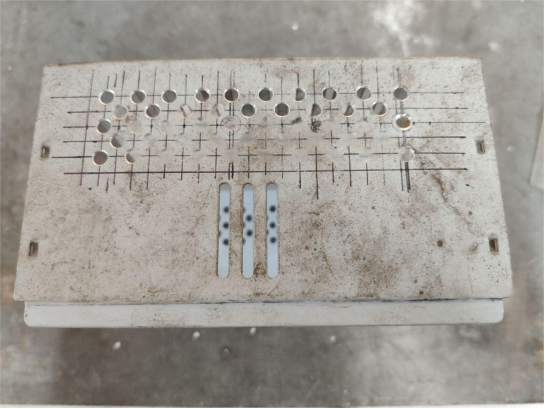
Improve the aesthetics and longevity of the assembly by applying a durable coat of paint to the enclosure and a high-gloss finish to the panel.
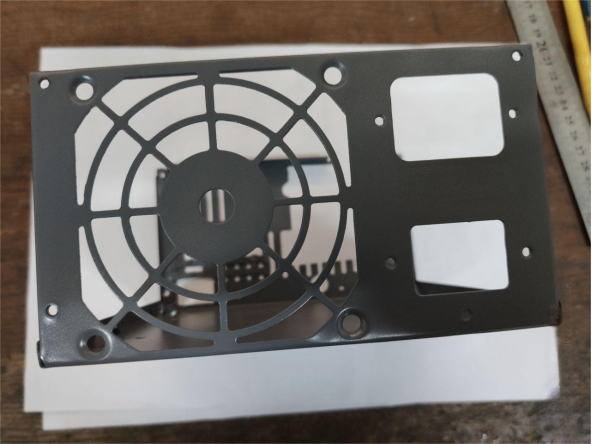
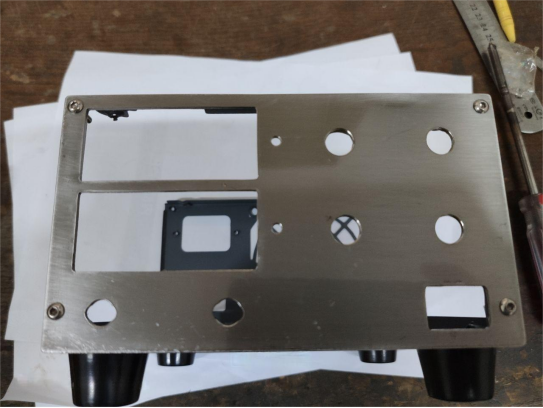
To facilitate clear identification of polarity on terminal nuts lacking color indications, a solution is proposed using self-spray paint in red and black.

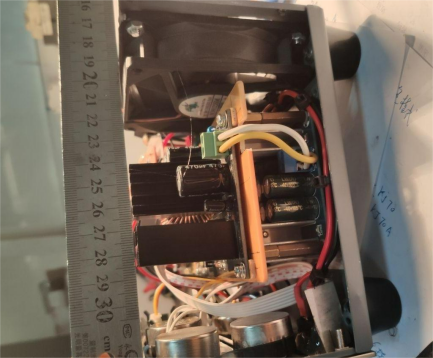
Acknowledging spatial constraints, opt for a modularized approach in the amalgamation of distinct board modules.
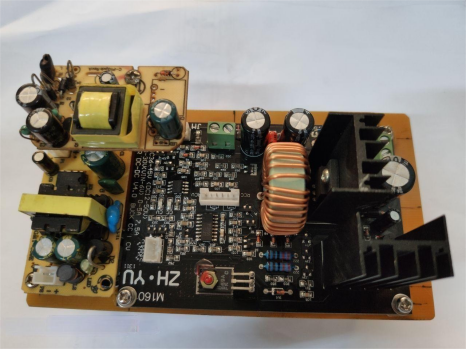
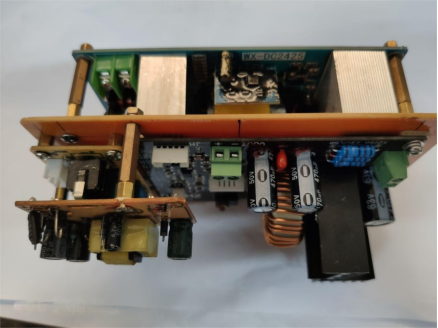
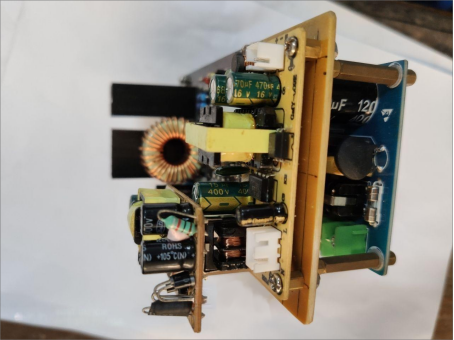
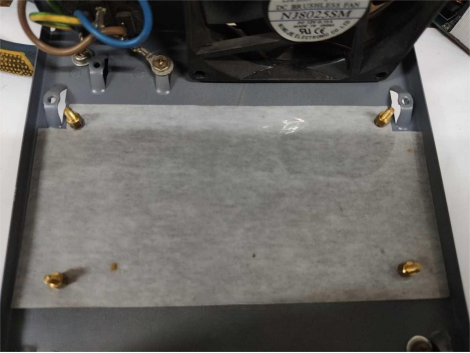
Commence assembly by introducing an insulating paper foundation at the base.
Enhance functionality by affixing a temperature control switch to the secondary rectifier heatsink on the power board for efficient fan regulation.

Optimize spatial limitations by creating a 1.5mm recess in the epoxy board above the main filter capacitor on the power board.
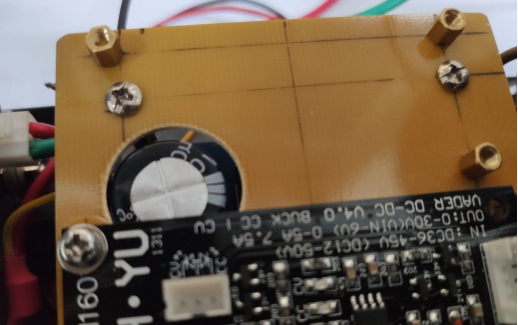
In lieu of the impractically tall 5mm copper pillars, employ a more fitting 2mm epoxy board for secure fixation of the black knight power board.
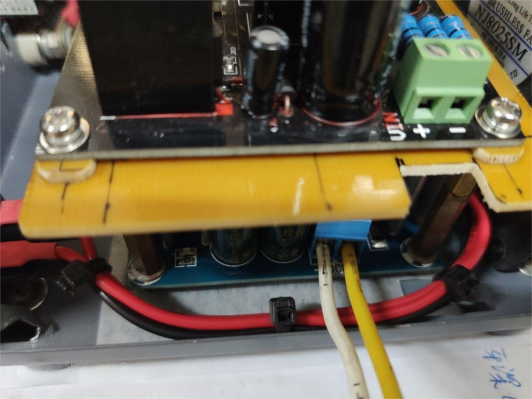
Implement two auxiliary power supplies, a 12V variant for powering the fan and digital voltage meter, and a 5V source derived from a repurposed phone charger for the digital current meter. Employ insulating paper as an added precaution beneath the power board.

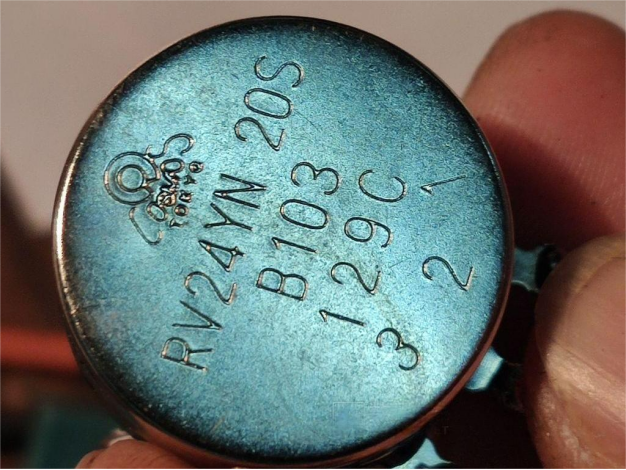
Improve user experience by adopting a coarse adjustment + fine adjustment approach for the potentiometer, utilizing an RV24YN20S potentiometer with a 10K coarse adjustment and a 1K fine adjustment.

Address the 1.5mm gap between the black knight board's heatsink and the cover through strategic sealing with a transparent hard film and the application of insulating paper.
Demonstrate functionality by incorporating a 12V light bulb and utilizing a resistor wire as a load.
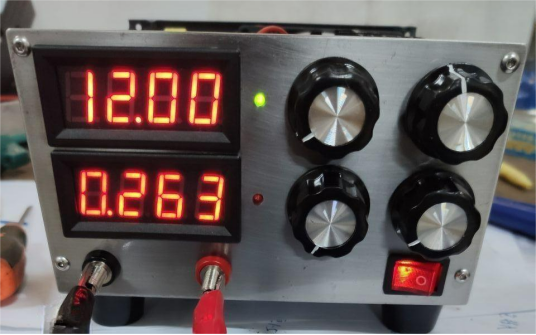
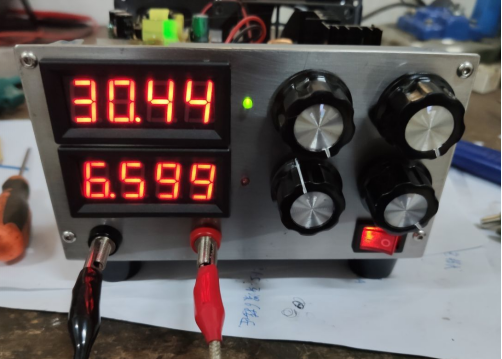
Completion marks the successful assembly of the black knight-inspired adjustable power supply, blending functionality with a sleek design.
