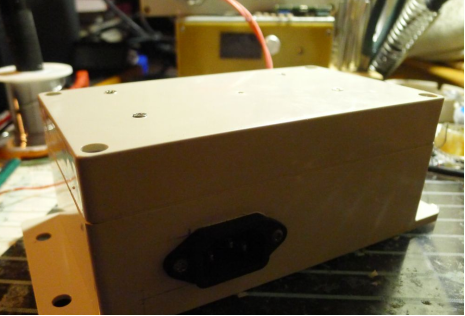
How to DIY a desktop charging dock? If you have multiple devices to charge, and the chargers are not universal, it can be inconvenient to search for them when needed. In that case, you can create a desktop charging dock. Placing it on the living room table, it has a substantial size, making it difficult to move, and it's convenient without the risk of misplacement.
You can use several UP9616 power modules for charging. UP9616 supports QC2.0/QC3.0/PE+1.1/PE+2.0 And FCP, with a wide voltage range of 8-32v, and it has a simple peripheral circuit, making it easy to use.
Here are the steps:
· Prepare a plastic box for the project.
· Use a laptop power supply for the main power source.
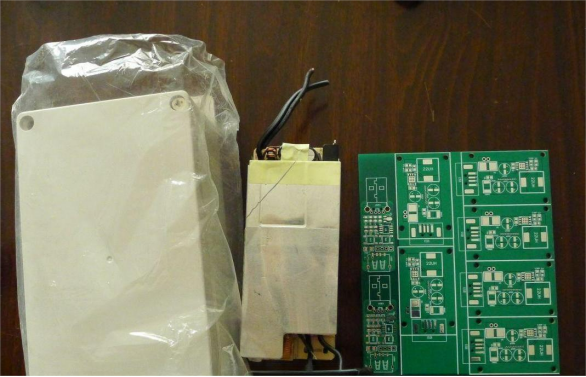
· Assemble the PCB, then cut it into the required size.
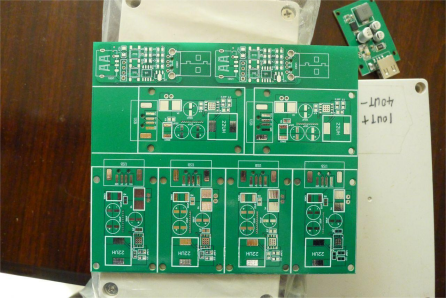
· Detach and solder the components onto the PCB.
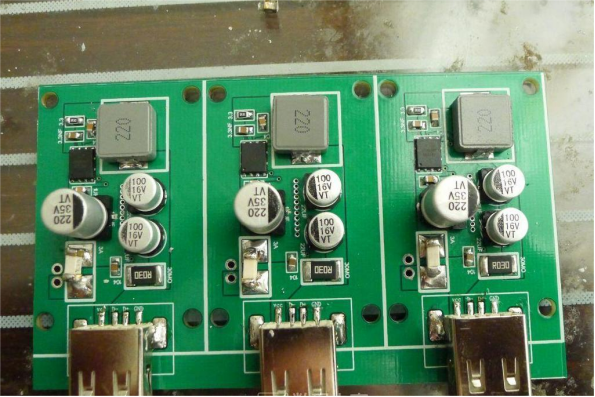
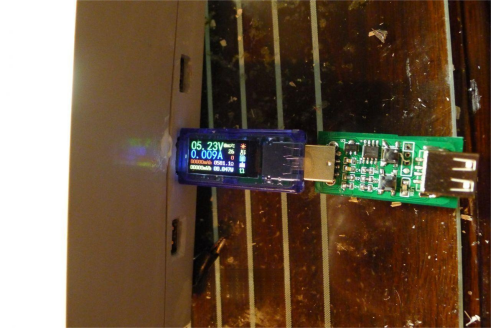
· Test the setup for the first time using a Samsung NOTE4.
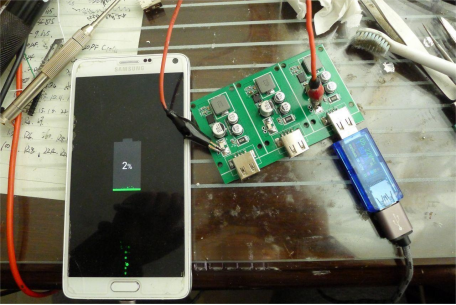
· Ensure the current is normal.
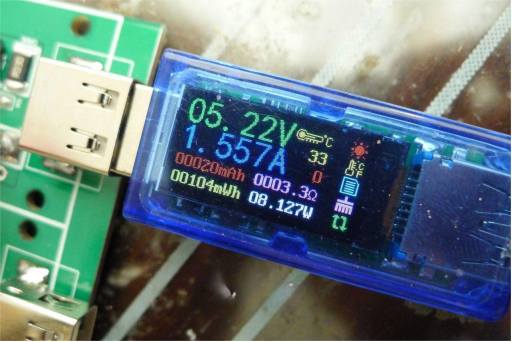
· Use a multimeter to test the voltage of the three channels.
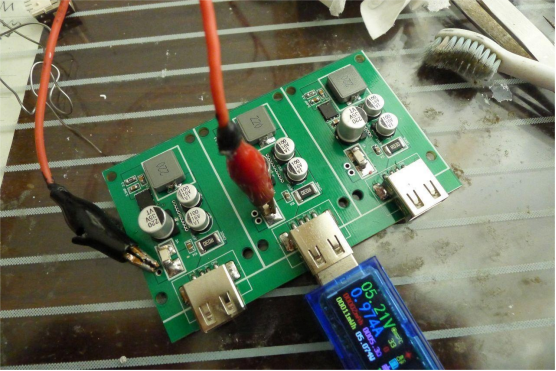
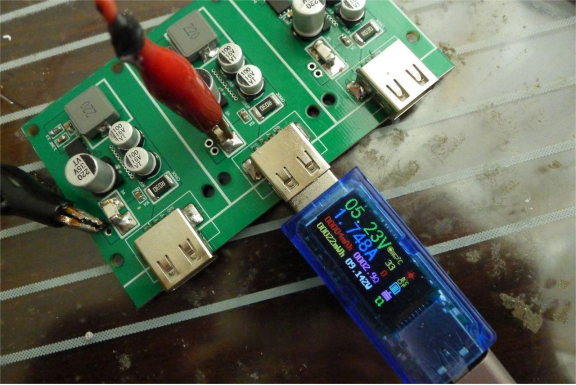
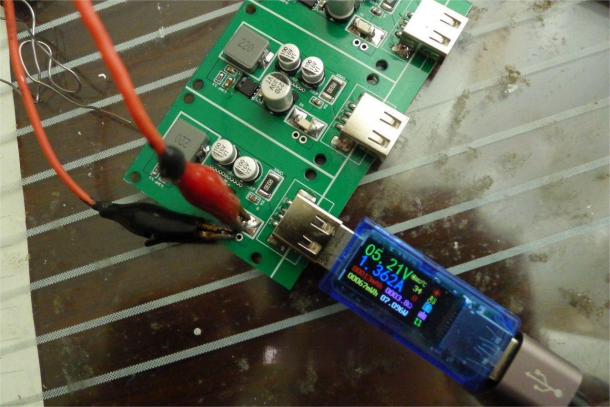
Next steps:
· Assemble the components into the plastic box.
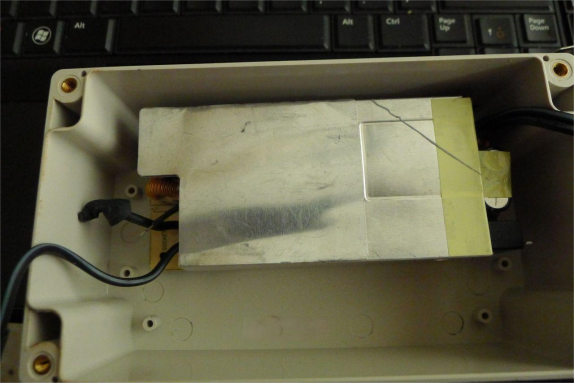
· Use a stainless steel clip for stability. If the clip hole is too large, you can weld a nut and then secure it tightly.
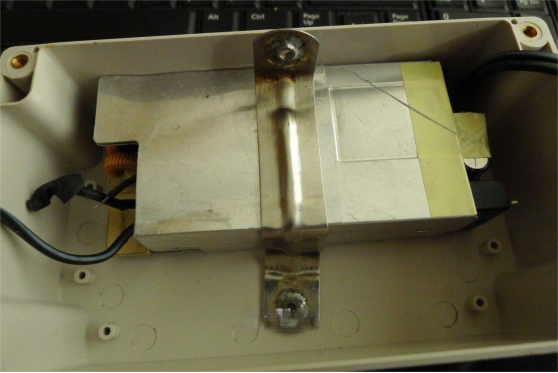
· Install a power outlet, preferably from a laptop power supply with a Y capacitor and a 3-wire setup for safety.
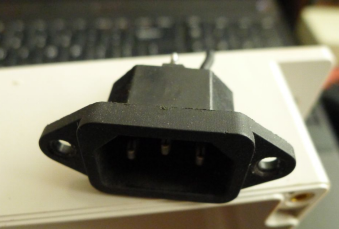
· Install the power socket securely.
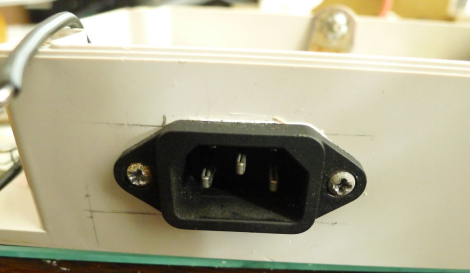
· Use heat shrink tubing to partially cover the high-voltage components. Apply insulating material like 703 for extra insulation.
· Test the output for normal functionality.
· Attach the fast charging board to the top cover.
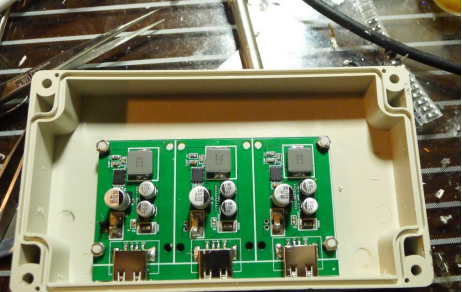
· Make necessary openings in the cover.
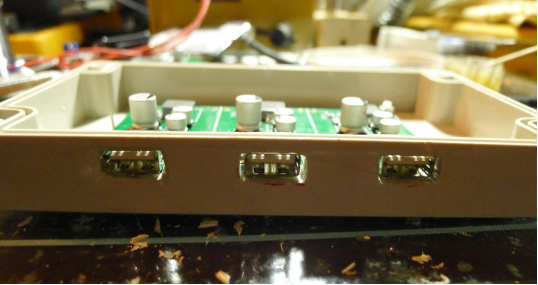
· Secure the components and solder the power input lines.
· Install the outer casing and perform a final test to ensure everything is functioning correctly.
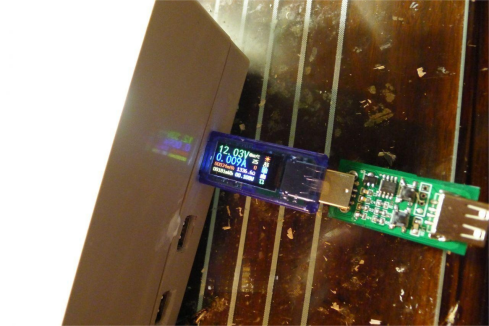
The completed desktop charging dock is ready for use.
