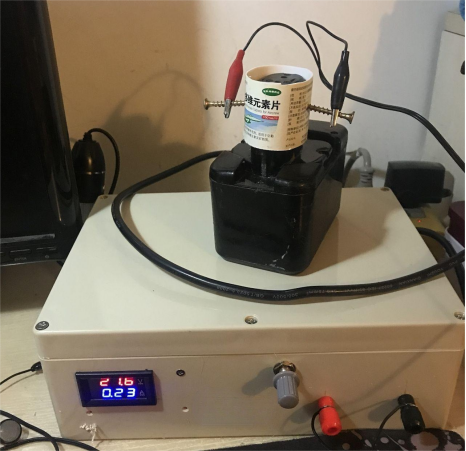
To commence this project, it is imperative to procure the necessary components from online sources and subsequently assemble a versatile DC power supply with an adjustable range spanning from 4 to 26 volts. The comprehensive details of this assembly are as follows:
Device Name: Variable DC Power Supply
Voltage Output: 4-26V DC
Current Output: Maximum 8A (Non-adjustable)
Display Features: Voltage and Current Indicators
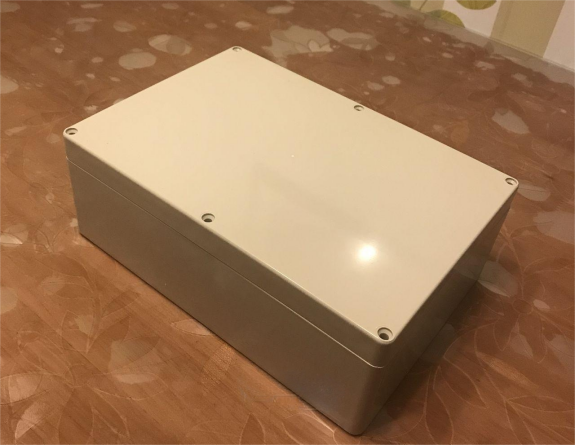
Material Components: Casing, AC-DC Power Supply, DC-DC Module, Dual Display Unit (Voltage-Current), Terminal Block, Potentiometer, Assorted Wiring, and a Pair of Alligator Clips.
Casing Composition: PVC Rainproof Outer Shell
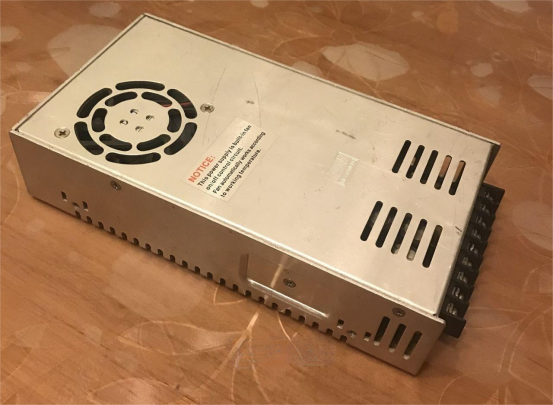
Power Supply Specifications:
Voltage: 27V DC
Power Rating: 350W
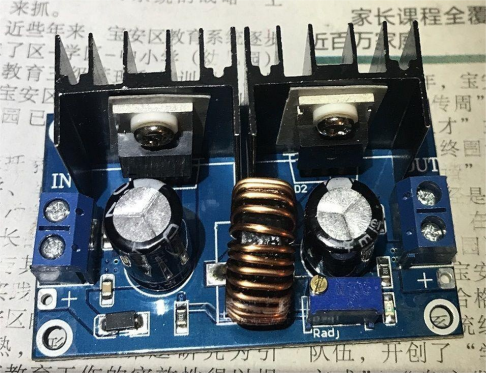
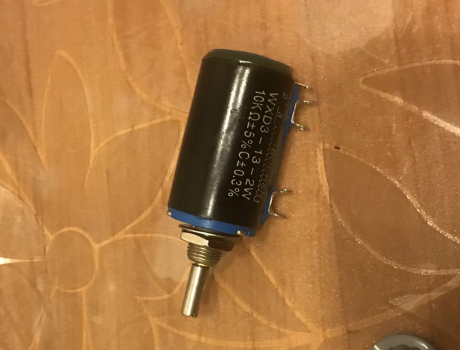
The DC-DC module, with an adjustable feature facilitated by a small potentiometer, is upgraded to a multi-turn configuration.
The built-in fan, operational with the power supply, incorporates temperature control for optimal functionality.
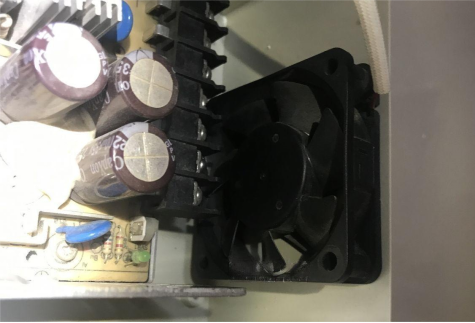
The initiation process involves the creation of openings for the display unit, followed by meticulous design considerations for the fan section, aligning with the original metal panel mold.
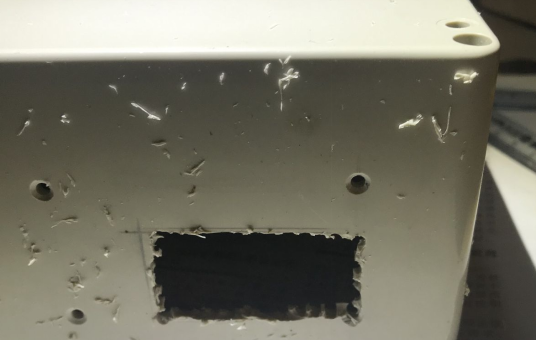
Ensuring a secure fixation of the fan, openings on the opposite end are crafted to establish a horizontal heat dissipation channel.

Upon completion of these steps, meticulous wiring connections are established. A noteworthy challenge in this process is the replacement of the DC-DC voltage regulation board's potentiometer, given the constrained size of the aperture. In such instances, leveraging the solder points of the two fixed resistors above proves to be a viable solution.
The final phase involves a comprehensive overview of the assembled unit, paving the way for a systematic power test.
The adjustable voltage feature and the accurate display of current are verified during this phase. Subsequently, the charging functionality is subjected to rigorous testing.
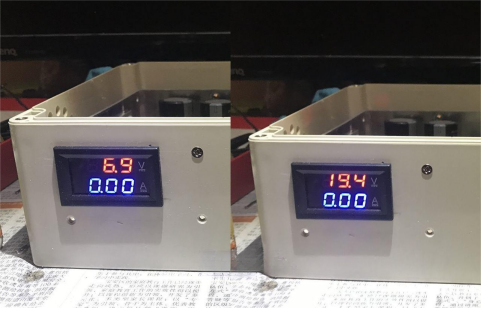
With these meticulous steps executed, the final product stands as a testament to the successful completion of the project.
