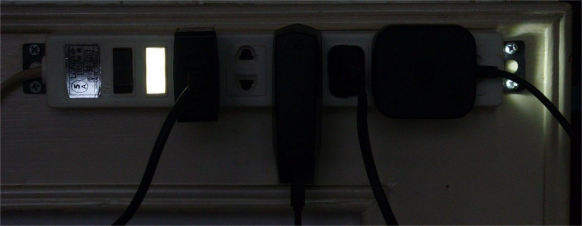
Using high brightness of the night light in the bedroom can affect sleep. It can be modified to reduce brightness, but it needs to occupy a socket. And a bedside needs a multi-outlet power strip for devices like phone chargers and bedside radios used at night. Power strips mostly have indicator lights, so you can replace the original indicator-only LEDs with high-brightness LEDs for night light use. This way, the night light doesn't occupy a socket, doesn't need to consider LED driver issues, doesn't increase additional power consumption, and achieves the function with the simplest means.
This is an old power strip that has been idle for a long time, with five two-pin sockets and one three-pin socket, which is perfect for current two-prong chargers.
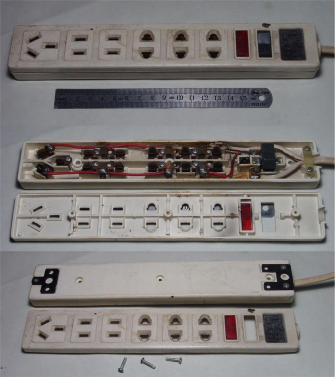
The plastic rocker switch of the power strip has a cracked and chipped cylindrical part underneath, but the damaged part is still intact. The internal hardware is still thick and elastic, but the shape is somewhat deformed and needs to be corrected.
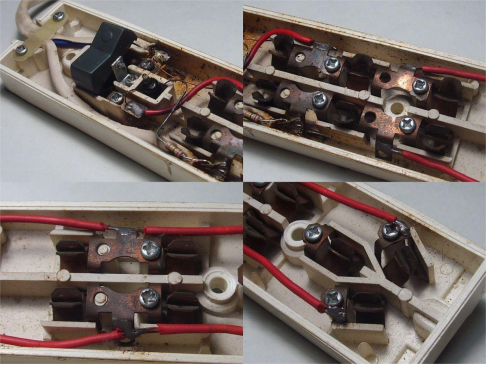
Remove all parts. Clean the casing. Use 502 adhesive to glue back the damaged rocker switch part, then wrap it tightly with wire core. Then solder a layer of tin with a soldering iron on the outside to embed the wire core into the plastic part to prevent loosening.
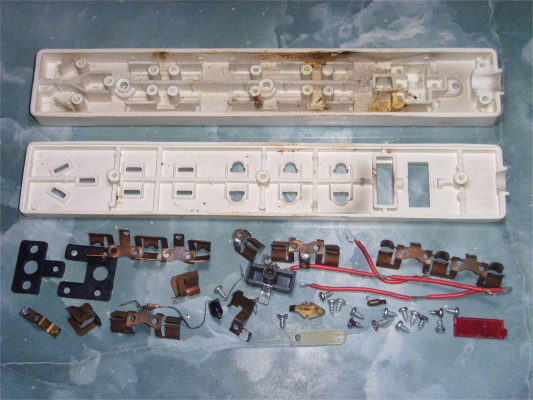
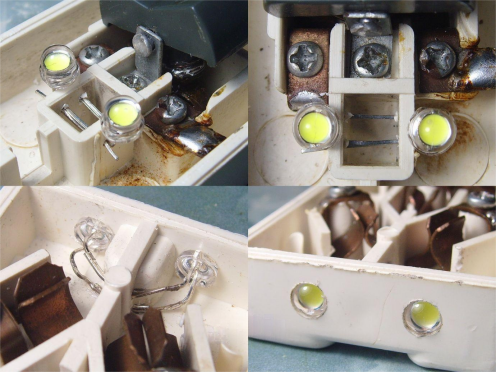
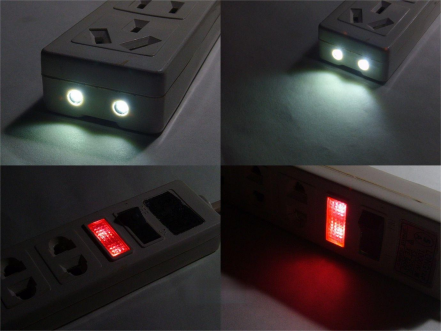
After both the switch and the hardware are processed, reinstall all into the lower shell. The switch tests normal, and the plug tests the insertion and extraction force of the hardware is appropriate. Drill small holes in the reinforcing ribs at the original indicator light position, fix two 5mm straw hat LEDs on them, and connect the LED pins in reverse parallel. Drill two 5mm holes at the non-outlet end of the power strip and install two LEDs, fixing the LED pins with internal reinforcing ribs of the bottom shell in the same way, also in reverse parallel.
According to the relationship of two groups of LEDs connected in reverse parallel and then in series, and then in series with a 120K/1W resistor, connect with appropriate wires and connect to the 220VAC circuit after the switch, and test normal.
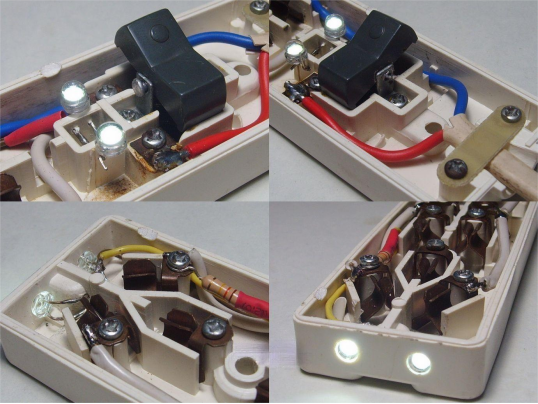
Sometimes only one of the two LEDs connected in reverse parallel in the picture emits light. This is because the two LEDs light up alternately. If the shutter speed is higher than 1/50s when taking a photo, only one LED will be "seen" at that moment.
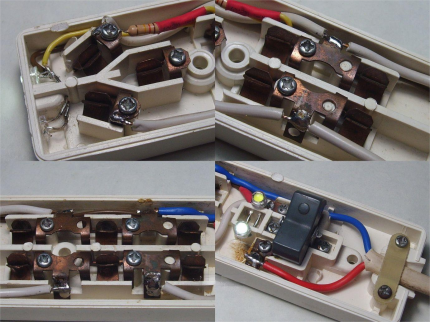
The reorganized and cleaned power strip looks good.
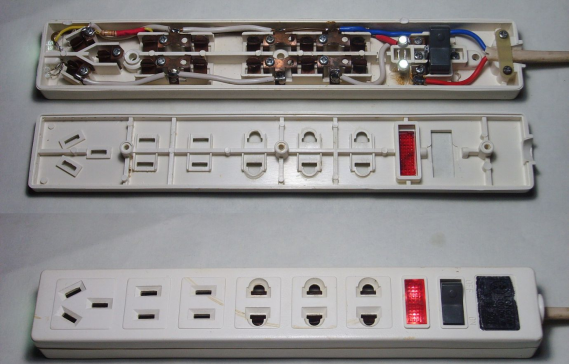
The actual lighting effect.
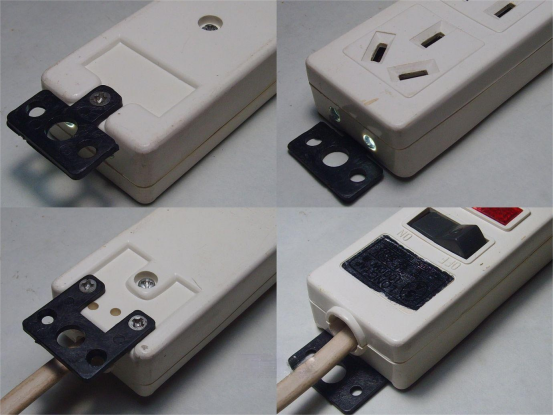
There are pre-installed wall mounting brackets on the back of the power strip, and the material is also good, feels quite sturdy, just the workmanship is a bit rough.
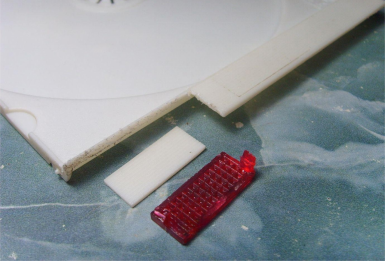
If you feel that the red light emitted by the original indicator window greatly reduces the effectiveness of using it as a night light, you can cut a piece from the striped part of a milky white disk box, according to the size of the red window, and stick it to the original indicator light window.
The visual effect and actual experience are much better than the original red.
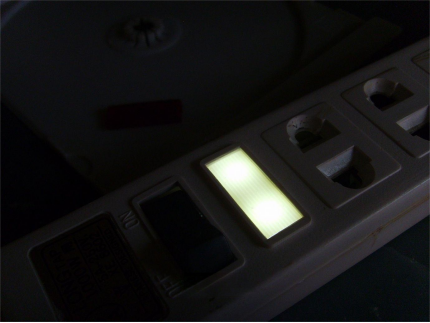
In this way, the power strip's night light function is added without significantly increasing power consumption.
