
How to DIY a ultra-compact cloud-controlled adjustable voltage power supply? Let's take a look together.
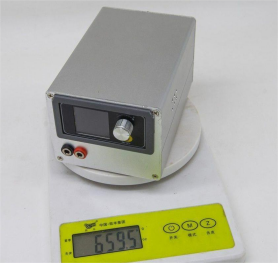
First, let's see the finished product. The whole machine weighs a bit over a pound, with dimensions of 130*90*74mm in three dimensions. It has a maximum power of 216W at full load. Given this size, heat dissipation is disproportionate. While there are some heat dissipation holes around the casing, there isn't a forced ventilation fan inside. It's adequate for moderate use, but it's advisable to conduct further heat testing later.
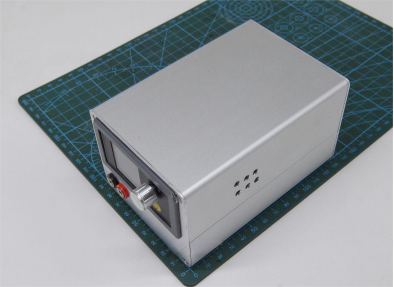
The header used is a high-precision CNC lifting voltage/current power supply header, which can be Wi-Fi cloud-controlled and can also be controlled via the internet. The hardware features input reverse connection protection and output short circuit protection. The software includes overvoltage protection (OVP), overcurrent protection (OCP), over power protection (OPP), over temperature protection (OTP), and under voltage protection (LVP).
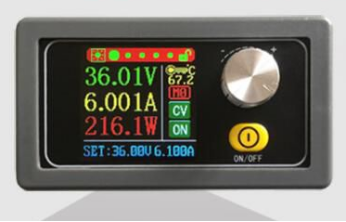
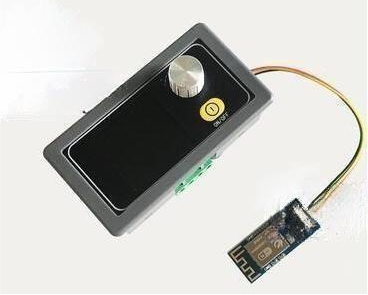
Additionally, prepare a DCDC adjustable voltage and current constant voltage and constant current 36V6A voltage and current maintenance lowering module XY-WFPOW, an open source Wi-Fi module, and a non-communicative version XYS3606 header.
Also, prepare a power module and an AC-19 power socket with fuse holder, light, and four-pin switch. The AC-DC power module is 24V 240W. Additionally, prepare a 170mm long, 90 * 74 mm instrument aluminum shell, and don't forget the terminal blocks.
Below is the internal diagram. If the purchased casing is a bit short, the heat sink on the left side needs to be sawed off to fit the power supply inside. Moreover, the heat will rise and heat up the header. With a 170mm long outer casing, the header will be separated from the heat sink, making assembly much easier.
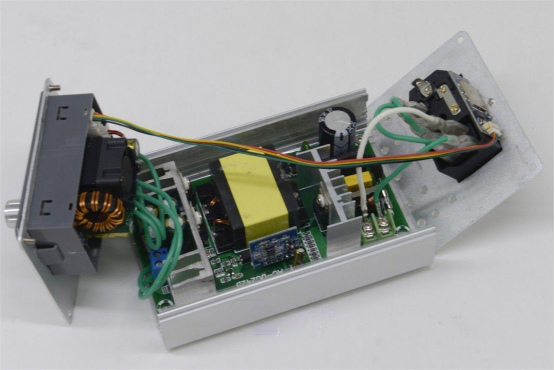
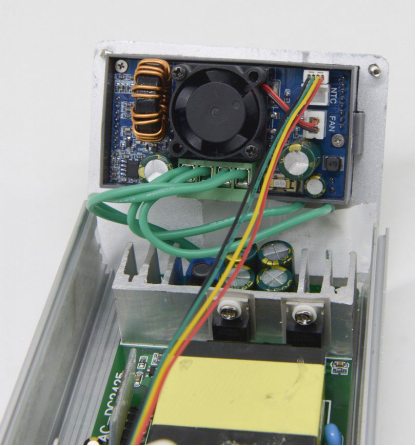
The header also comes with an external temperature probe, which can be omitted if not needed.
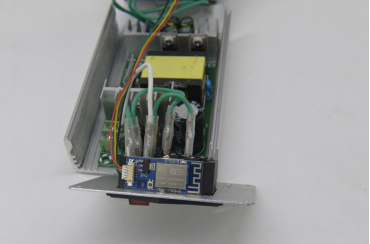
This is the Wi-Fi module with the Sinilink logo, attached to the back of the power socket. As long as the signal isn't blocked, it should work fine.
Next, perform precision measurements. Though not perfect, it generally falls within the accuracy range. If there are significant deviations or fluctuations, investigate the reasons.
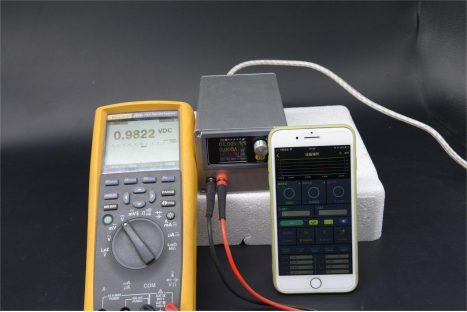
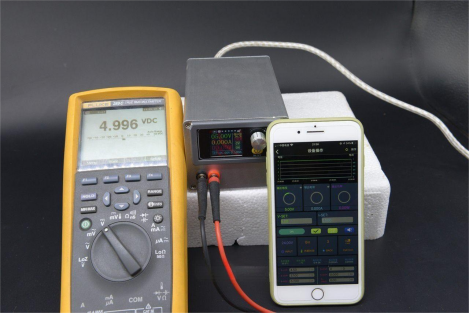
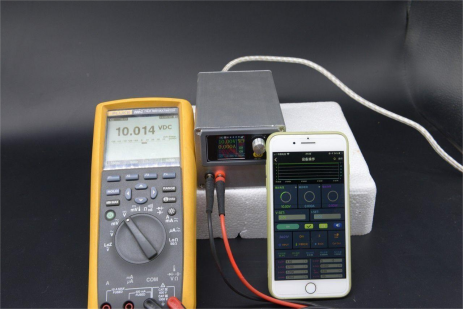
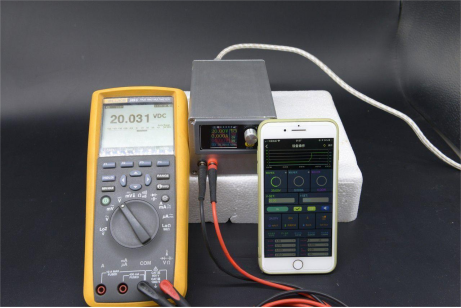
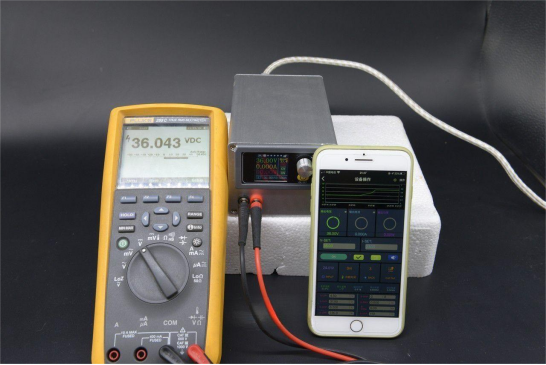
Overall, the performance of this header is satisfactory. However, having only one encoder for adjustment isn't very convenient. Nevertheless, adjusting via a smartphone app is quite convenient. Moreover, it can be connected to the corresponding manufacturer Sinilink for internet control, which is slightly more convenient than those using Bluetooth connections. However, the smartphone app still has some bugs, such as crashing when modifying current parameters of the data group, so it might be worth considering better headers for this DIY project.


