
To DIY a portable version of the T12 soldering station using a lithium battery pack, you'll first need an electric tool lithium battery pack, a 12V wire cutter power supply, and a pair of prongs salvaged from a 220V plug!
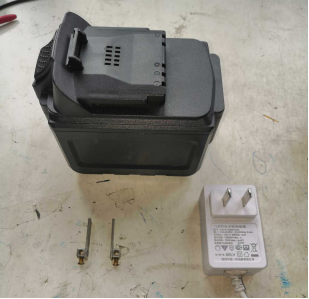
The No. 1 lithium battery is arranged in a 5S2P configuration, and one is arranged in a 5S3P configuration.
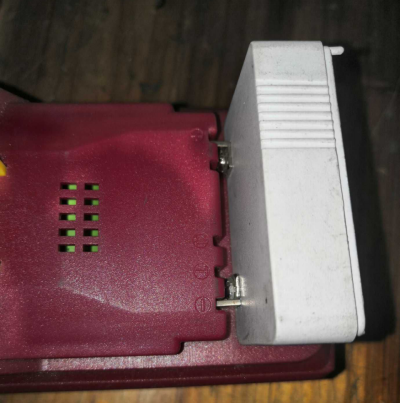
Mark the positive and negative terminals of the battery against the long slot on the wire cutter power supply housing.
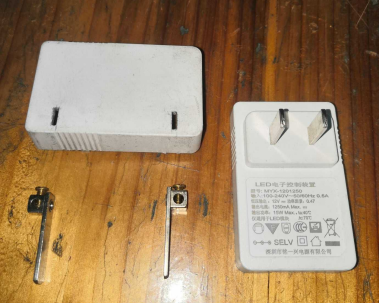
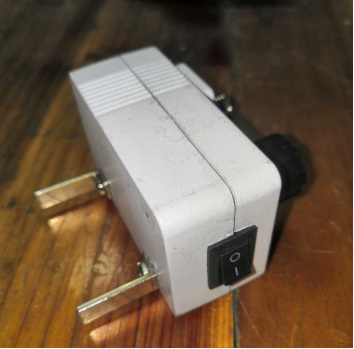
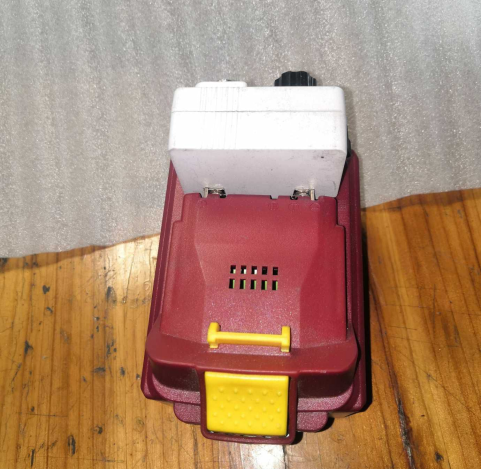
Assemble the prongs.
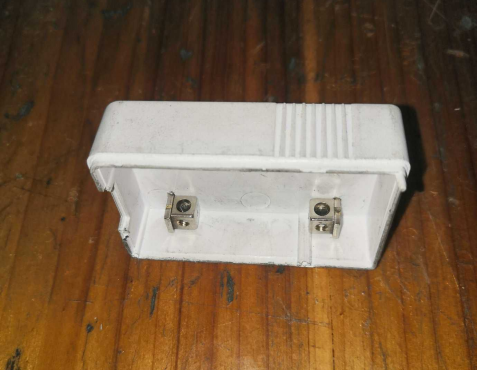
Secure them with screws on the outer side of the housing.
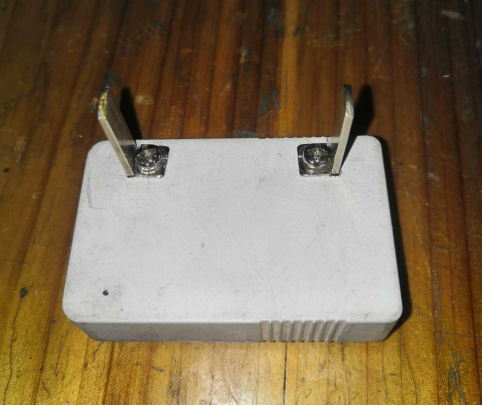
Insert the battery snugly.
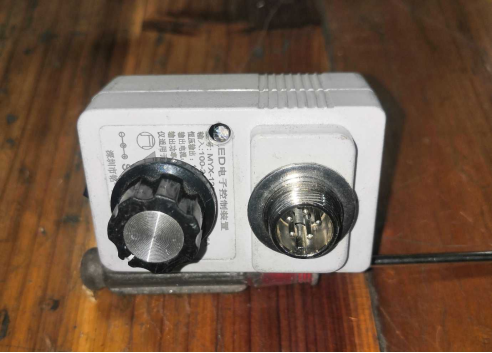
Making holes for the potentiometer, aviation plug, indicator light, etc., is relatively simple and can be done by yourself! Install all components and the control board (prototype the NMOS 616 control board and solder it yourself).
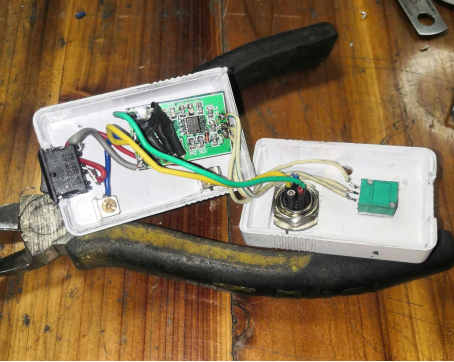
Once everything is installed, apply some hot glue around the indicator light holes for a neat finish.
Mount the side switch in the original output wire position.
Insert the lithium battery pack.
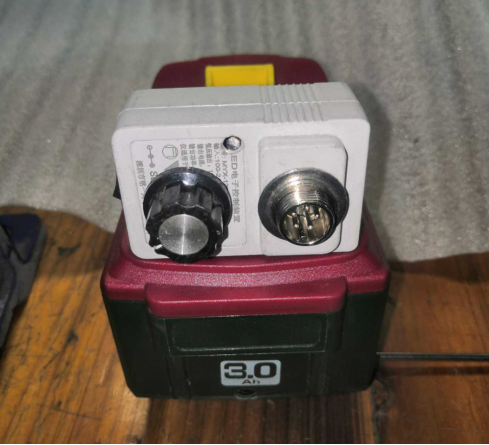
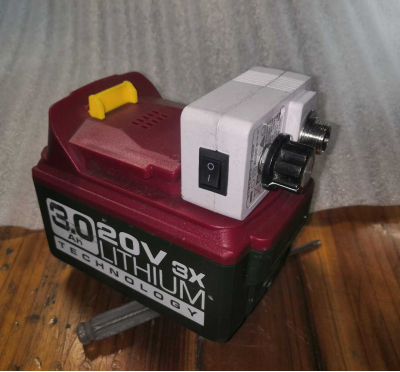
Top view.
Insert the handle, and in about 10 seconds after turning it on, you can start soldering!
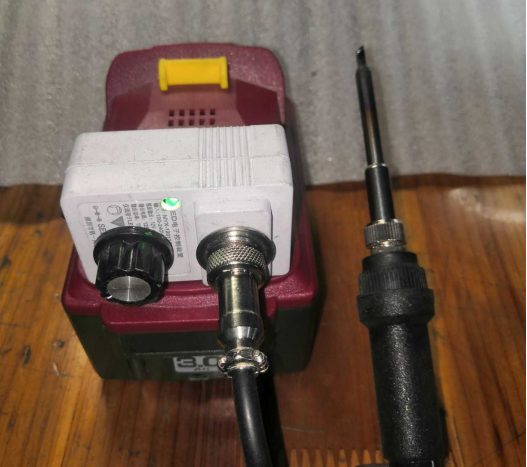
This way, soldering chips and MOS tubes are safe, and you won't need to drag around an extension cord anymore!


