
The desk lamp you bought has a lead-acid battery. How do you replace the lamp and modify the electrical system?
First, let's look at the specifications of this lamp:
· Base material: Environmentally friendly ABS plastic
· Input voltage: DC 5V/500mA
· Output voltage: 5V
· Light source power: 1.5W
· Color temperature: 5000K
· Eye-protection frosted lampshade
· 20 LED lights, no radiation, no flickering, no glare
· 5000-hour lifespan
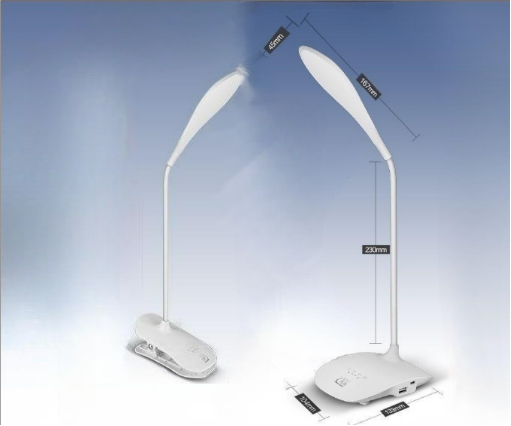
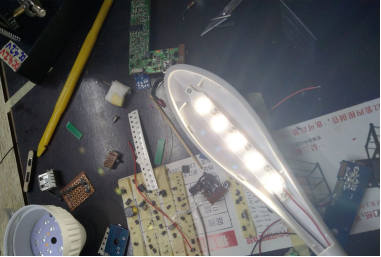
Here's an overall image of the lamp; let's get started with the modifications:
First, replace the light panel with one of similar size.
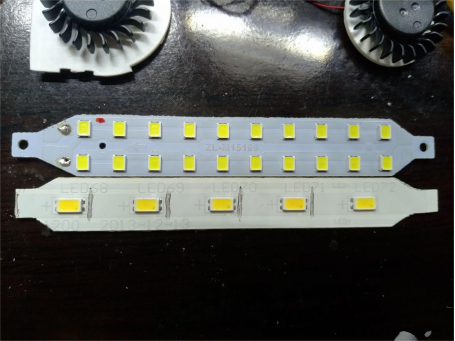
The lamp claims to have a color temperature of 5000K, but in practice, it seems higher. It hasn't been used for two years, but from memory, it feels like the temperature is higher than 5000K. You could replace it with a panel of 5700K.
Start by removing the battery, then take apart the light panel and secure the circuit board.
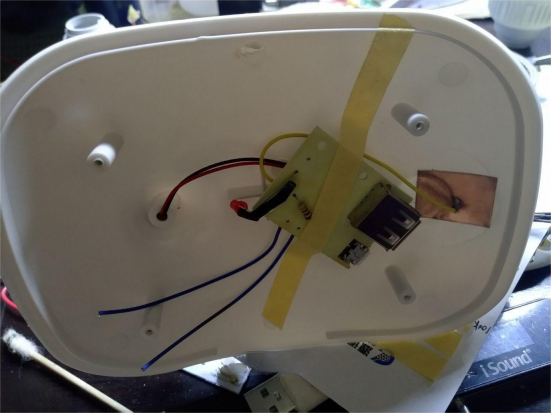
On the circuit board, there is one resistor and one LED connected to 5V.
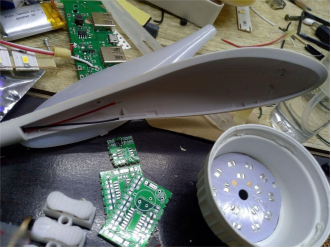
Close-up of the circuit board: 5V goes into an SS14 diode and connects to the battery. There are three capacitors: 103, 104, and 105. The 471 resistor drives Y1, and three 100-ohm 1206 resistors are in parallel. The micro USB port is situated a bit inside, and it was soldered slightly outward.
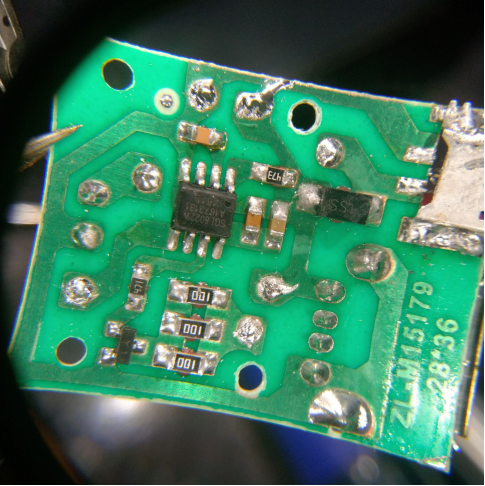
The 8022W uses three-stage dimming without flickering, but if you change it to continuous dimming, flickering may occur. It needs to be replaced with the 8022WS model.
Remove any unnecessary components.
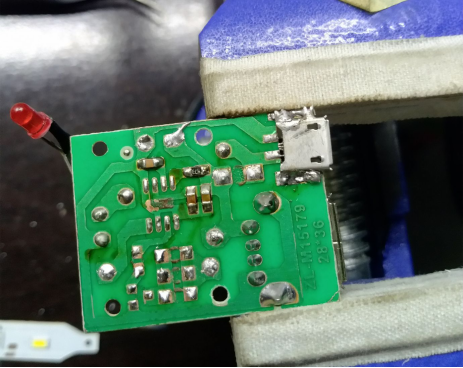
Change the light panel from series to parallel connection.
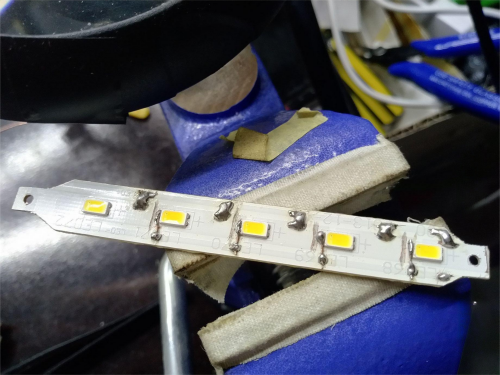
Combine the 8022WS with a 7135 chip.
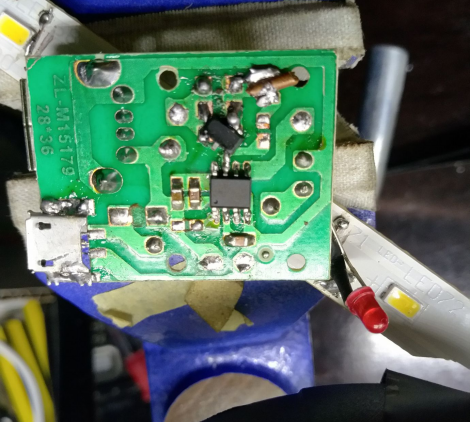
Resolder the six pins of the 8022WS. A floating pin 6 provides no memory dimming, while grounding it gives memory dimming.
Position it correctly.
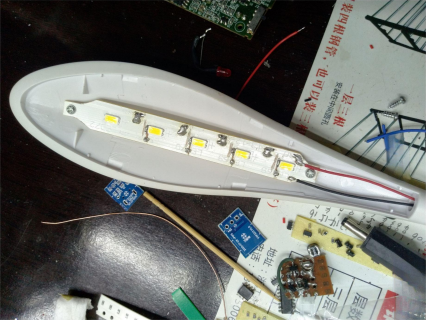
There are two 18650 batteries, from a previously malfunctioned battery pack. They can stop at 4.2V and have a capacity of around 1300mAh.
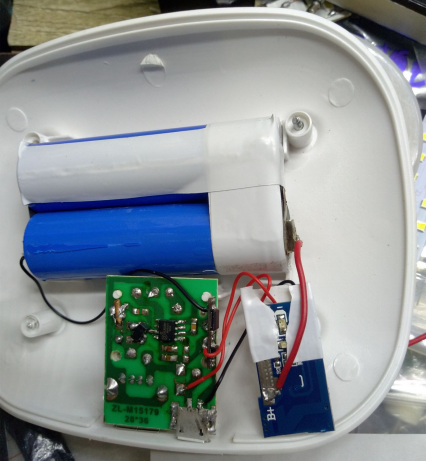
A protection board is also required.
Connect the light.
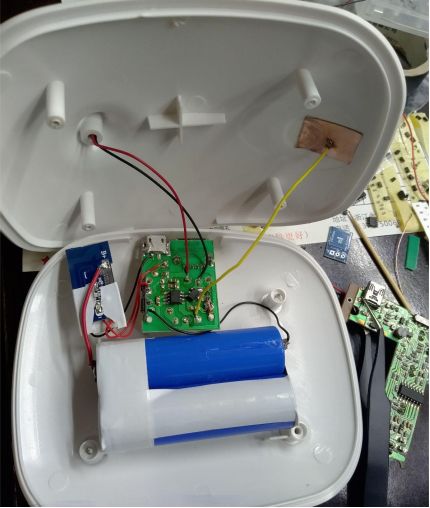
Secure the setup; the charging circuit uses a TP4056 chip and a 2K resistor.
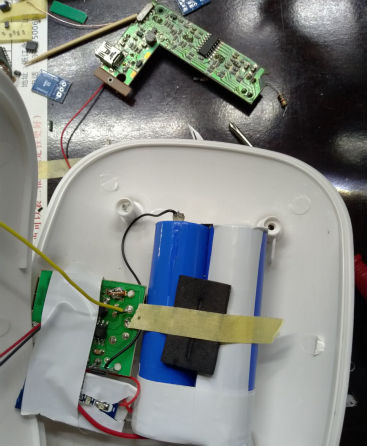
The lamp lights up successfully.
There is still some internal space available; you can fit a small radio board in there, but the battery capacity is not large. You can consider further modifications in the future.


