Using a mosquito net in the summer can make it inconvenient to access the switch for the bedside lamp. Here's a solution:
You can DIY a voice-controlled, dual-color LED bedside lamp using a dual-color LED strip with lenses and a smart speaker for controlling the switch and color adjustment.
However, this smart switch can be used with any tri-color LED strip or panel.
I. Required Materials:
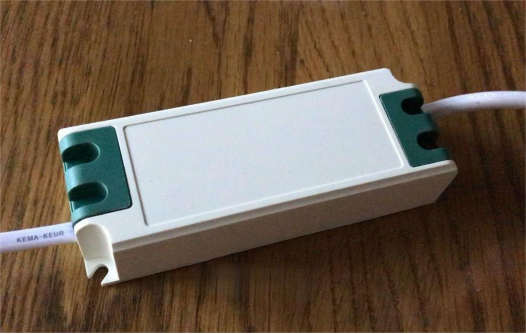
· Dual-color LED strip with a driver and lenses
· LED strip slot: Note that there are many specifications when purchasing. You need to buy one with an inner slot width at least 1mm wider than the strip. The strip used in this project is 31cm x 3cm in length and 18mm in width. The slot's inner width is 18.2mm, which is still a bit tight, causing some connectors to break or some lenses to fall off during insertion. Therefore, you might end up using two LED strips.
· One tube of thermal paste to help dissipate heat from the LED strip.
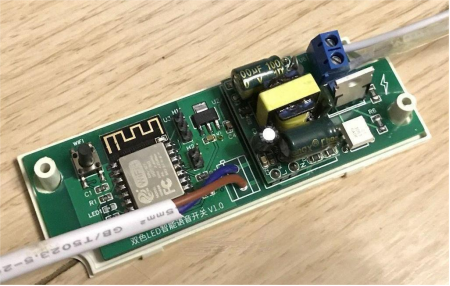
· Smart voice control board: This can be a self-designed controller that simulates manual switch toggles to turn the lamp on/off and switch color temperatures.
II. Finished Product:


III. Hardware Design:
· The main chip used in the project is the ESP8266 module (ESP-12F).
· Power supply: A 220V to 5V ACDC module is used, then converted to 3.3V using an AMS1117 LDO to power the chip.
· Control part: Uses zero-crossing detection optocoupler and triac for control, which is an improvement over relay solutions in terms of noise and size.
IV. Software Design:
There are multiple ways to implement the software. Here are two versions:
1. Blinker Version:
· Written in Arduino, based on the official Blinker example code, which can be modified to support multiple speakers.
· Free version supports up to 5 devices, generally sufficient.
· The Blinker’s network configuration function didn't work on iOS during testing, so the WiFi password had to be hardcoded into the program. This would not be feasible for a commercial product.
2. HomeKit Version:
· HomeKit SDK ported to Arduino. This version only implements the switch, without color temperature adjustment.
· More extensive research into HomeKit product attributes is needed.
· The SDK has enough remaining memory, so WiFi Manager was integrated for network configuration, along with a function to reset WiFi after 6 switch toggles.
V. Installation:
Apply thermal paste to the back of the LED strip and insert it into the slot for better heat dissipation. Then, connect the smart controller between the lamp driver and the 220V input. I used Velcro to attach it to the headboard, aiming the light to reflect off the wall.
And that's it! You're done.


