
If you often go out and need power in various places, a high-capacity power bank is a must. This article will introduce how to DIY a 12-cell 18650 high-capacity power bank using the SW6124 chip, making use of available materials and ensuring portability and usability.
First, Make the Circuit Board
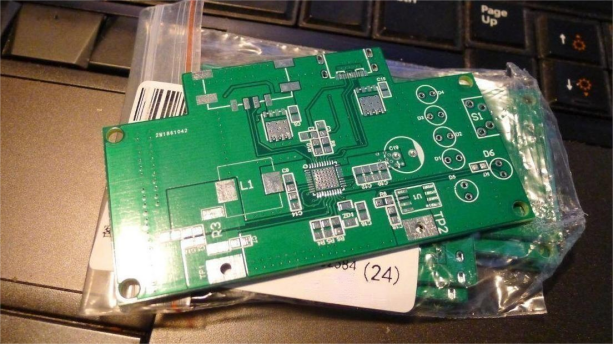
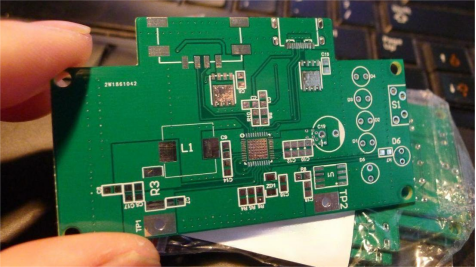
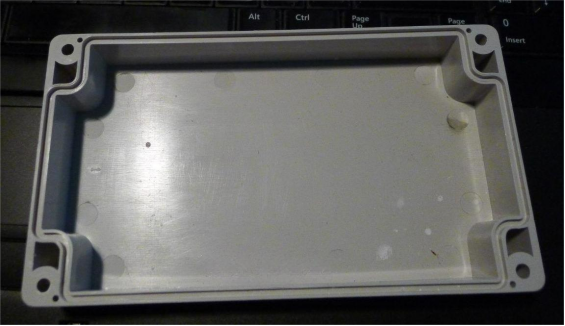
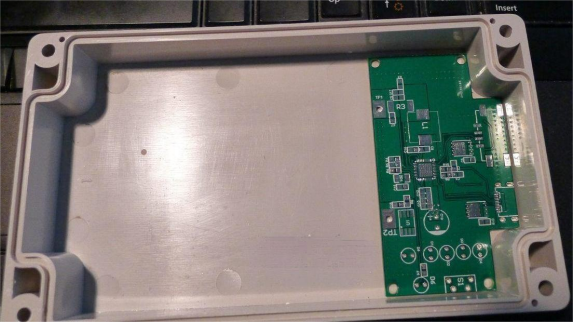
Compare the sizes and place the board inside the case.
Required Chips SW6124
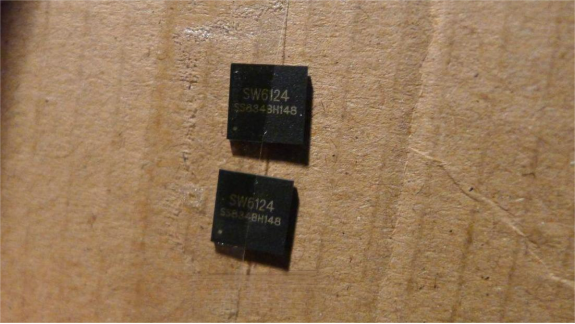
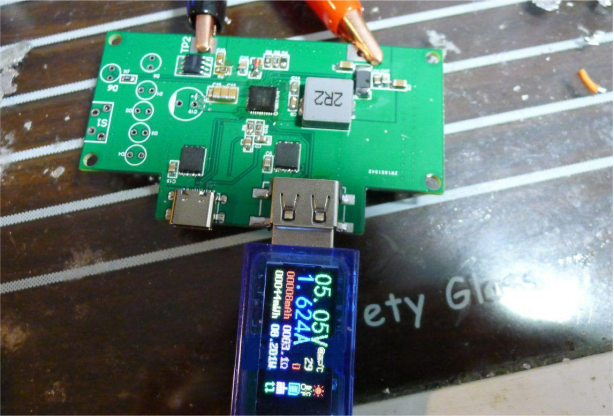
Test the board after soldering.
Drilling Holes
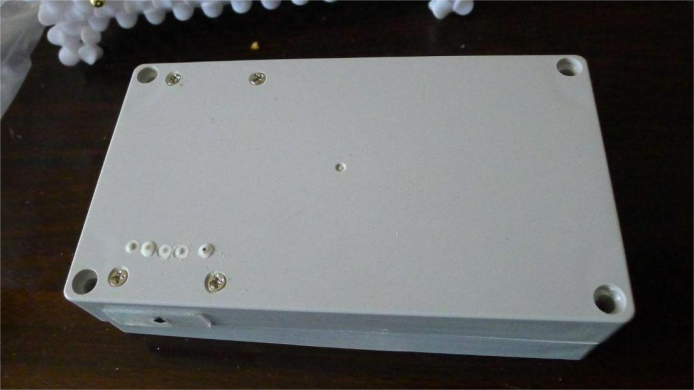
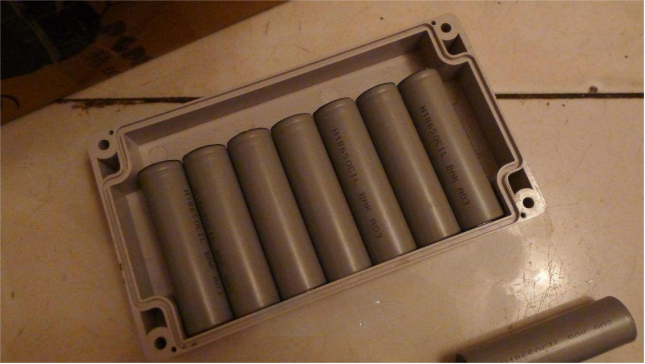
Join the two covers together and fix them with screws. The case can hold two layers of 18650 batteries; one layer can hold 7 cells, and without the PCB, it can hold 12 cells.
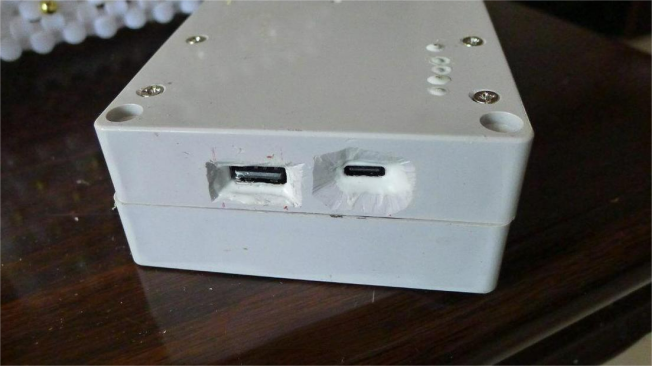
Test the A-port protocol with a tester.
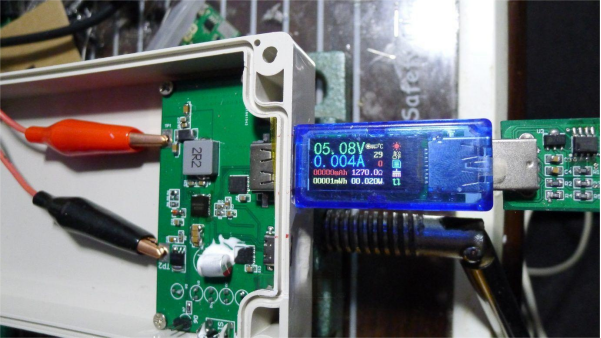
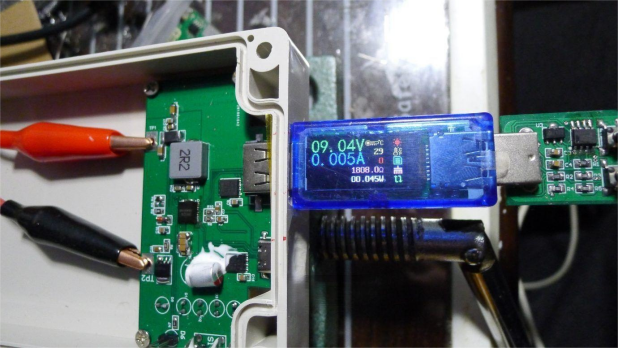
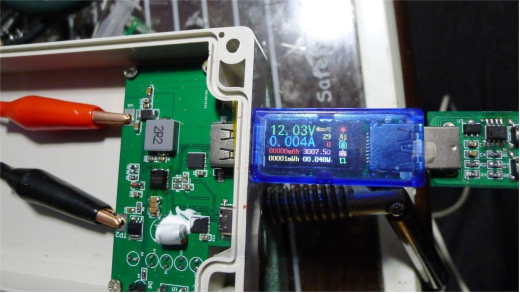
The chip supports all protocols, and the C-port works fine when tested with an iPhone 11.
Take out the 18650 cells. If you don't have 12, you can use BAK BAR cells with the same parameters.
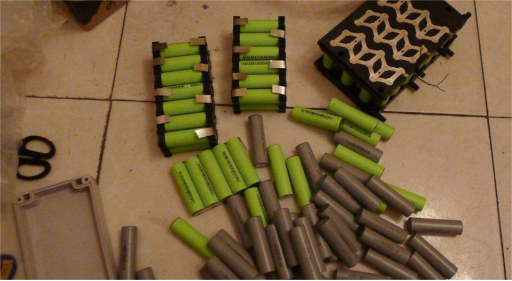
Arrange the cells and fix them with glue.
Soldering Nickel Strips
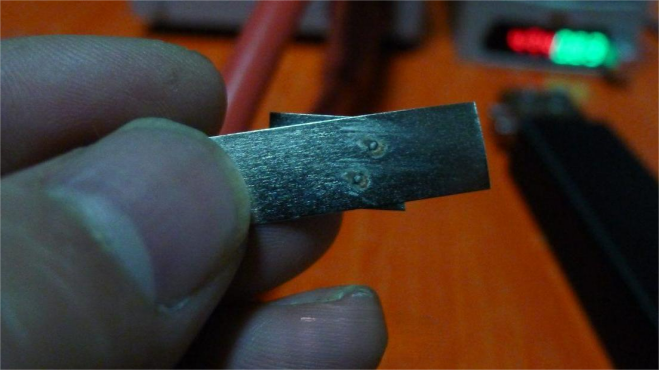
Test soldering 0.15 x 10mm nickel strips. Be careful with the soldering iron's heat to avoid damaging the internal battery.
Final Assembly
Place the cells and solder them. The result should look like this:
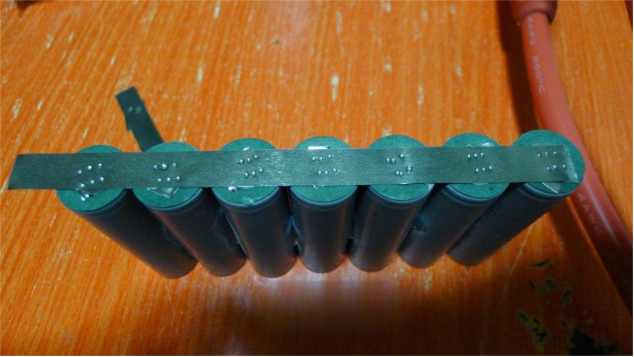
The capacity is sufficient. Once the soldering is complete, you can use this high-capacity power bank for several days outdoors.


