
How to modify a bathroom mirror clock with R8025? Check out this step-by-step guide.
The bathroom mirror clock to be modified is a round bathroom mirror that looks quite nice overall.
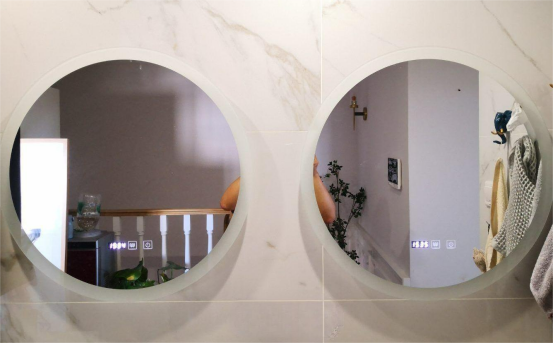
Dismantling one of them. Here's an image of the back.
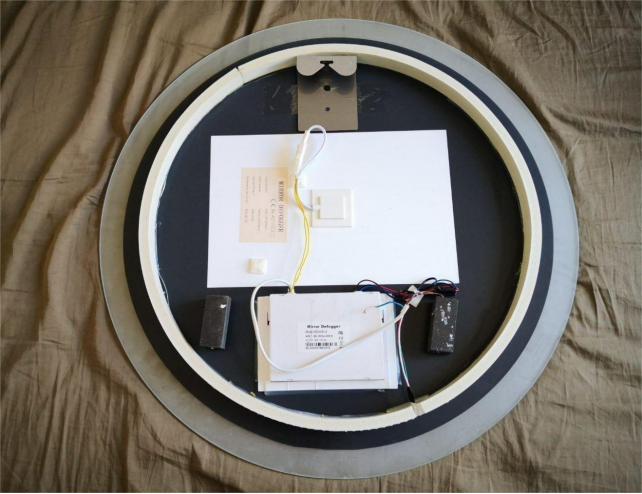
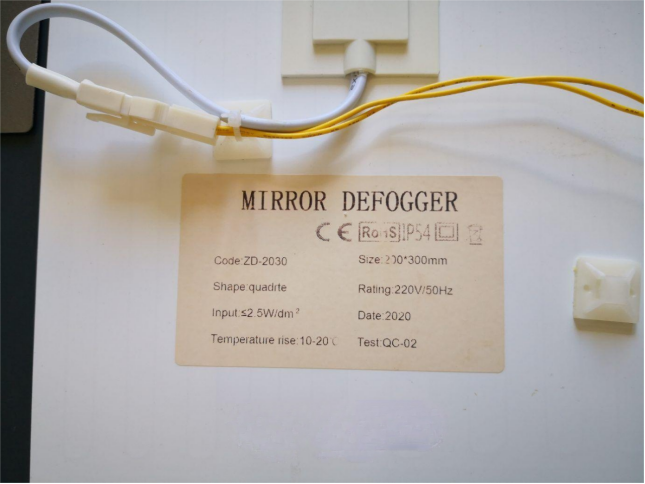
The large white piece in the middle is the defogger, which is essentially a heating pad powered by a 220V source.
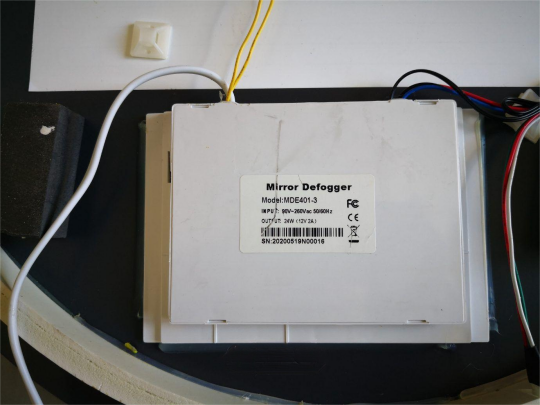
Below is the main control module, labeled as "Defogger" in English.
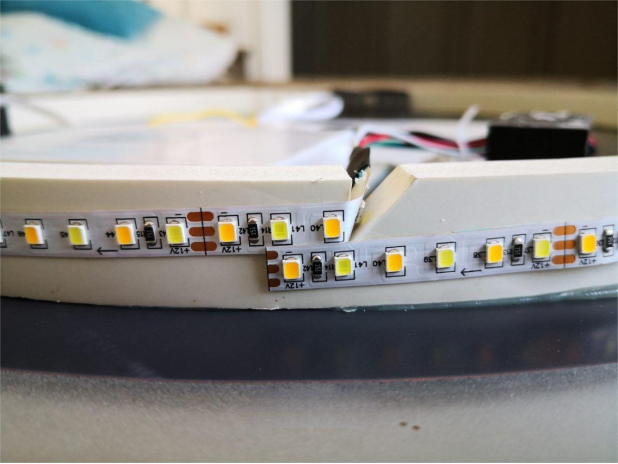
Around the edge is a two-color LED strip that can produce three different colors.
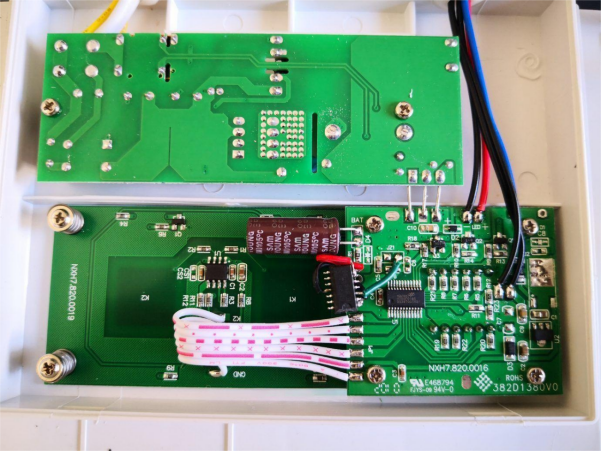
Pry open the main control box, and you'll find it consists of three parts: the power module on top, the touch button on the lower left, and the main control on the lower right, which includes the four-digit LED display, temperature measurement, and the control circuit for the two-color LED strip.
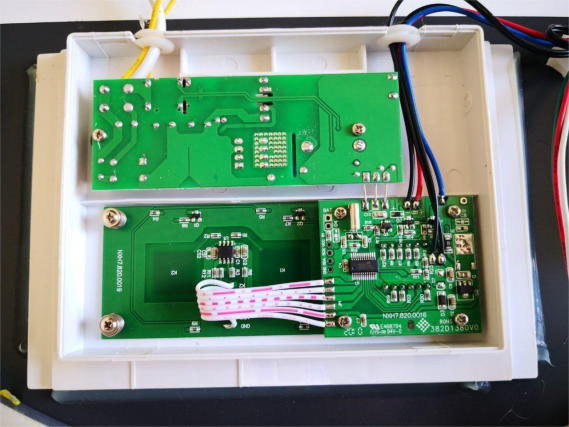
Flip it over.
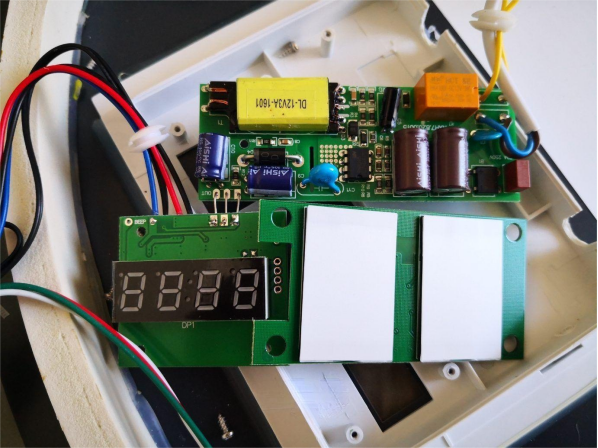
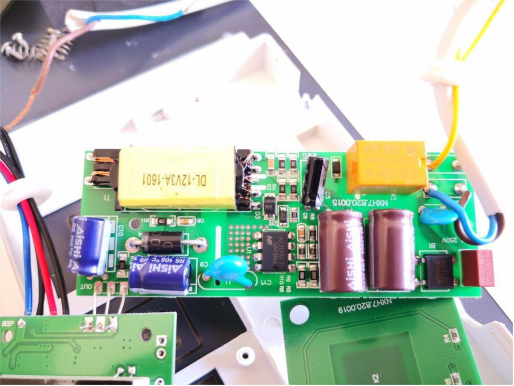
The power module is quite decent. The orange part is the relay, which controls the defogger.
The main control MCU is a HOLTEK (Taiwan Holtek/HT) 8-bit microcontroller with a 12-bit ADC, 2k ROM, and a maximum clock frequency of 20MHz.
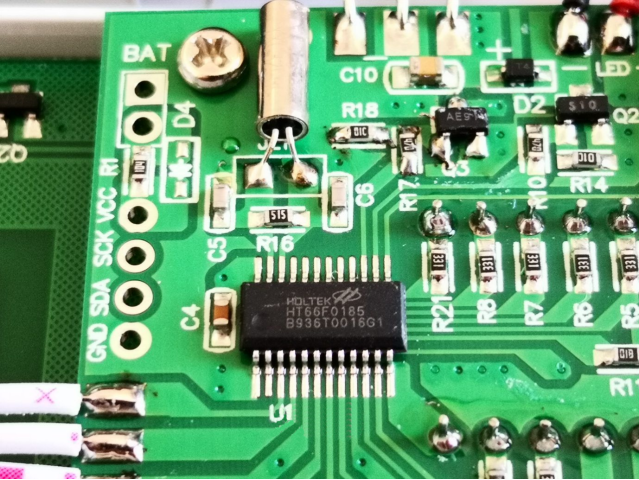
Touch Driver:
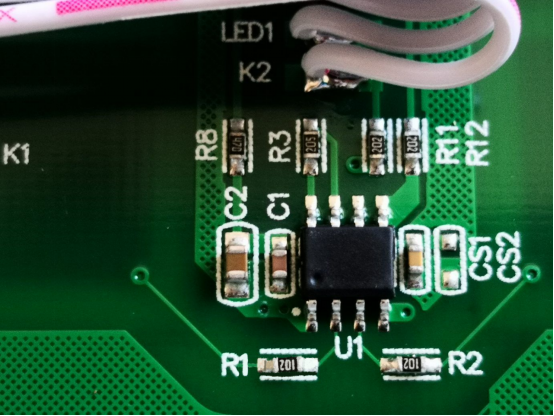
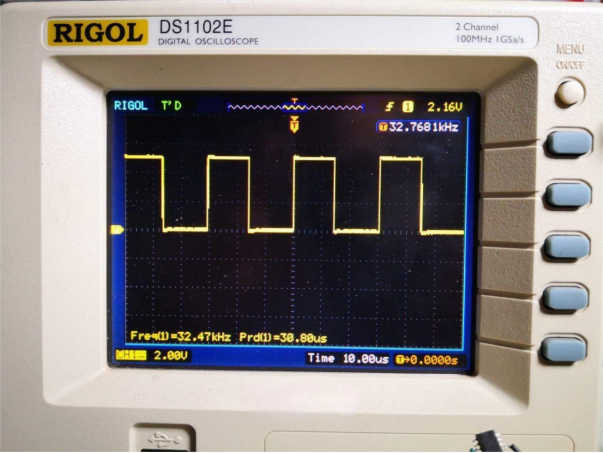
The bathroom mirror comes with temperature and touch buttons, likely driven by a microcontroller, making modification uncertain. However, if there is a 32.768K crystal oscillator on the main board, modification is possible!
According to the general manual for microcontrollers, you can directly input a 32.768K square wave at the XT2 pin.

After Modification:
The wires are quite thick, so no need to fix them. There’s a spare battery connector next to the main control, which can be used for a backup battery to prevent time loss during power outages. If you want an easier solution, just add a large capacitor, charging it through a 100K resistor during normal operation.
This is the waveform of the R8025T being tested.
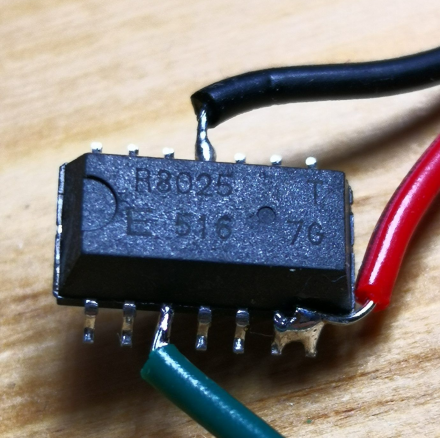
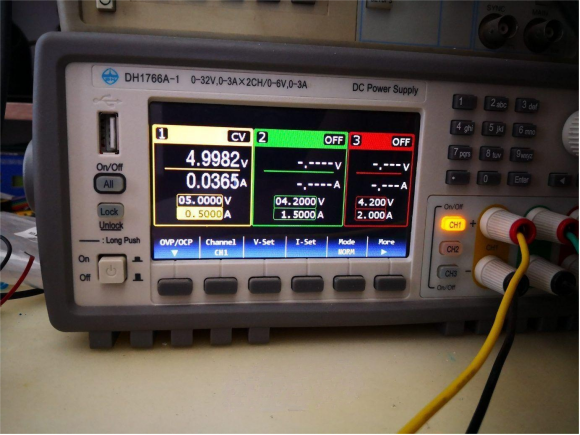
First, test it with an adjustable power supply to ensure it keeps time correctly. It retains the time even after a power outage of a few seconds and usually doesn't lose power.
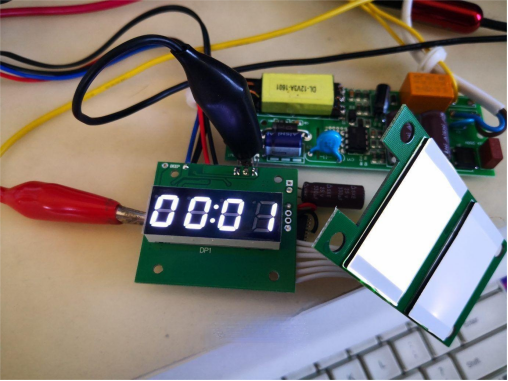
Install it and you're done!
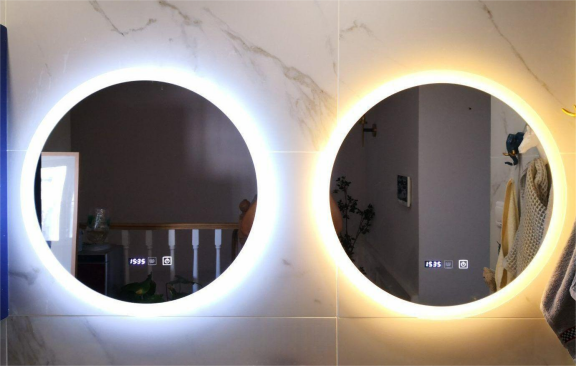
The original display showed the time and temperature, and it remains the same after the modification.


