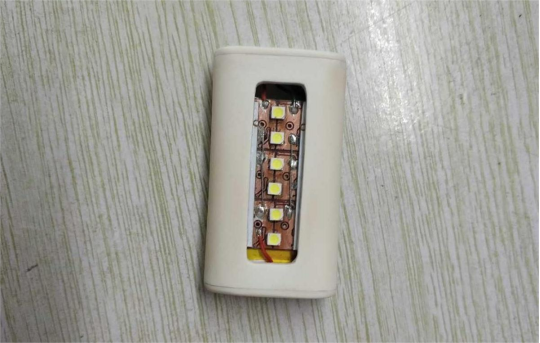
Do you know how to DIY a PVC pipe lamp?
If you're interested, keep reading!
Start with a section of PVC pipe and cut a small piece. After roughly sanding it, heat it up. Use two sticks inserted into the pipe and apply heat with a heat gun. While heating, pull the sticks apart to shape the pipe into an arc. Once cooled, use two boards to press the pipe flat by heating the boards and adjusting the height of each side. It should look like the image below.
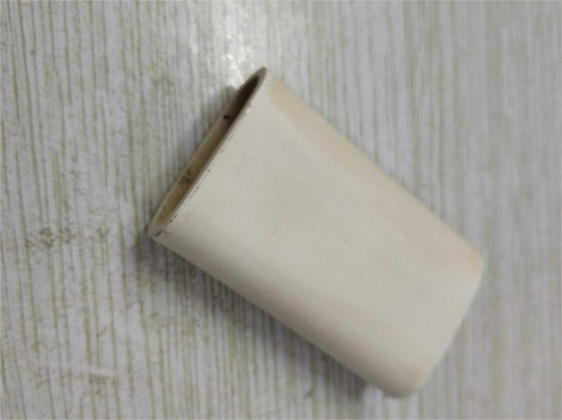
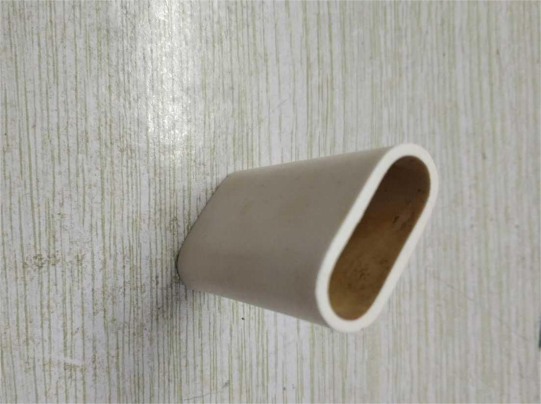
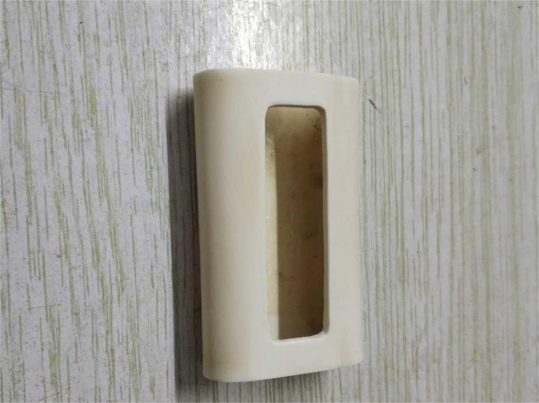
Next, cut a square hole in the middle of the side of the PVC pipe, as shown in the image.
Use some leftover circuit board pieces to create a panel with 6 white LEDs connected in parallel. Add a charging circuit as well. The small white component in the middle is the charging board, which is compact and space-saving. The charging indicator light is placed underneath the board. Assemble everything together.
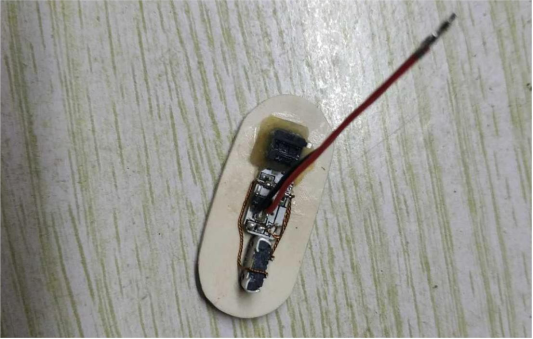
Inside, place a 480mA lithium battery.
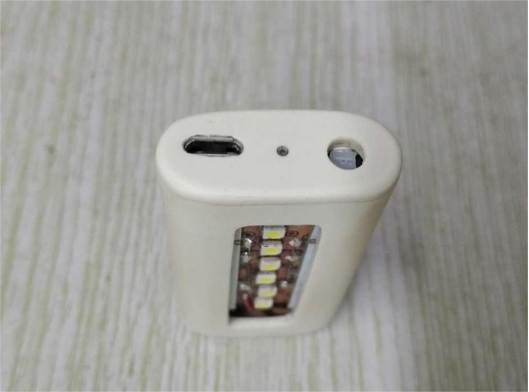
On the back, attach a magnet so it can stick to metal surfaces.
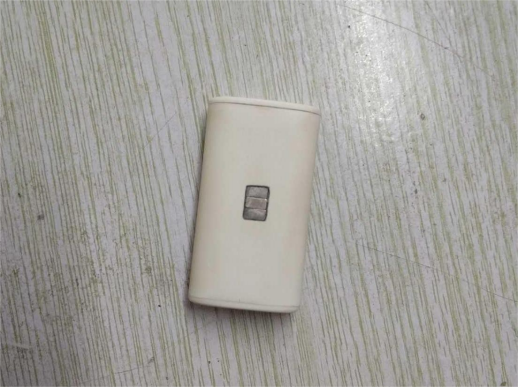
All done! You can now choose and install a lampshade if you like.
