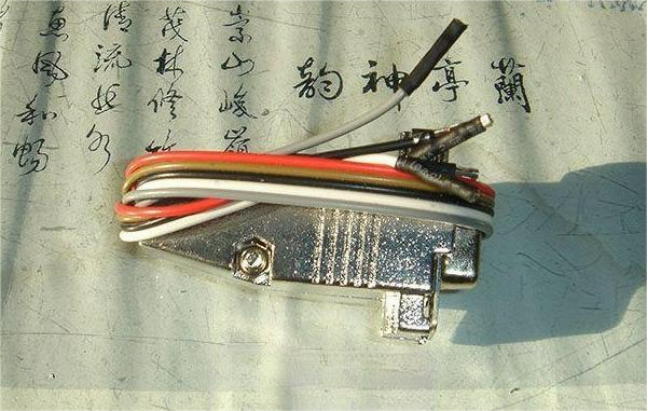
How to build a low-cost, simple circuit JDM programmer?
If you're interested, keep reading to learn more.
This programmer is designed with a simple circuit and minimal components, making the most out of a serial port. It goes beyond the usual data input and output definitions of a standard serial port by providing a power supply for the MCU and enabling high-voltage programming through data flow. The simple circuit is easy to build, and the required components are commonly available.
The circuit diagram below shows that you need a total of 2 general-purpose transistors, 4 general-purpose diodes, 2 resistors, 2 electrolytic capacitors, and 2 zener diodes. For the transistors, any NPN type will work, such as the 9013, 9014, or 8050. The diodes are even simpler—if you don't have a 4148, a 4007 will do. Resistors and capacitors are readily available, and for the zener diodes, you need one at 5.1V and another at 8.2V.

Preparing the components
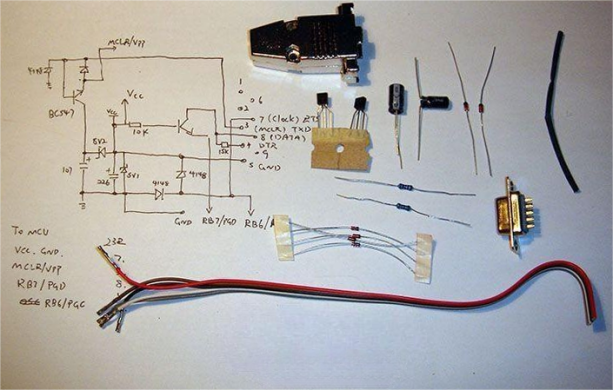
If the metal serial port plug has enough internal space, it should be able to accommodate all these components, allowing you to integrate the entire circuit inside the serial plug. With such a simple circuit, you don't need a circuit board; you can directly solder the components by wrapping the wires.

Continue soldering


Gradually, the structure starts taking shape, fitting perfectly inside the casing.

Assembly continues

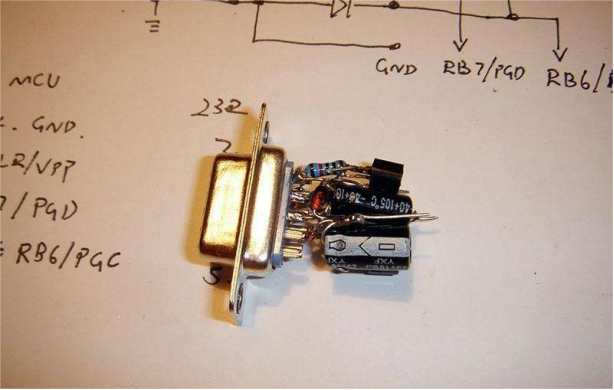
Once the circuit is assembled, place it inside.

Since the components are soldered without a circuit board, be careful to avoid short circuits between them. Use the casing of each component for insulation and ensure no parts are touching.

Embedding Inside the serial port housing.
Inside the metal housing, place a layer of polyimide tape for insulation.
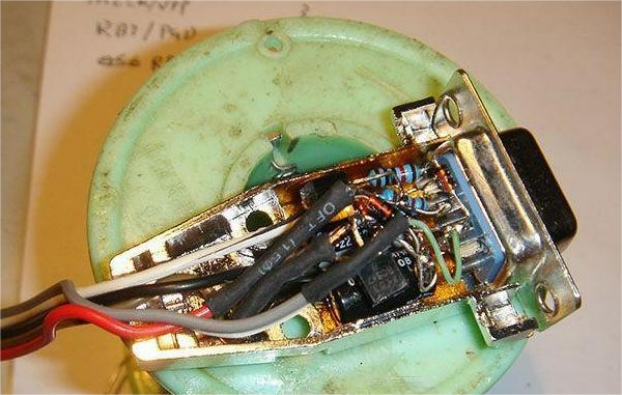
Attach the other half of the casing, tighten the screws, and you’re done! The programmer connects to the MCU with five wires: Vcc (working power), Vpp (programming power), Clock, Data, and GND. If the target board has its own power supply, you can skip the Vcc, using just four wires.

Testing the programmer
Naturally, you'll want to test your newly built programmer. Luckily, some Dell workstations still have a serial port! In case of any unexpected issues, you can use it. Keep in mind that this programmer draws power from the serial port, so you must use a native serial port from the computer, preferably from a desktop. USB-to-232 adapters will not work. Some laptop serial ports have a lower output voltage and may not function properly.
The target chip for this project is the PIC16F628A, programmed using IC-PROG 1.06C software on a Windows 10 system. A green battery pack powers the target board, and everything works perfectly.
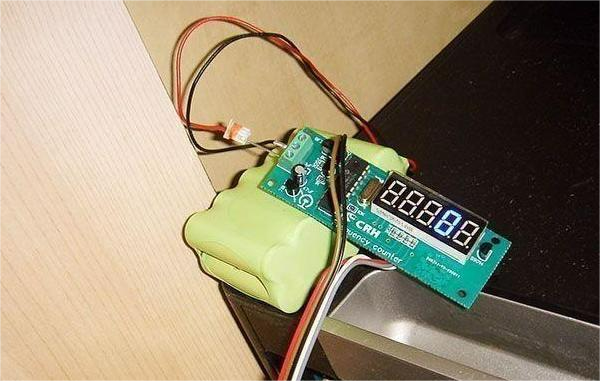
The entire programming and verification process takes about 30 seconds, and the project is a success. This solution solves the problem of not having a PIC programmer.

Finally, cover the output wire connector with heat-shrink tubing, and your programmer is complete!
