
How to make a combined adjustable power supply and T12 soldering iron? If you're interested, keep reading!
If you have an unused adjustable power supply from a DIY project, you can take it apart and use its main components. If not, you can follow this guide and prepare the necessary parts.
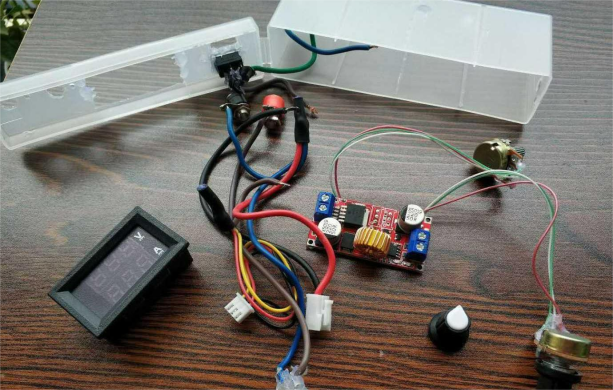
You'll need a T12 control board and a laptop power supply.
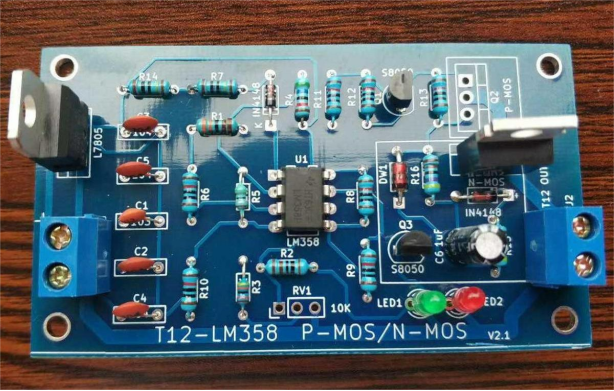
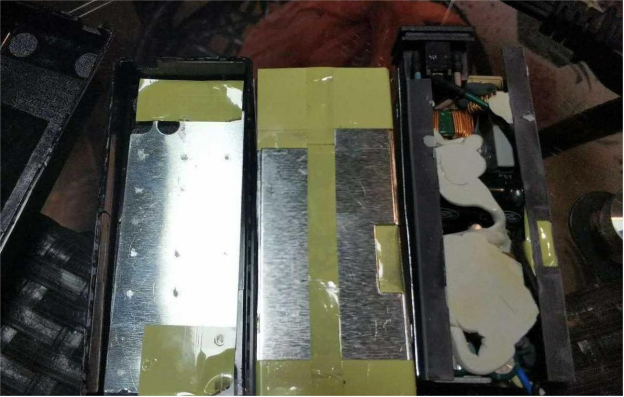
Here's the assembly process:
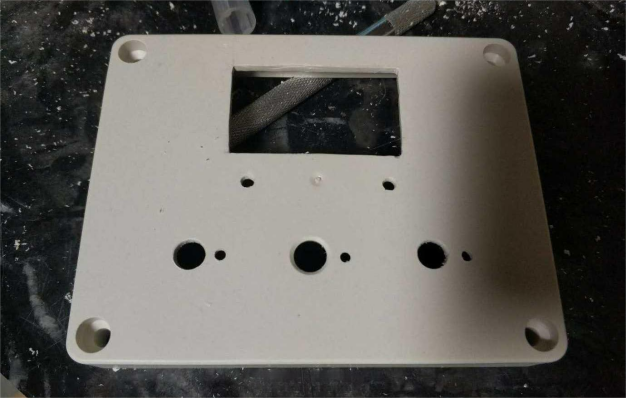
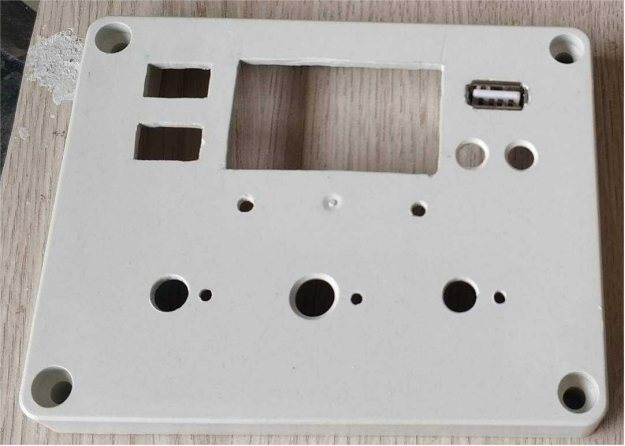
Get a suitable case and manually cut the necessary holes.
Before assembling, measure the sizes and, if needed, take the power supply out to convert it into an external one.
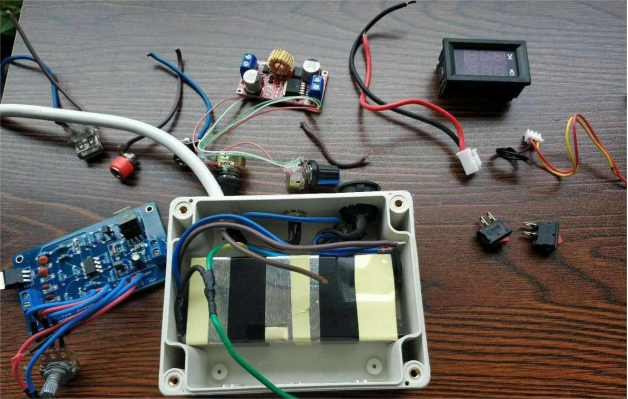
The wiring might look a bit messy.
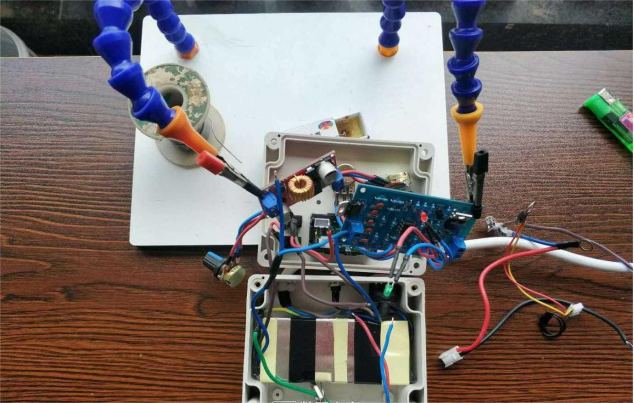
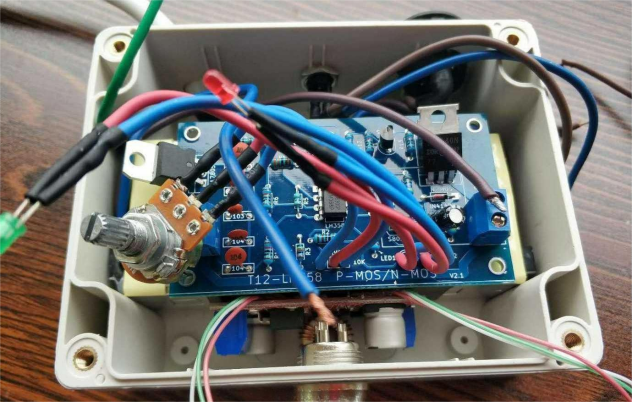
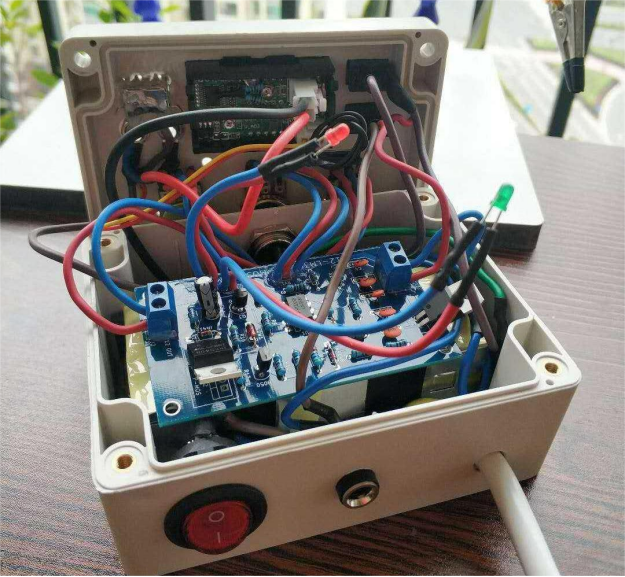
Once everything is in place, you can close the case.
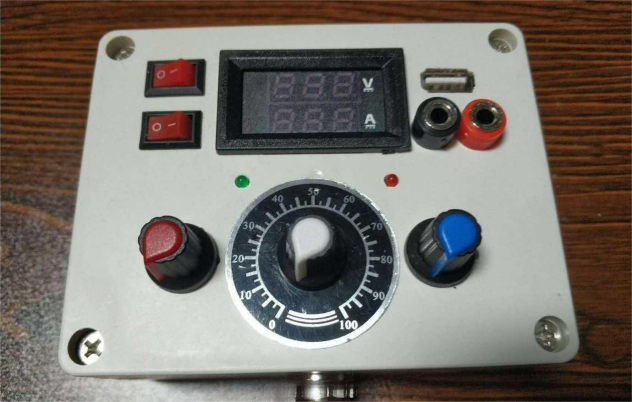
If you feel like the internal space is too tight and worry about heat dissipation, you can convert the power supply into an external one with a DC connector for external power, as shown below:
Removing the power supply:
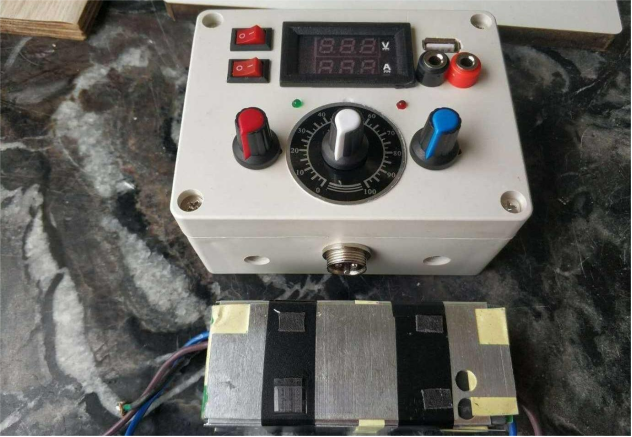
Only minor internal modifications are required.
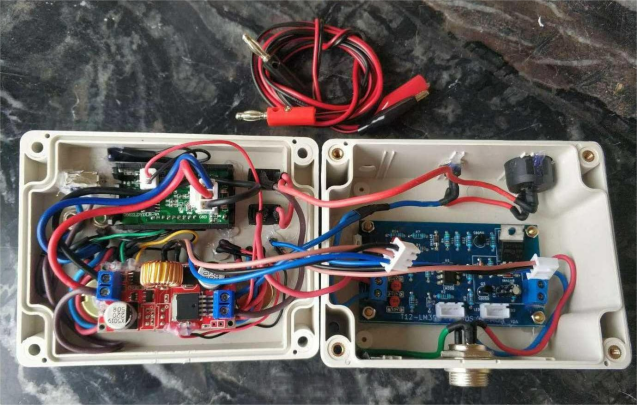
Lastly, bring out the adjustable power supply's indicator light with flying wires for easy monitoring of the charging status.
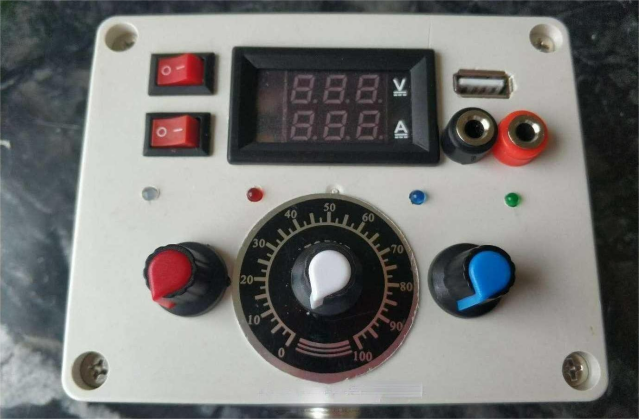
Function label explanations:
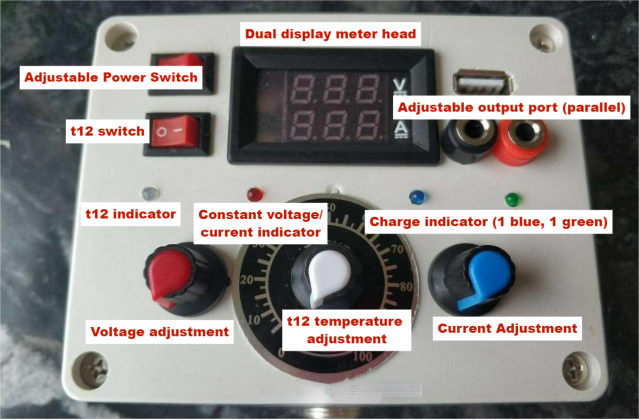
Done!


