
The principle behind a battery spot welder is quite simple: it involves momentarily shorting a power battery with a high enough current output. For those with limited welding experience, this might feel a bit dangerous, but the device is compact and portable. If you're interested, keep reading.
You'll need a kit that includes a battery, PCB, and a simple soldering pen. The operation is similar to that of standard spot welders, using a microcontroller to control a set of MOSFETs for pulsed discharges.
It's essential to have a casing to prevent accidental short circuits and damage, making it safer to use. You'll need to make this casing yourself, as the machine is quite slim. A plastic shell can be used, with one half being thick enough, while the other side can be crafted from ABS board. Any original screw columns inside the casing should be cut off, and copper columns can be adhered to the corners to create more space.
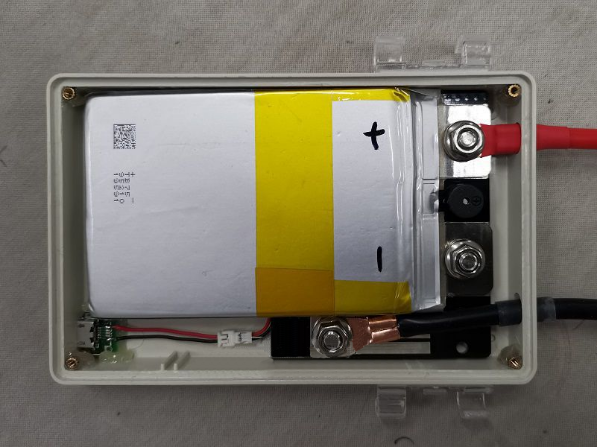
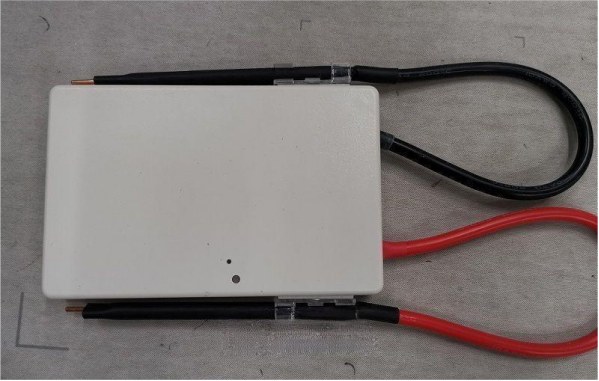
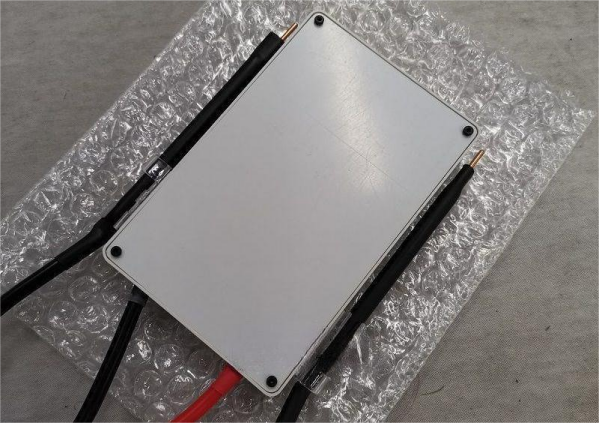
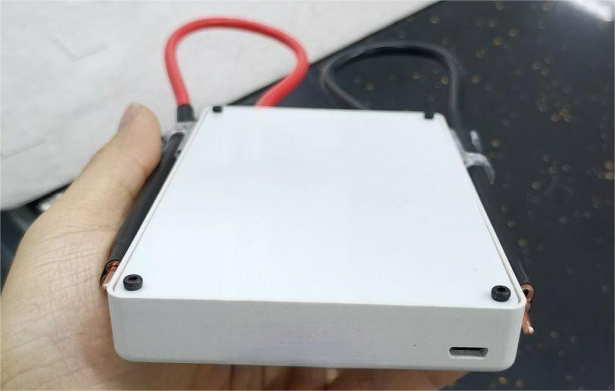
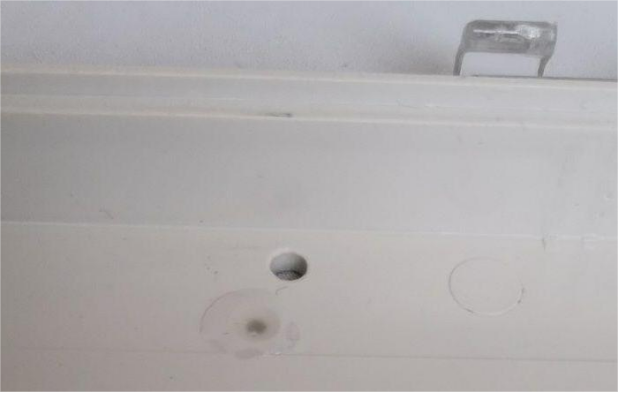
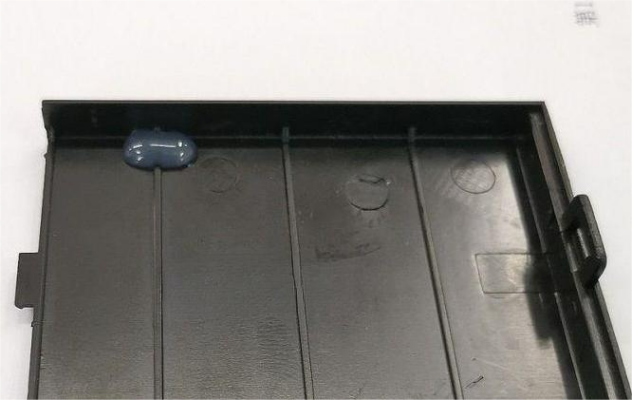
Drill holes for the switch and indicator light, and use hot glue to create a light guide.
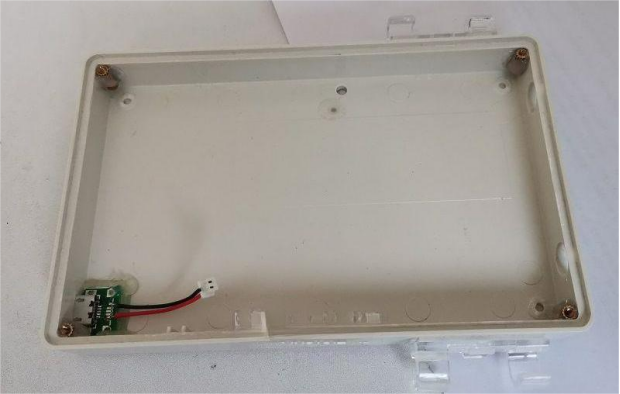
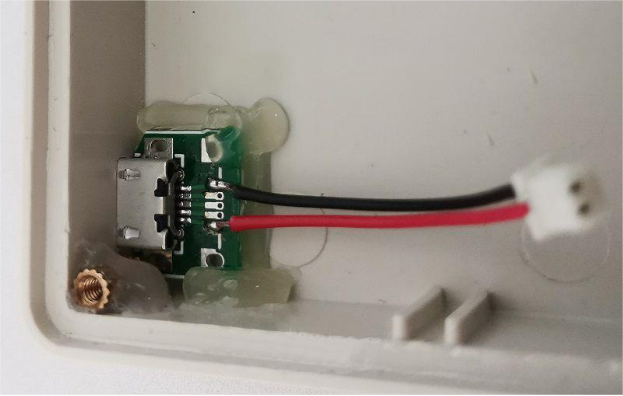
Be careful not to reverse the USB connections; otherwise, the positive and negative terminals will be incorrect, which could cause the fuse to blow.
Now, let's charge it.
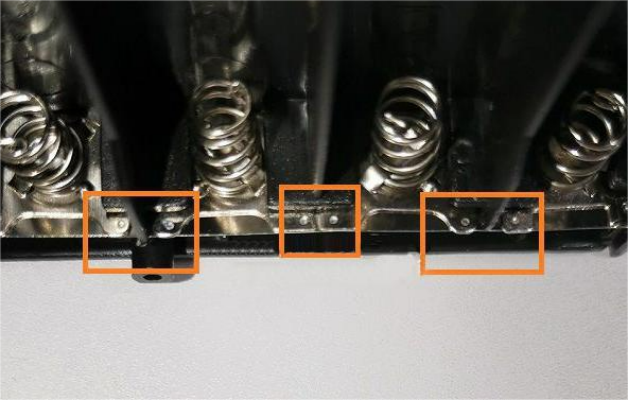
Next, create a parallel charging box with five 14500 lithium batteries. Modify a six-cell battery holder for this purpose. Since the batteries are in series, you'll need to cut the original battery springs, rearrange them, and connect them in parallel using nickel strips.
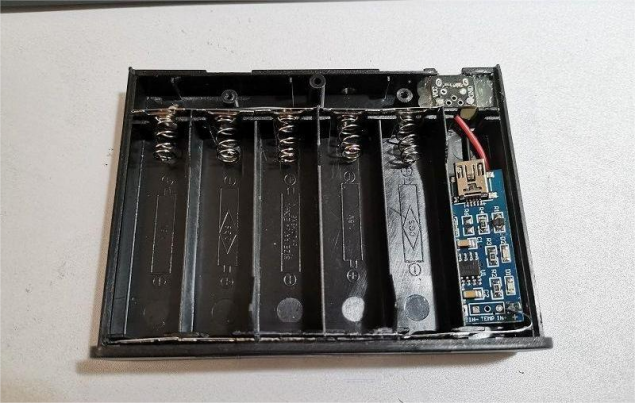
The spot welding results look decent.
Again, use hot glue for the light guide.
The maximum charging current is 1A, and this 350mA is sufficient for a full charge. You don't need a high current since these blue 14500 batteries don't have a large capacity.
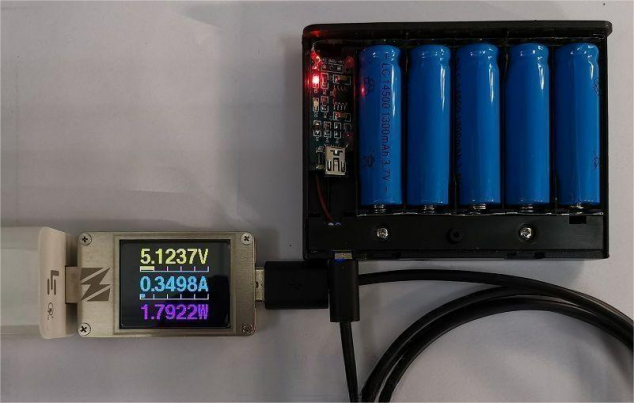
Here's the state of the battery holder with the cover on:
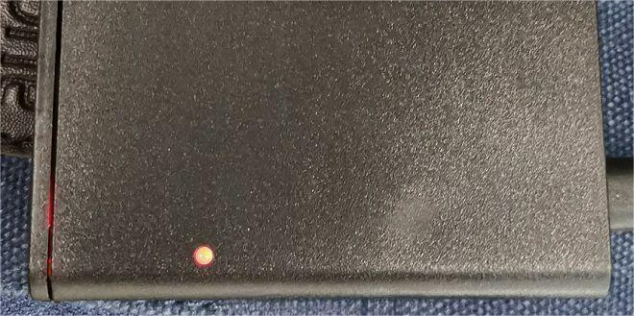
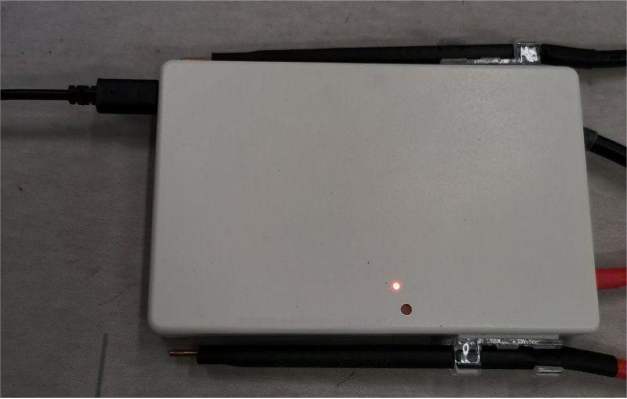
Completed!


