
How to Transform a Small Desk Lamp Using the SGL8022W Touch Chip? If you're interested, take a look at this article.
Overview of the Chip
Recommended LED Desk Lamp Touch Dimming IC: SGL8022W
This article covers the SGL8022W desk lamp circuit, application circuit diagrams, specifications, sample requests, and technical support.
Introduction to SGL8022W:
The SGL8022W is a single-channel touch chip specifically designed for LED light switch control and brightness adjustment. With this chip, you can easily achieve touch switch control and both stepwise and continuous brightness dimming.
Features and Advantages of SGL8022W:
· Adjustable light brightness according to your needs, offering a wide selection and simple operation.
· Touch functionality can be implemented safely with isolation (e.g., glass, acrylic, plastic, ceramic).
· Wide operating voltage range from 2.4V to 5.5V.
· Simple application circuit with few external components, making it cost-effective.
· Excellent resistance to power and mobile phone interference, with EFT ratings exceeding ±2kV; touch sensitivity and reliability remain unaffected under close-range, multi-angle mobile interference.
SGL8022W Specifications:
· Operating Voltage: 2.4V - 5.5V
· Operating Frequency: 4MHz
· Touch Input: One channel (Tl)
· Option Inputs: Two channels (OP1/OP2)
· Control Output: One channel (SO)
· Control Output PWM Frequency: 20KHz
· Low Power Mode: Standby current below 10uA
· High Interference Resistance: EFT ratings exceeding ±2kV
· High Sensitivity: Can penetrate 10mm of glass, acrylic, and other materials.
Function Description:
The TI corner touch input corresponds to the SO light control output, modulating the PWM output signal's duty cycle to control the LED light's switch and brightness changes, with a fixed PWM frequency of around 20kHz. There are four selectable functions based on the input states of OPT1/OPT2 pins before powering on.
1. OP1 & OP2 Floating: LED touch dimming without brightness memory or buffering.
2. OP1 Grounded, OP2 Floating: LED touch dimming with brightness memory but no buffering.
3. OP1 Floating, OP2 Grounded: LED three-step touch dimming cycle (High → Medium → Low → Off).
4. OP1 & OP2 Grounded: LED three-step touch dimming cycle (Low → Medium → High → Off).
Detailed Functionality:
LED Touch Dimming without Memory or Buffering:
· Upon initial power-up, SO outputs a low signal, and the LED is off.
· A short touch (less than 550ms) toggles the light on/off without brightness buffering.
· A long touch (over 550ms) allows for continuous brightness adjustment. If held longer than 3 seconds, the brightness stabilizes at the current level.
LED Touch Dimming with Memory:
Remembers the brightness level when turned off, adjusting the next light on state accordingly based on the last saved brightness.
Three-Step Touch Dimming:
Different touch sequences yield varying brightness levels in a cycle: initial touch for high, next for medium, and third for low, then off.
Connections:
· VDD: Positive power supply
· GND: Ground
· OSC: Oscillation resistor input pin
· VC: Sampling capacitor input pin
· Tl: Touch input pin
· SO: Light control output pin
· OPT1: Option input pin 1
· OPT2: Option input pin 2
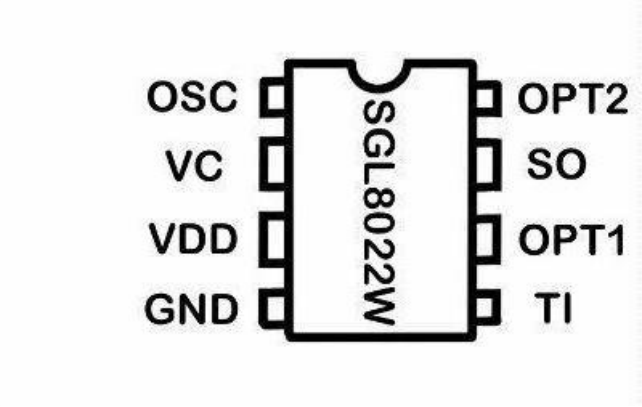
VC: Sampling capacitor access pin

Application Circuit:
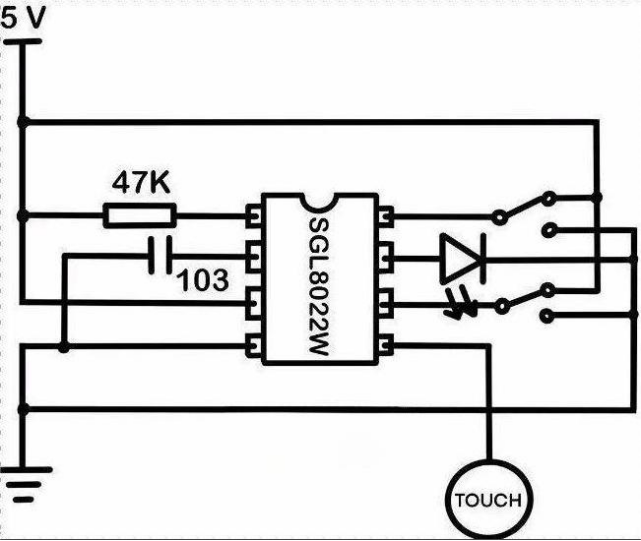
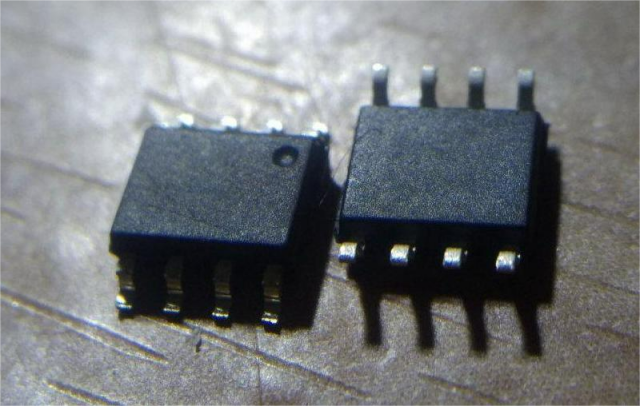
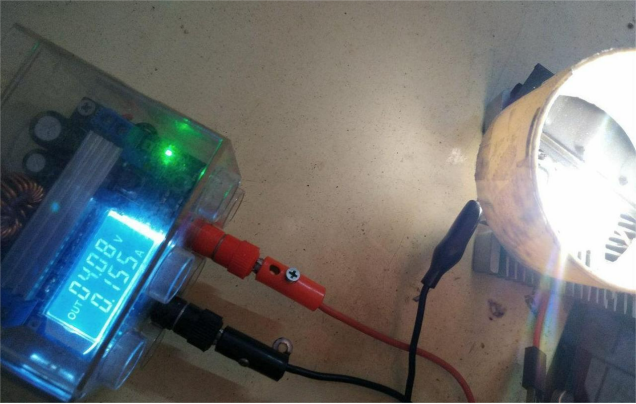
Let's start assembling. You can use a MOSFET to expand the current, which is reportedly controlled by the PWM output signal, allowing for continuous dimming. Try using a MOSFET first, like the LED shown, which can handle up to 800mA.
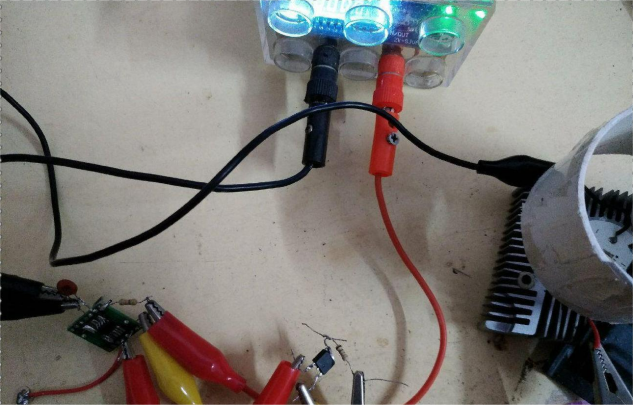
After testing, it's confirmed that continuous dimming is achievable with a 150mA current, without any flickering.
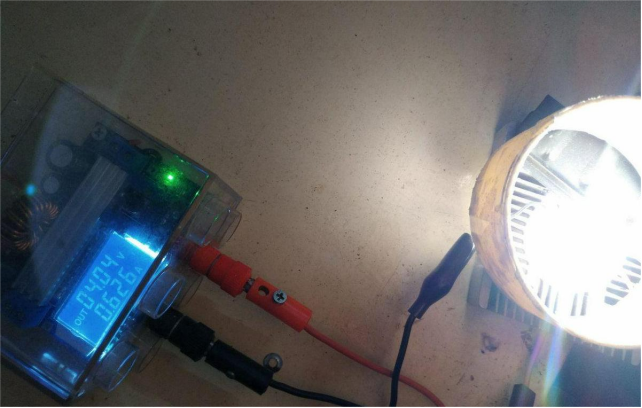
With over 600mA, this is the maximum at the specified voltage.
Now you can modify the small table lamp. Below is the modified version. While a single MOSFET can also control dimming, it won’t be constant current, and the current will vary with voltage. For constant current, use the CN5711 chip. If you prefer, you can also use the QX9920, which supports PWM dimming, but the CN5711 circuit has slightly more components.
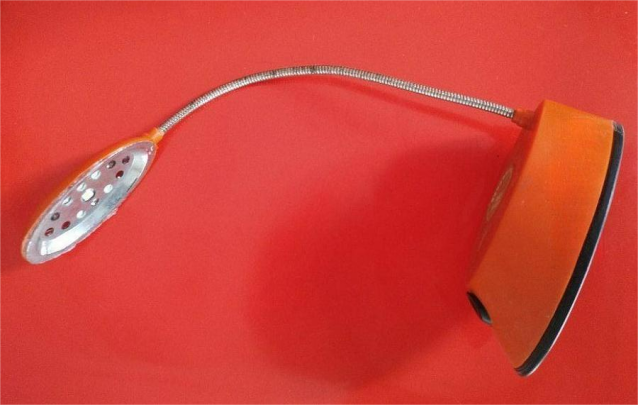
The original LED was replaced with two 18650 batteries, fitting perfectly.
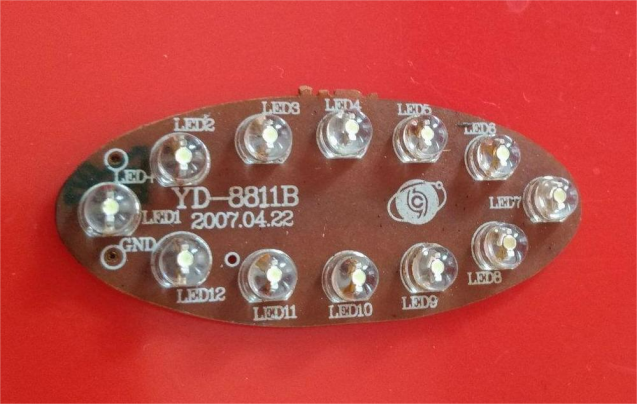
The new 3W LED also fits nicely. I added a few thin heat sinks to the aluminum base; the power isn't high, so it should be sufficient.
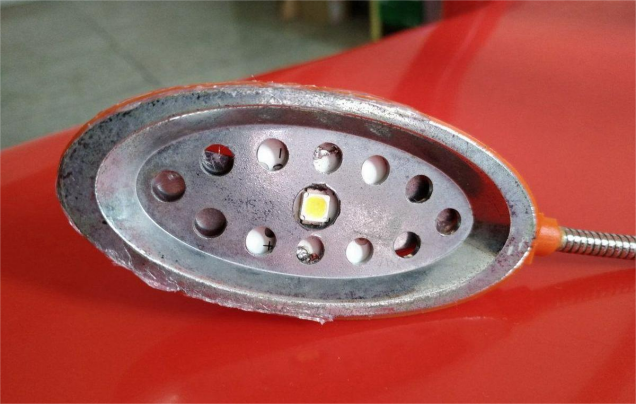
The touch panel is attached below the circular area in the center, and left the original push-button switch to avoid leaving a hole that would be hard to clean.

The Final Look:
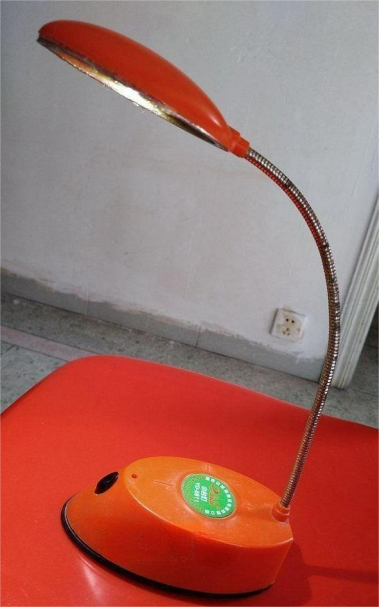
Completed transformation!


