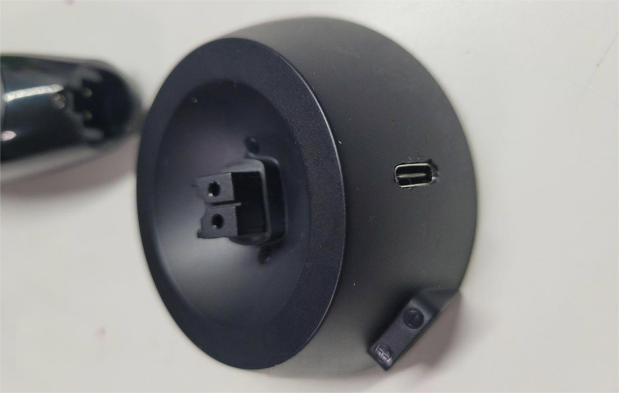
The Panasonic ST-3Q shaver uses a proprietary charging port with both a wired charger and a charging dock. If you’re interested in learning how to avoid moving the dedicated charger around, keep reading!
The wired charger for the ST-3Q indicates a voltage of 4.8V, suggesting it may only provide power without charging capabilities. However, measurements with a multimeter show it's compatible with USB. This means we can add a Type-C female port to the charging dock, making charging more convenient without needing to move the dedicated charger.
To access the bottom of the charging dock (model RC9-86), you can pry off the bottom using a screwdriver at several grooves.

The inside is quite simple.
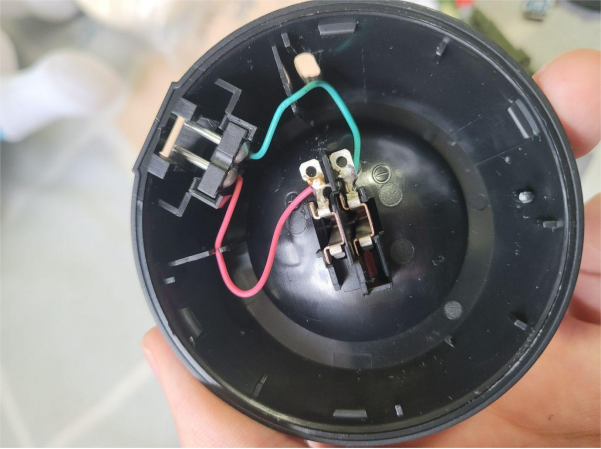
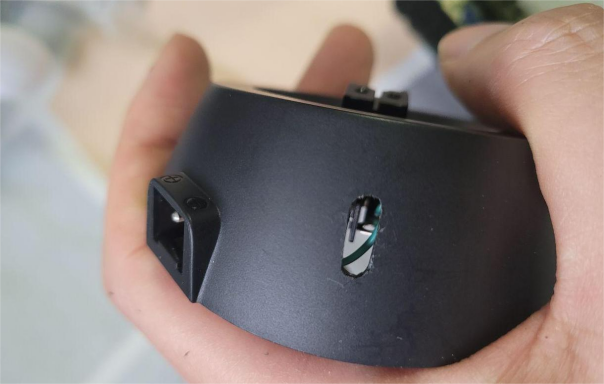
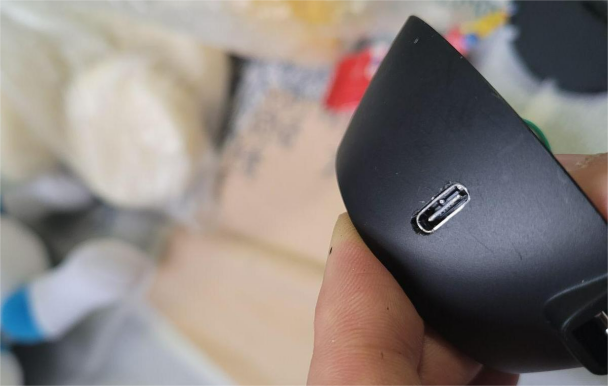
Using a carving knife, create an opening on the back at the optimal location indicated in the image.
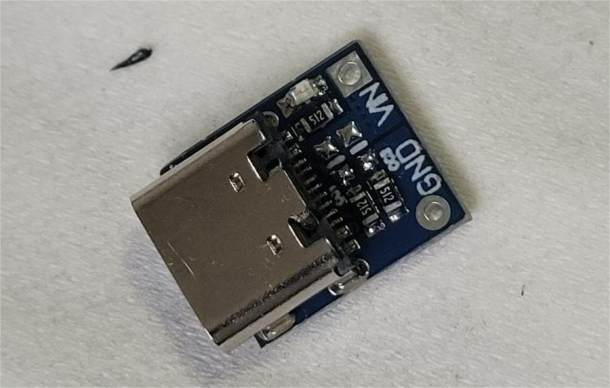
Next, obtain a Type-C female port. Note that according to Type-C power supply standards, regardless of whether it’s male or female, the receiving port (sink) requires a 5kΩ pull-down resistor on both CC lines. Without these resistors, you may be able to draw power from a simple power source, but if the power supply is designed for Type-C, it won't provide power without the pull-down resistors. Typical scenarios include PD protocol Type-C power supplies and computer Type-C ports.
The board in the image already includes two pull-down resistors, and the third resistor shown is connected in series with an LED for power indication.
Now, adjust the position of the female port.
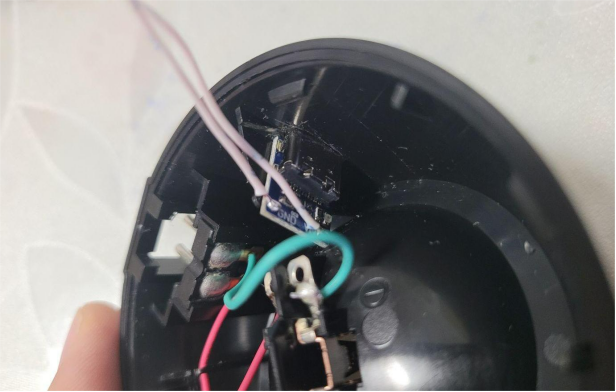
You can use a LEGO piece, trimming it to the desired angle, and place it behind the female port to provide support.
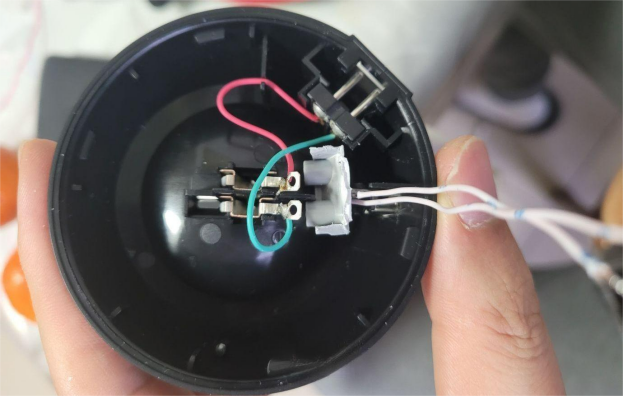
Use photo-sensitive glue (invisible adhesive) to secure it repeatedly, ensuring it has enough strength to prevent loosening or detaching when plugging in the cable.
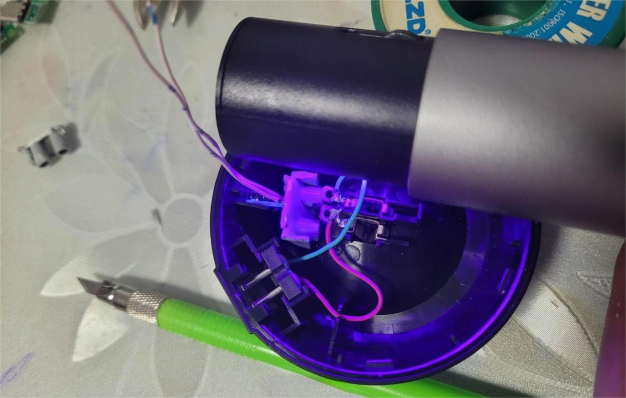
Once securely fixed, connect the wires, carefully confirming the polarity to avoid damaging the device.
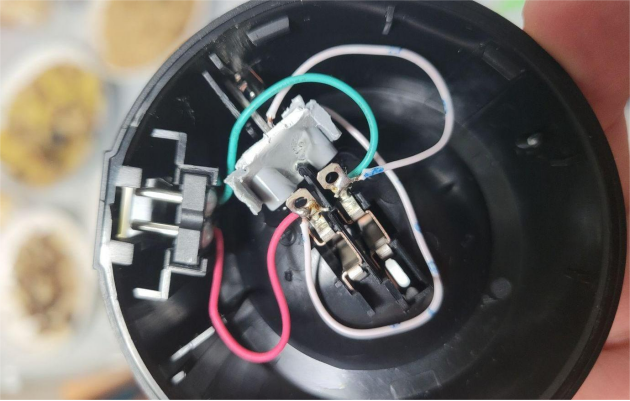
The final charging setup looks like this.
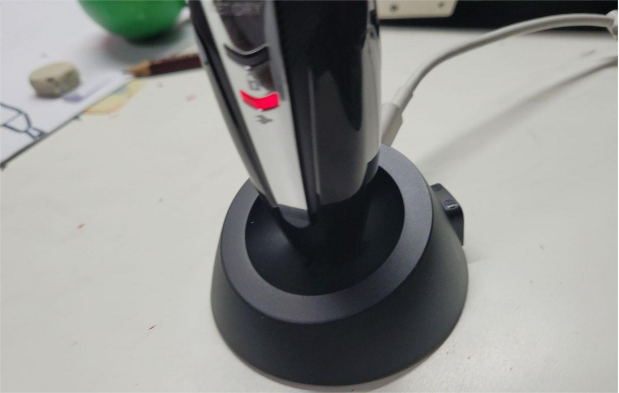
All done!
