
If you're interested in modifying a CD/DVD drive, this article might be worth checking out.

If you want to upgrade a laptop's built-in CD/DVD drive to an SSD and convert it into a USB external drive, here's the challenge: the drive uses a MINIUSB data interface. If you have few or no cables with this interface, what should you do?
When using the drive for burning, you must connect an additional power supply to ensure it doesn't damage the disc. However, if the power cable's quality is poor, you can replace both the power interface and the main interface with microUSB. This way, you can use a more universal, higher-quality cable.
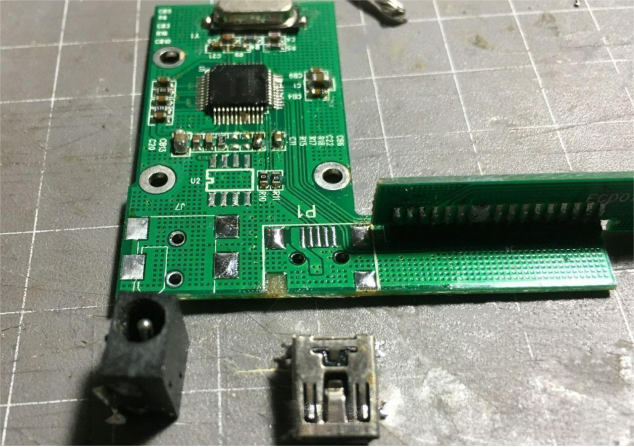
First, you'll need to disassemble the drive. You can use a heat gun to carefully remove the two connectors. Be patient to avoid damaging the solder pads that secure the connectors.
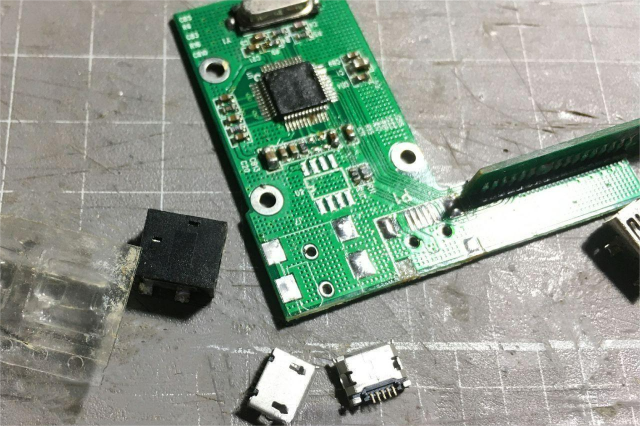
Now, replace them with two microUSB connectors.

You'll need to sand off the insulation layer on the board, reflow the solder, and then reattach the connectors using a heat gun. You can add some solder to secure the connectors further. Here's a major challenge: the microUSB connectors are smaller both in size and pins compared to the MINIUSB connectors. When soldering directly, the pads on the PCB might not align properly, so you'll need to use wires to make connections.
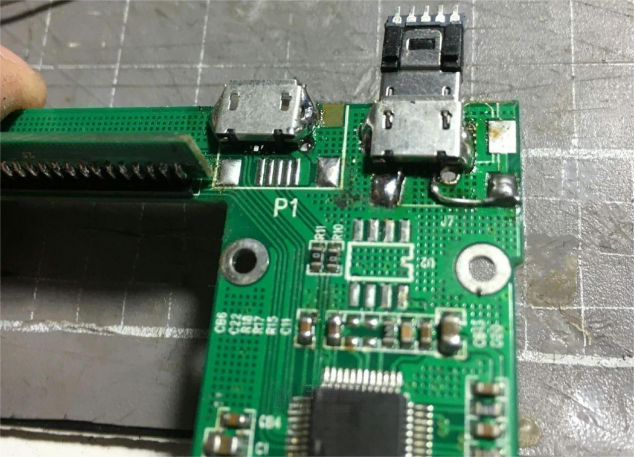
Start by fixing the power connector. This one is mainly for supplementary power, and two wires will be sufficient. For the wiring, you can use speaker wire, which is much thicker. To ensure you're not soldering the wrong polarity, you should use a multimeter to check the connections.

After testing, once the power is connected, press the button on the CD drive, and it should eject.
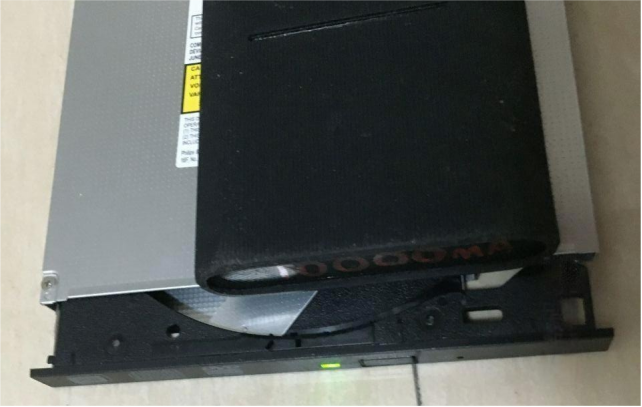
With the power connection sorted, it's time to handle the main data interface. For this, you'll need to add four wires. The fourth pin, which is close to the negative terminal, is the ID line and doesn't need to be connected.


Solder the wires to the pads according to the pinout, then test the drive again. If everything works fine, you can apply a layer of green solder mask, let it cure, and then reassemble the drive.
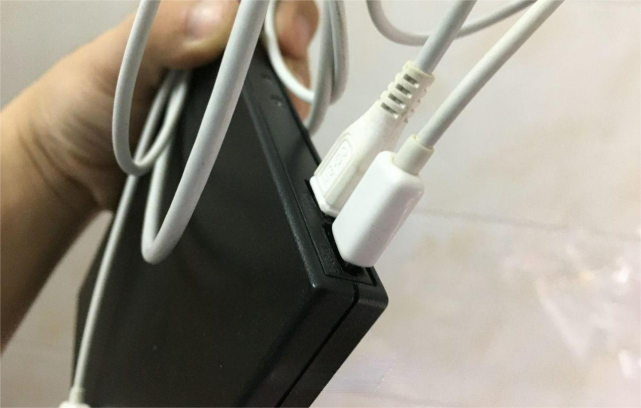
You may need to slightly enlarge the corresponding opening on the casing so the wires fit properly. Once everything is connected, the final result will look like the image above.
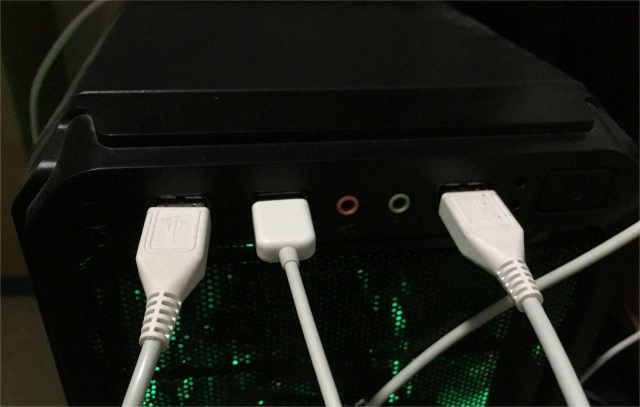
However, every time you want to watch a DVD or burn a disc, you'll need to plug in both cables, eject the drive, and insert the disc.

Even if you lose the cables, it's not a big deal—microUSB data cables are easy to find.
And that's it! The modification is complete.


