
If you're interested in DIY UV disinfecting lamps and accessories, take a look at this content.
The main purpose of this DIY project is to create a disinfecting lamp for car use. If your car has a built-in 220V power outlet, there's no need to make a mobile 220V remote power supply. After testing it on several cars, the results have been quite good.
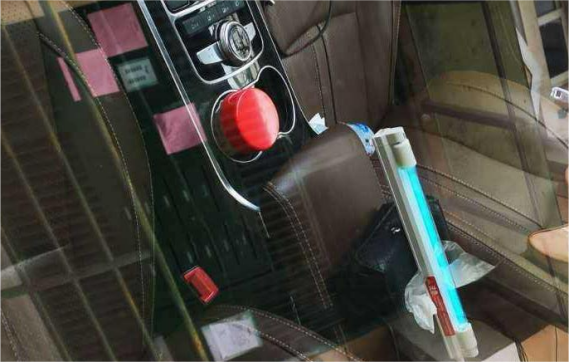
Once completed, place the lamp inside your car, ideally between the driver's seat and the passenger seat as shown in the image below. Then, close the door and use the remote control to turn on the lamp. This way, the UV light will be safely contained. Generally, since car interiors are small, 15 minutes of UV exposure is sufficient. Afterward, open the windows and let the ozone smell dissipate for about 5 minutes.
Materials needed:
· A 12V battery pack with 3 series of 18650 batteries, including a protection board and charging port.
· Two 2-pin sockets.
· A 12V remote control module set.
· A 15W car inverter circuit board (this can handle up to 40W, but you won’t need that much).
· Wires, switches, soldering iron, multimeter, etc.
· A box.
· An 8W UV disinfecting lamp.
The assembly process can be done on your own, with diagrams of each part below:
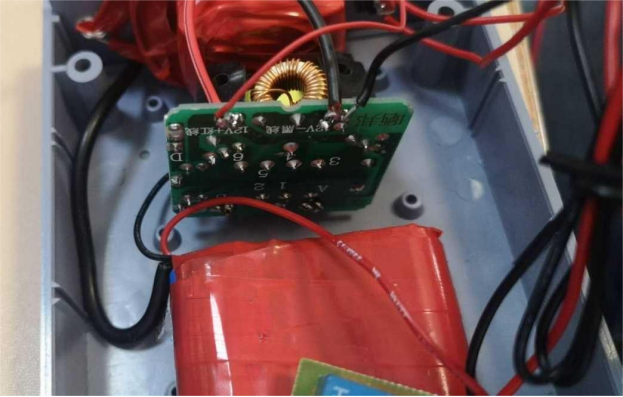
Circuit Board

This inverter circuit board connects directly to AB for 15W, and you can connect to other points for higher power if needed.
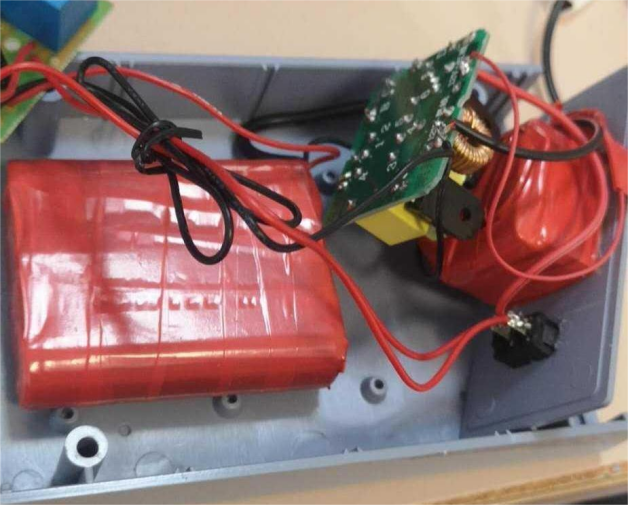
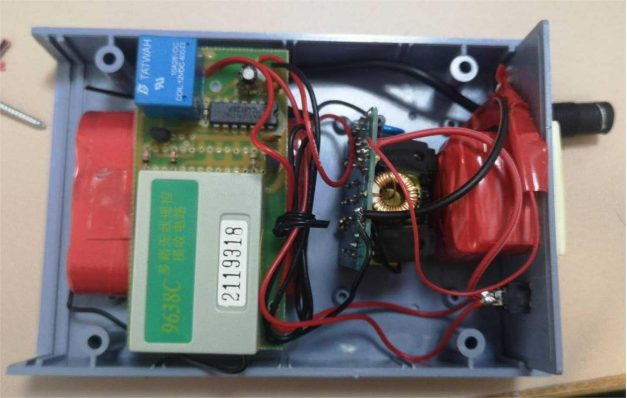
The remote control module connects directly to the switch. You can choose to manually turn it on or use the remote control.

Final Product Appearance:

Connect the disinfecting lamp.
You can purchase the battery pack and switch as a kit online.

The UV disinfecting lamp in operation looks like this:
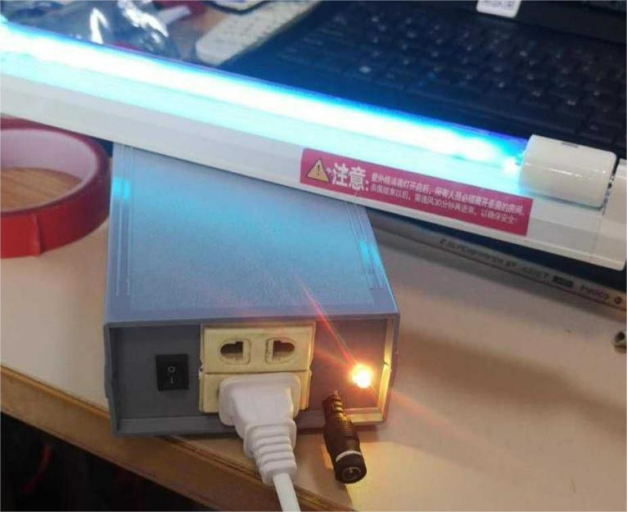
The charging interface is exposed, but you can also use your car's cigarette lighter to convert to 220V if needed. The key feature here is the remote control, which allows you to turn it on without direct contact.
Completed.


