
If you're interested in building your own DIY heating platform, take a look at this article. You only need a few components to make it work.
Basic Parameters:
· Heating Area: 35x35
· Power Supply Voltage: DC 15V-24V
· Heatbed Resistance: Approx. 5Ω
· Power: Approx. 40-50W
· Temperature Range: 220+ (Temperature adjustable, similar to the old 936 temperature control method)
· Heating Element: Aluminum PCB prototype
· Screw Posts: M2*5
The power supply supports PD20V input, and it's recommended to use a power supply of 65W or higher.
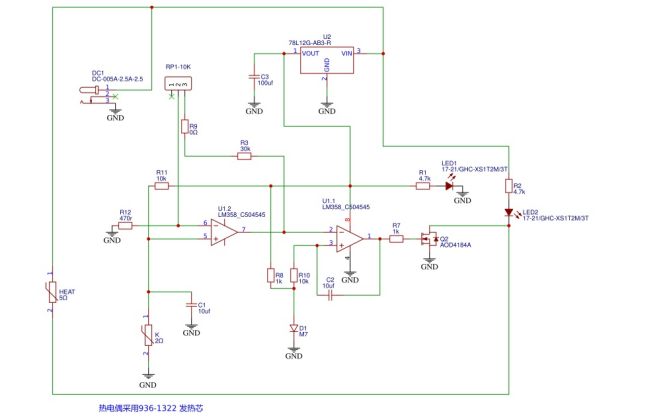
Schematic
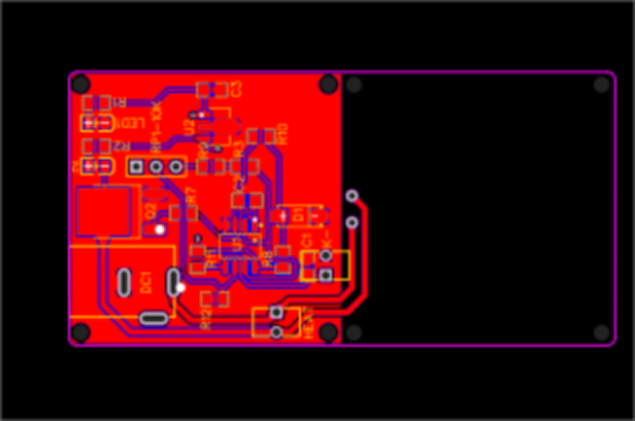
PCB
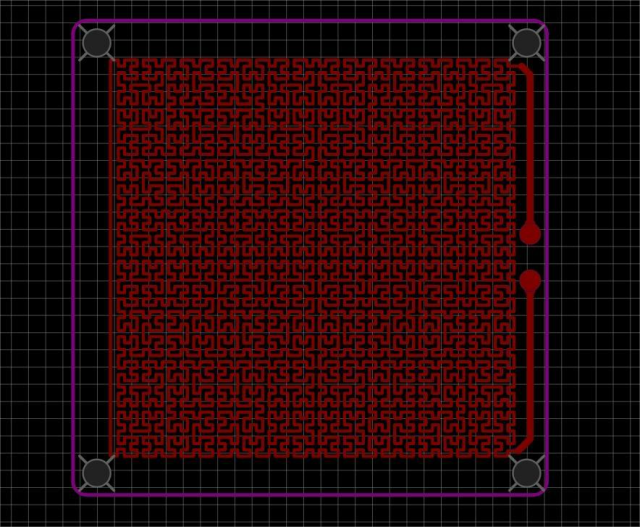
Notes:
1.The thermocouple is inside the heating element of the 936-1322. You need to break the heating core and remove the thermocouple. Make sure to identify the positive and negative terminals (you can use a lighter to burn it briefly and check the voltage).
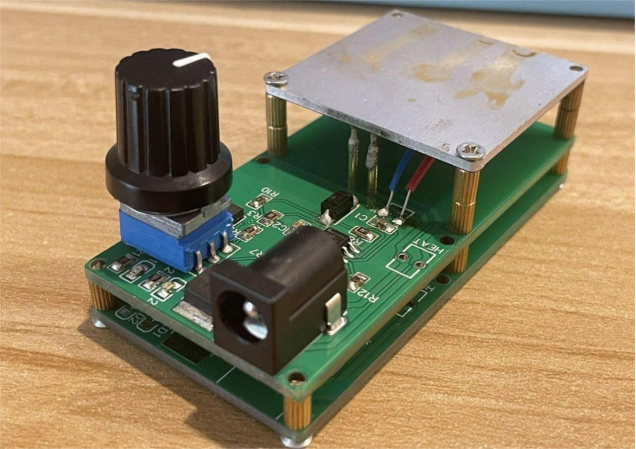
2.The connection between the heating bed and the mainboard uses a needle connector, which you can salvage from other devices. If you buy a new one, you need to adjust the size of the hole on the control board accordingly. Additionally, even with a needle connector, add some solder to ensure good contact and avoid poor connection.
3.RP1-10K is a potentiometer. The larger the resistance, the lower the temperature. The design has it so that turning it counterclockwise results in the lowest temperature, while turning it clockwise increases the temperature.
4.Technically, C3 is a capacitor for output voltage regulation, but soldering C3 might cause some issues. You can skip C3, as we've tested it, and the system works fine without it.
Disadvantages: No temperature display, and the lowest setting is around 220°C. It's completely sufficient for tasks like soldering LEDs and similar components.
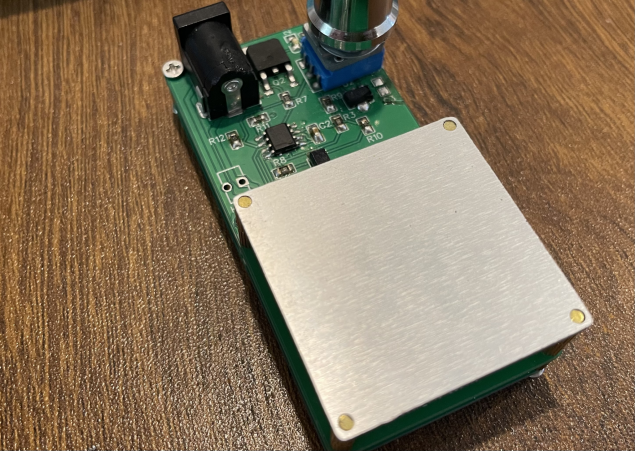
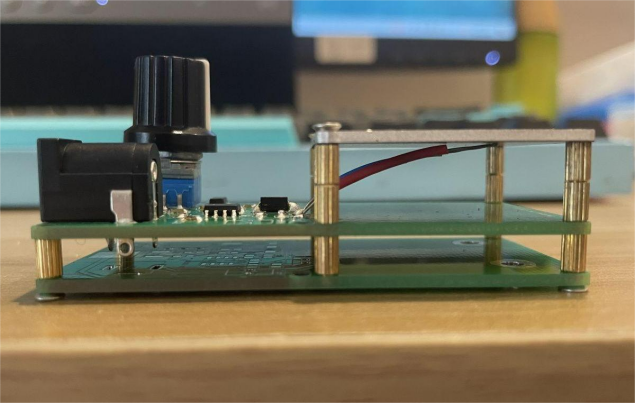
The hole diameter for the heating bed has been modified to 1.85mm, and you can use a copper pillar screw tap to achieve a tight fit, which eliminates the need for screws on the surface.
End


