
If you're interested in building your own DIY outdoor power supply, this article might be worth a read. You'll need a motherboard and a protection board, such as those that can be salvaged from a G-King High-Energy Power Bank. For the batteries, lithium iron phosphate cells are a good choice due to their safety, but keep in mind that prolonged undercharging can cause these batteries to swell. Designing your own blueprint allows you to maximize space efficiency, resulting in a compact and lightweight design.
The exterior appearance looks as shown in the image.
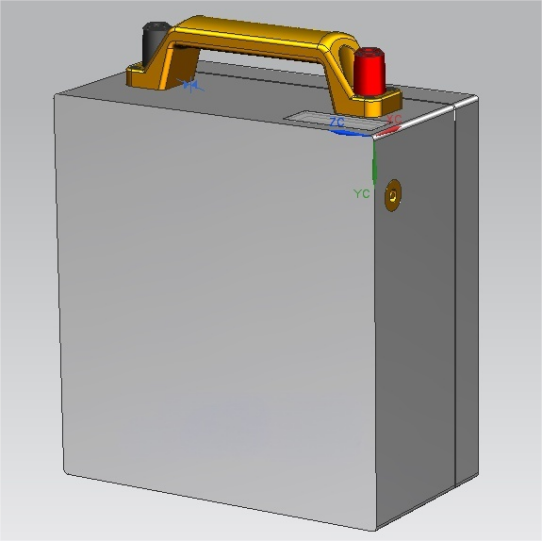
Inside, there are four lithium iron phosphate cells with a nominal capacity of 12Ah, a G-King motherboard (with a display screen, though the LED light is removed), a Bluetooth protection board, a pair of binding posts, a DC output port, and a cooling fan.
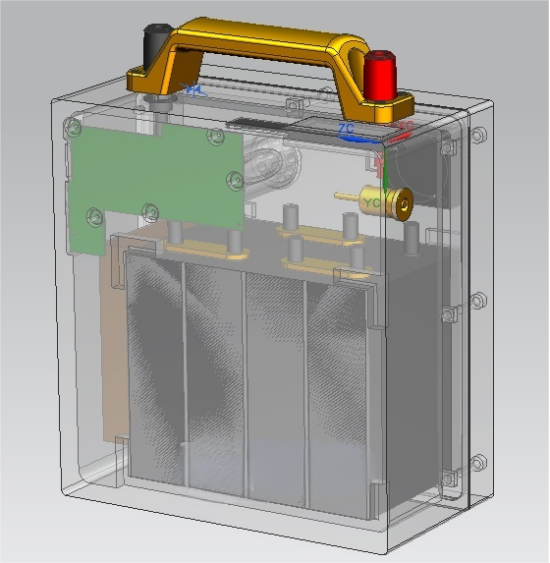
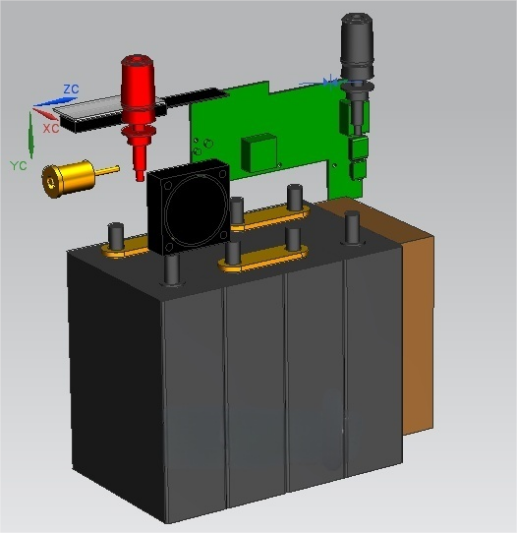
To ensure proper heat dissipation for high-temperature areas of the motherboard, you'll need to design additional airflow channels. Direct the airflow toward the heat-generating components. This way, during 60W charging, you'll feel the heat on the outer casing in areas corresponding to the hot spots when the fan is off, but with the fan on, the temperature remains cool and the effect is excellent.
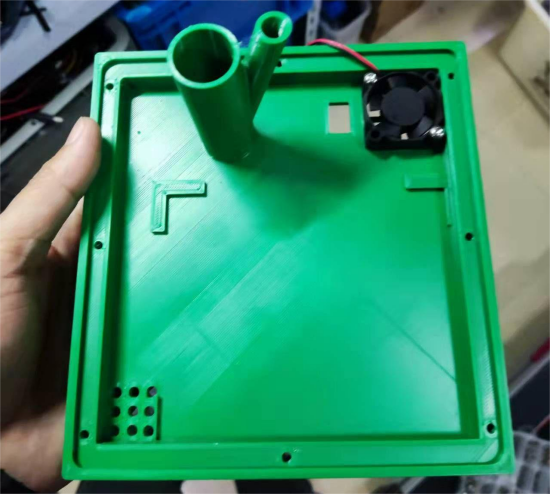
Once the motherboard is installed, you can see the display screen clearly.
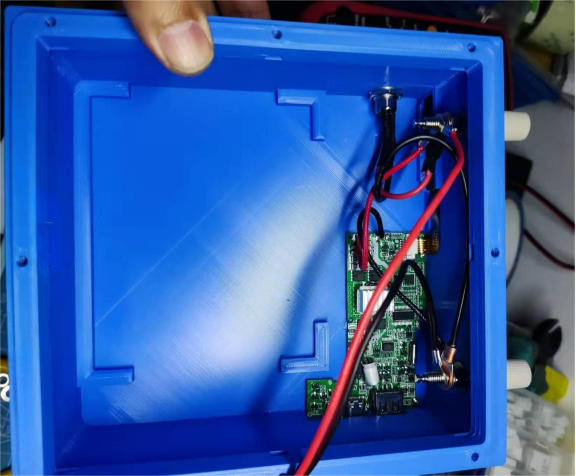
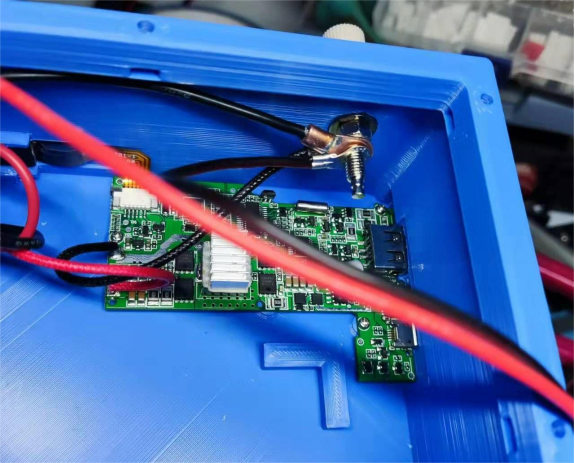
After installing the battery pack, the overall appearance takes shape.
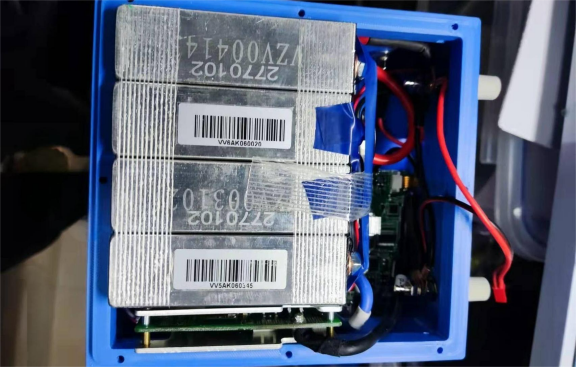
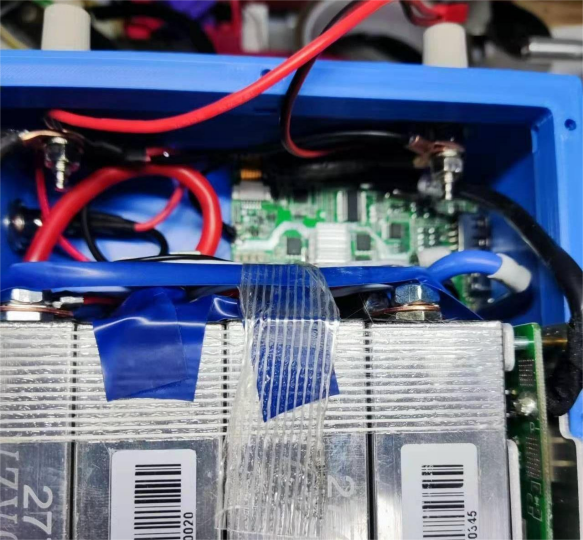
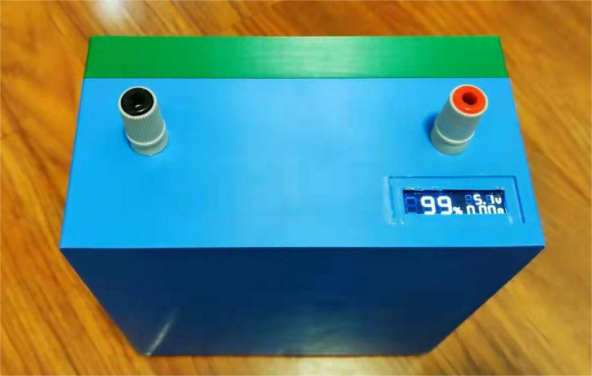
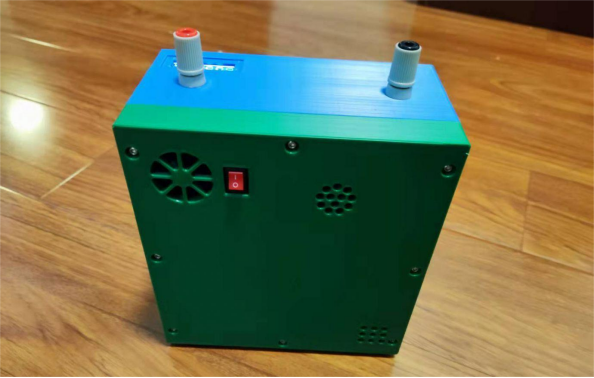
You can add the handle and the screen cover later. The handle can be fixed using the binding posts and made detachable, while the screen cover can be printed using transparent material.


