
If you're interested in repairing and DIY air pumps, this article might be worth a look. If you’ve replaced your 370 air pump because of increasing noise, only to run into a new issue like no airflow from the pump, you’re not alone. Over time, dust accumulation becomes a major issue with the 370 air pump, where the primary problem is the noise. Although the airflow decreases, it’s not significantly noticeable. On the other hand, with electromagnetic air pumps, the main issue becomes reduced airflow, and in some cases, no airflow at all. The noise may increase slightly, but not by much. What should you do when these problems occur?
For the electromagnetic air pump, dust tends to accumulate in the diaphragm, while for the 370 air pump, dust settles in the intake hole.
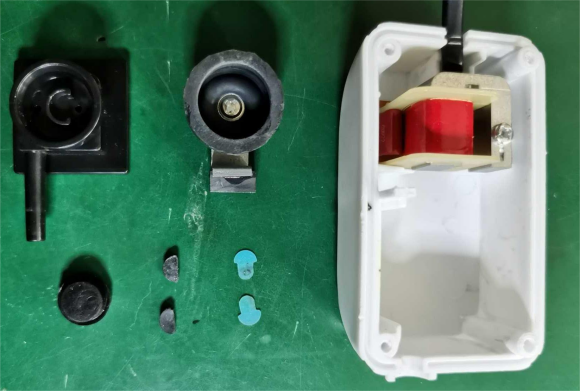
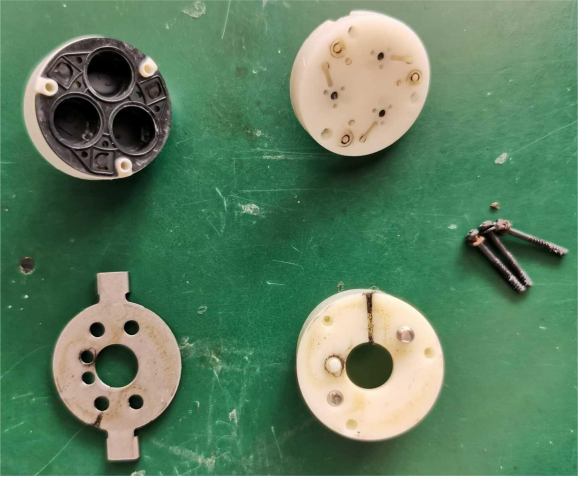
Considering noise reduction and dust protection, you can create a casing for the 370 air pump and add a voltage reduction circuit.
Here's how:
1. Create holes in the casing: You can use a pen refill as the outlet port. The voltage adjustment hole should be slightly enlarged to serve as the intake port and also assist with heat dissipation for the voltage reduction module.
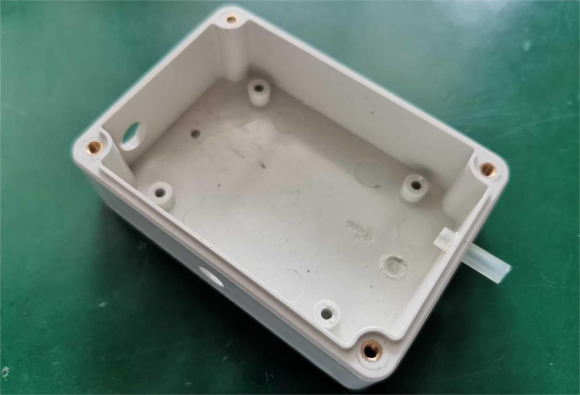
2. Use the pen refill to create a V-groove: This will allow for easier voltage adjustment.
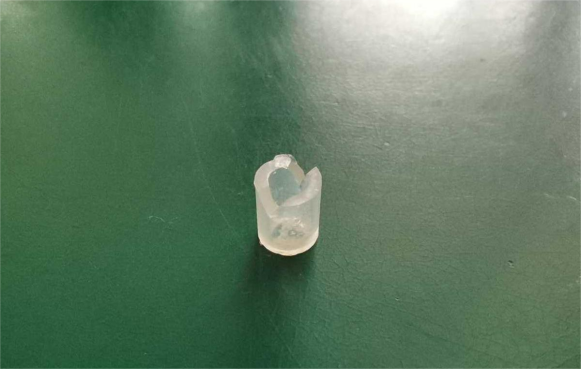
3. Fix the V-groove pen refill to the potentiometer adjustment knob: Secure it in place.
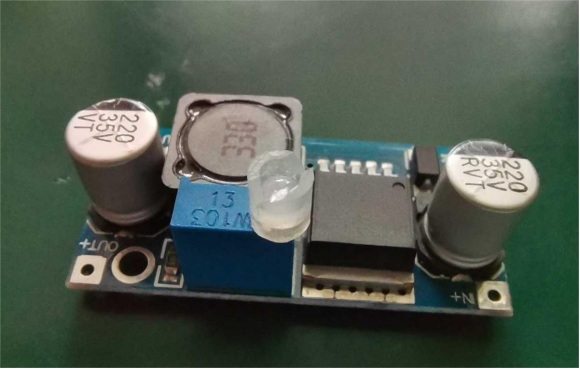
4. Connect the circuit: Place dust-proof cotton on the bottom of the casing and use flexible tubing to connect the air outlet port.
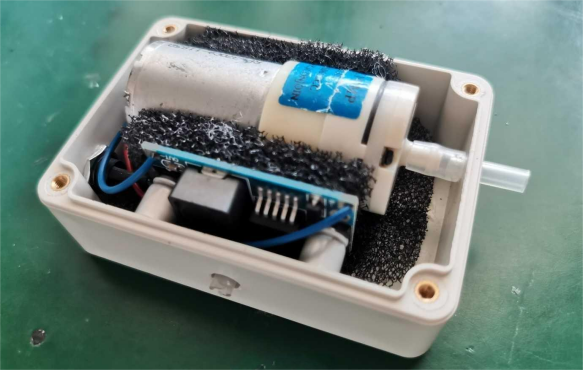
5. Add dust-proof cotton to the top cover: This will help reduce noise.
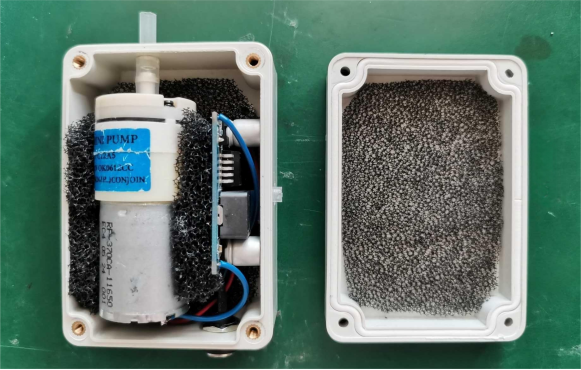
6. Finally, seal the casing and tighten the screws.
All done!


