
If you're interested in building a DIY radio, take a look at this article.
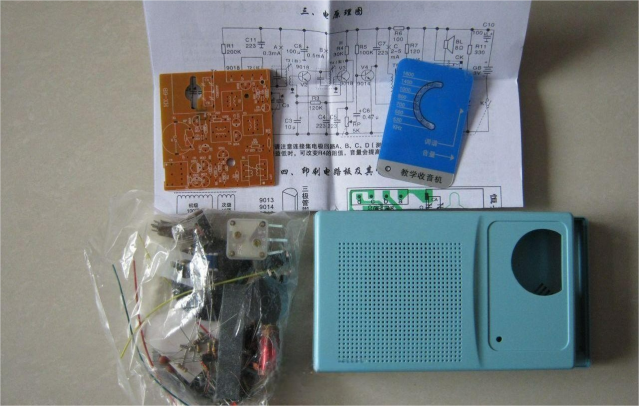
You'll need to prepare a six-tube radio kit, as shown in the image below:
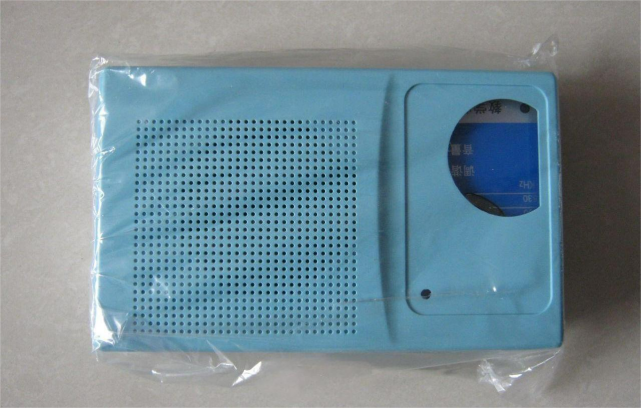
All components, printed circuit board (PCB), and the instruction manual.
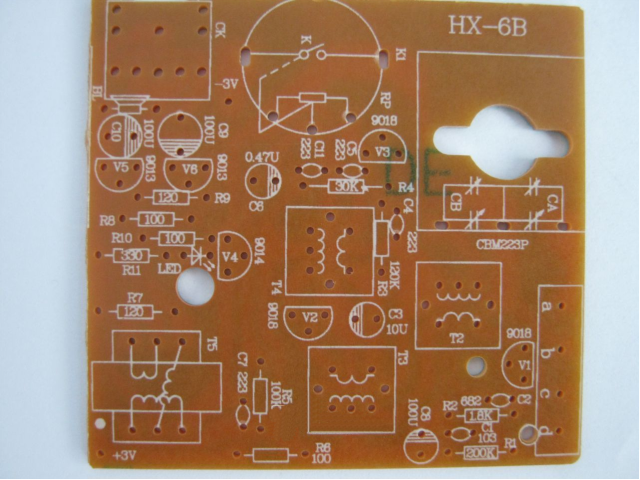
Printed Circuit Board
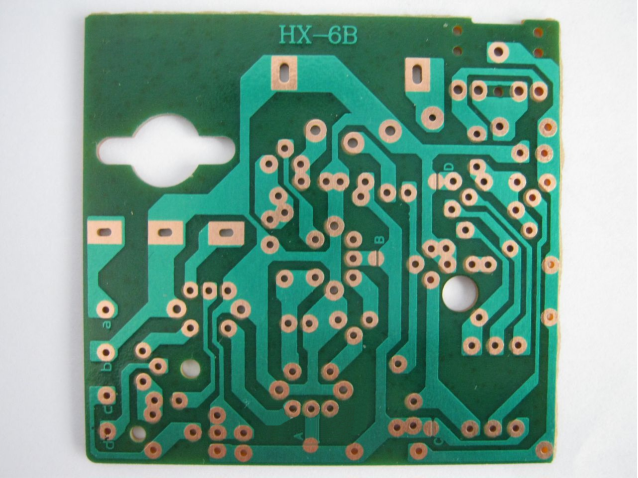
Soldering Side of the PCB
First, solder the resistors and ceramic capacitors.
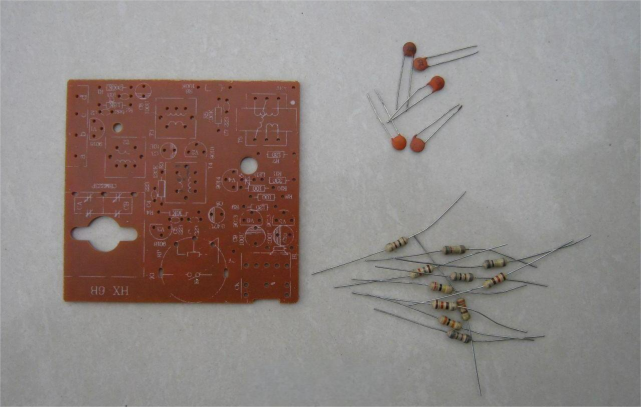
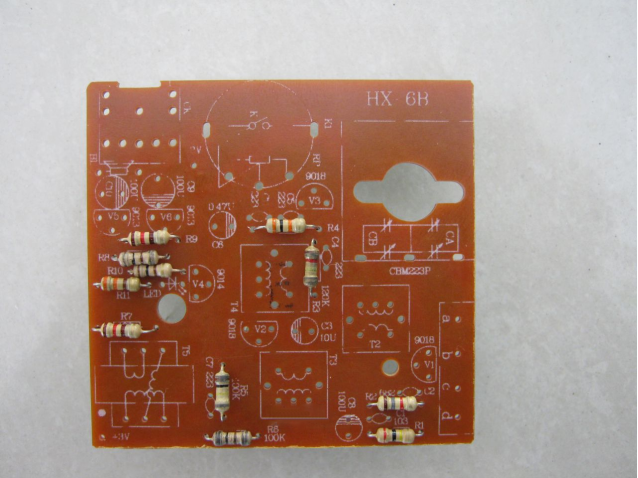
The resistors are soldered as shown in the image.
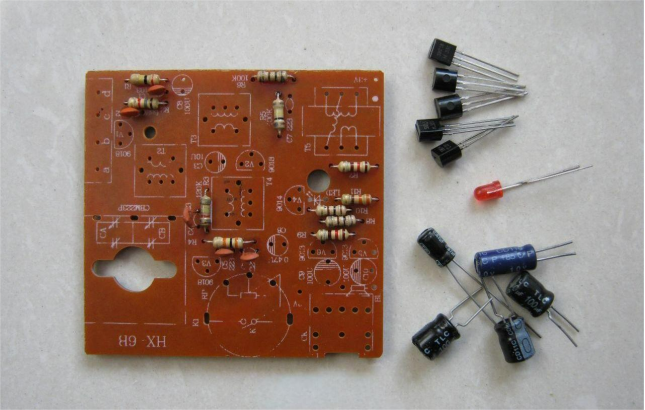
The ceramic capacitors are also soldered in place. Next, solder the transistors, LEDs, and electrolytic capacitors.
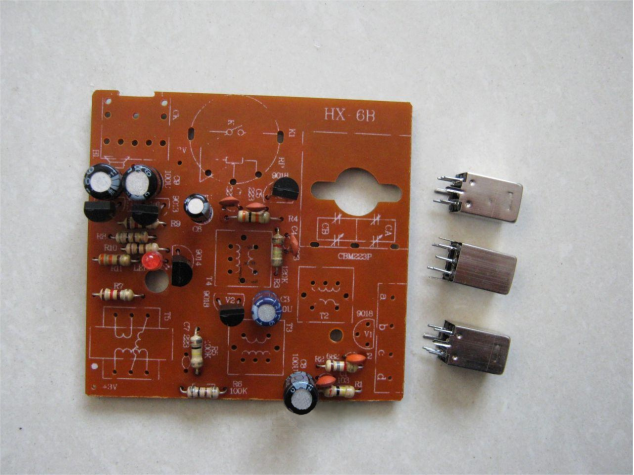
Everything is soldered. Then, move on to soldering the medium-frequency transformer.
The medium-frequency transformer is soldered. Next, solder the potentiometer, input transformer, headphone jack, and dual capacitors.
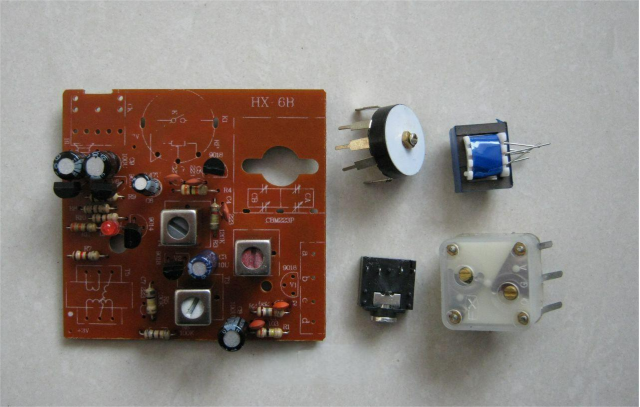
Everything is soldered. Now, solder the coil, wires, and battery terminals.
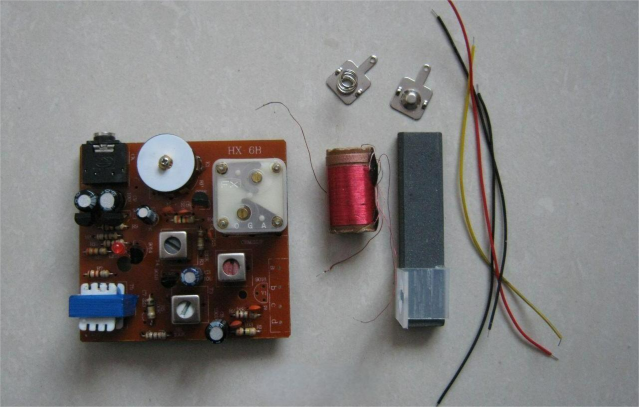
Don't forget to solder the 9018 transistor and 223 ceramic capacitor as well.
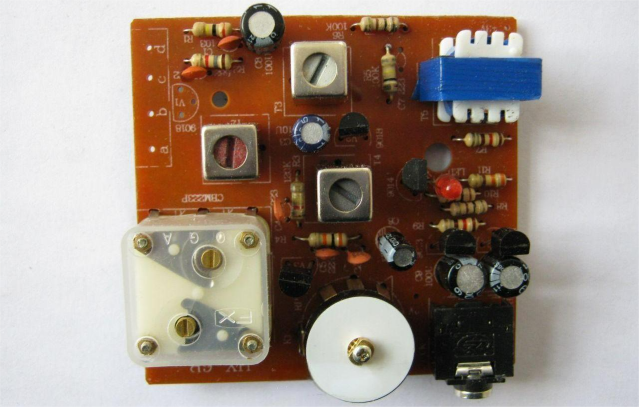
If you don't have these components, you can find suitable replacements and solder them in.
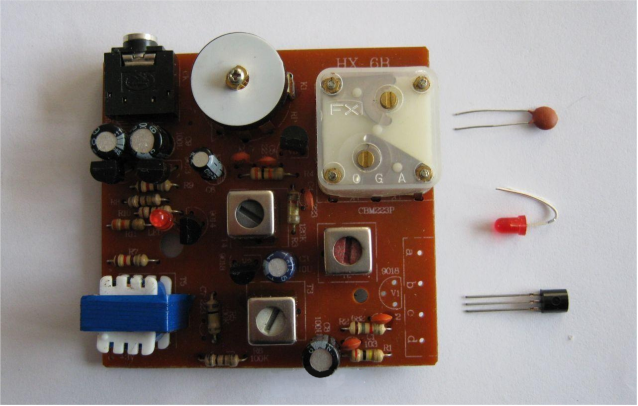
Everything is soldered.
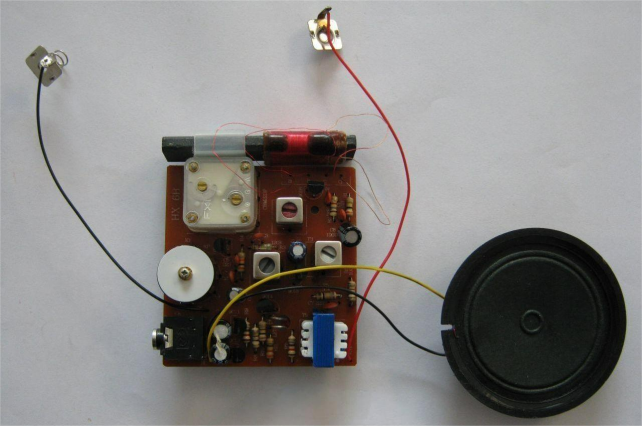
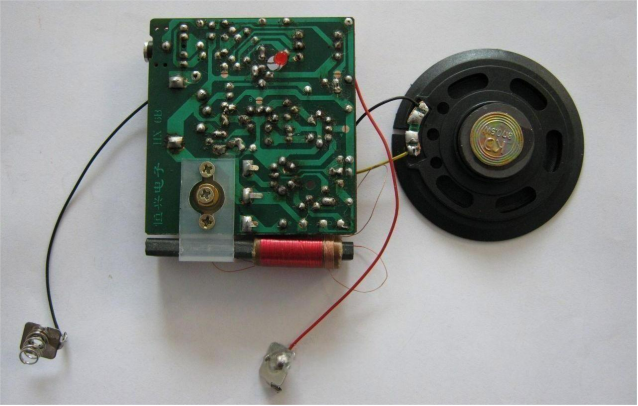
Check the back of the PCB to ensure there are no unconnected solder joints.
Power on the circuit, and test the four gap points for normal current.
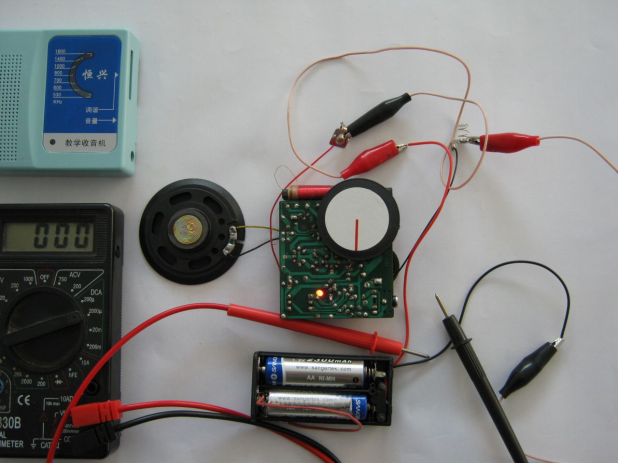
Once the gaps are soldered, get ready for assembly.
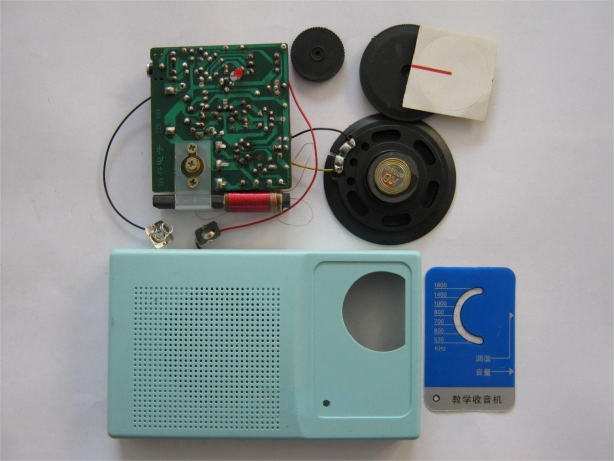
Assembly: Secure the speaker with hot glue.
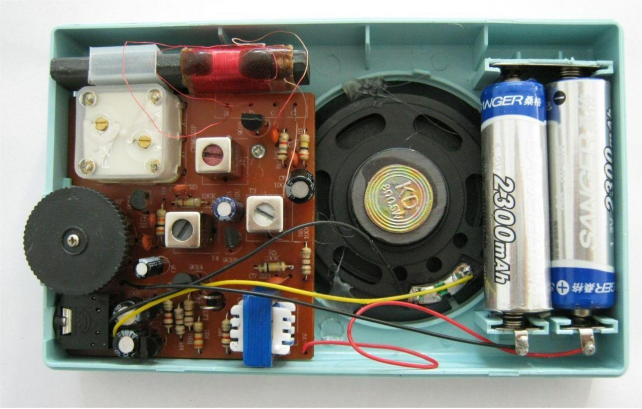
Finally, close the cover, and after testing, the radio powers up and receives a station.
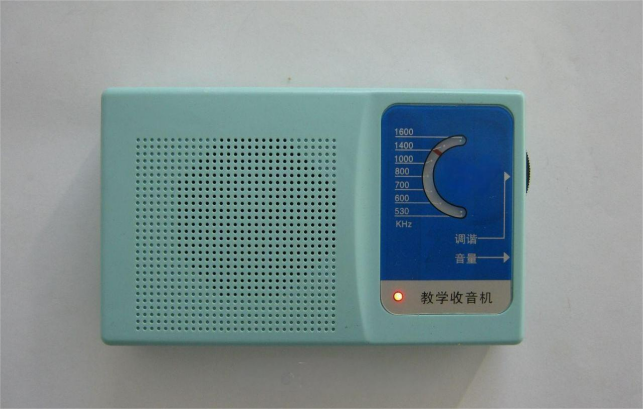
Mission accomplished!


