
If you're interested in DIY Arduino boards, this article might be a great read for you. In this guide, we'll be building an Arduino board for the ESP8266 module. If you're curious, keep reading!
To begin, you'll need an ESP8266 board. If it's not available, you'll have to design and create your own circuit board, as shown in the image below.
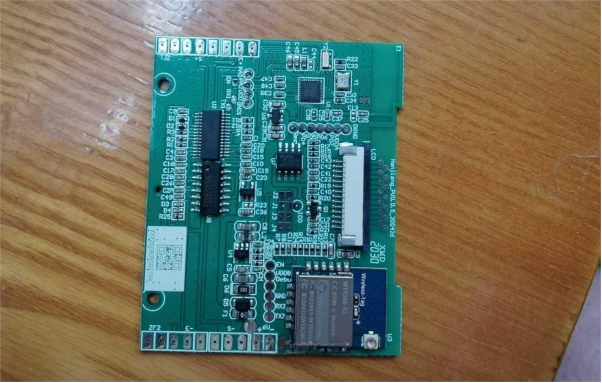
You can start by using a heat plate to carefully solder the module. Be cautious and check the image—there's a square component beneath it. Don't solder below that area as it may be hard to remove afterward.
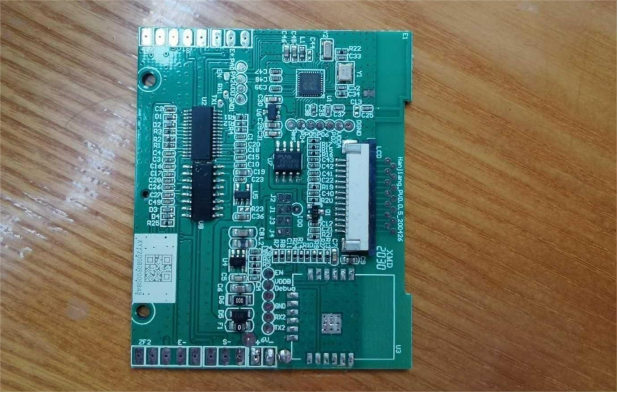
Once you've completed the board, it's essential to check for any errors. Here's what the board should look like after being tested for potential mistakes.
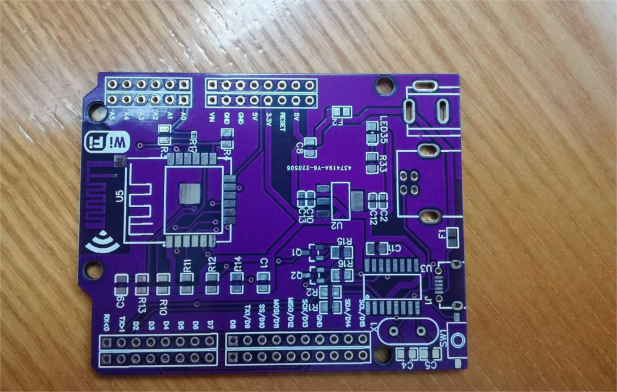
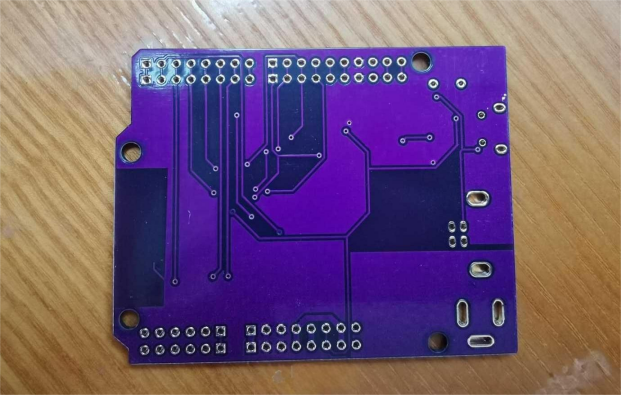
Next, solder the necessary components onto the board. After soldering, it should look like the image below.
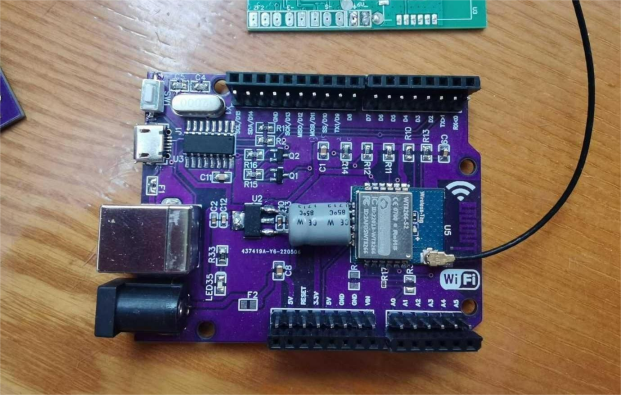
If you happen to have an old laptop, you can repurpose its antenna. However, it might be a bit too long. Alternatively, you can also install an antenna directly on the board itself.
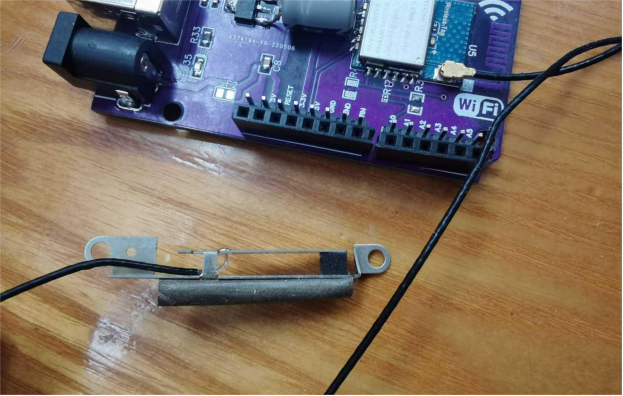
And that's it! The setup should work, but feel free to continue upgrading and modifying it if you have any better ideas.


