
If you're interested in DIY lithium batteries, you might want to check out this article. The FANDING F201 card-inserting mini speaker can play music via a card, function as a radio, and also provide lighting. However, after prolonged use, its battery life deteriorates. The original battery is an 18650 lithium battery with a XH2.54-2P connector, and it includes a protection board. However, the mainboard of the speaker does not have lithium battery protection features. The charging section uses a diode for voltage reduction and a transistor to switch the light. Charging stops when the lithium battery protection board reaches full charge, meaning you need to use a lithium battery with a protection board. This type of charging method is commonly used in card-inserting mini speakers but can damage the battery. So, what should you do? You can either disassemble the battery and DIY your own flat 18650 lithium battery or create a DIY 18650 lithium battery with a protection board. The DIY version works quite well.
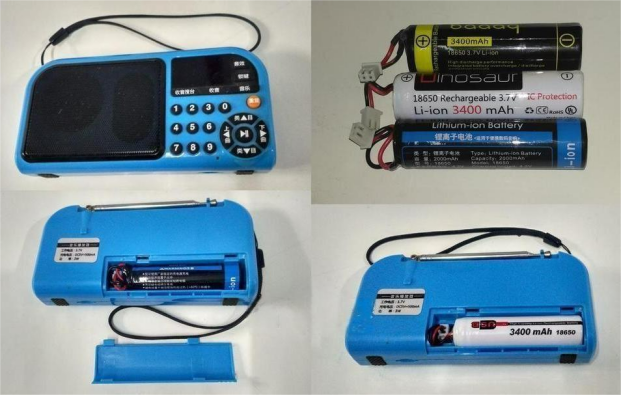
The FANDING F201 mini speaker can play music via a card, function as a radio, and also provide lighting.
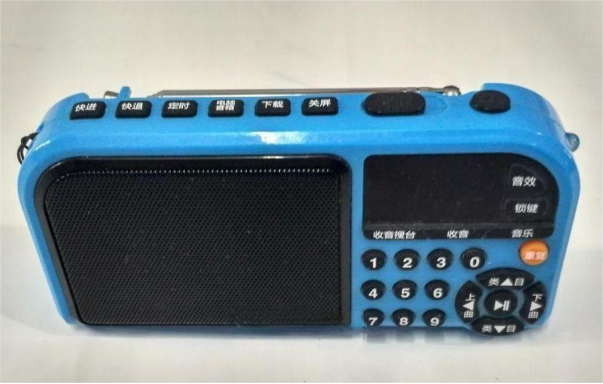
The music player operates at 3.7V, with a charging voltage of DC5V = 500mA and a power of 3W.
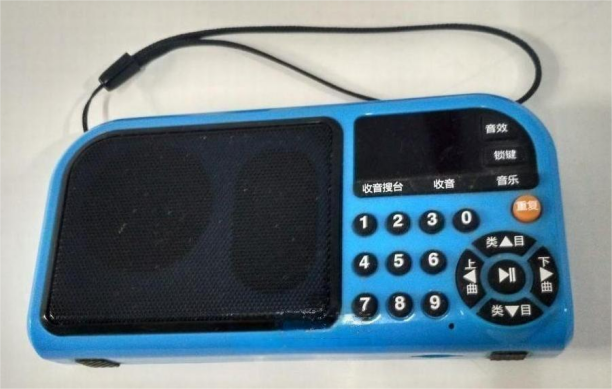
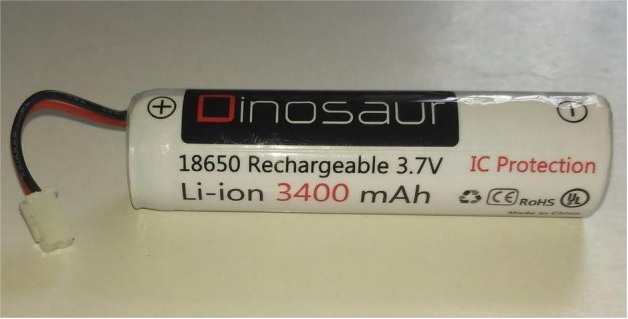
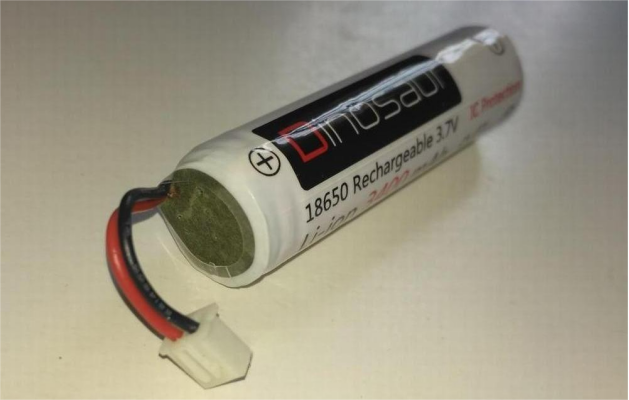
The original speaker uses an 18650 lithium battery with a XH2.54-2P connector.
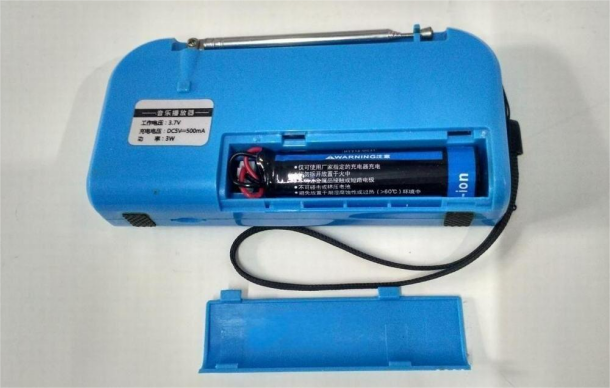
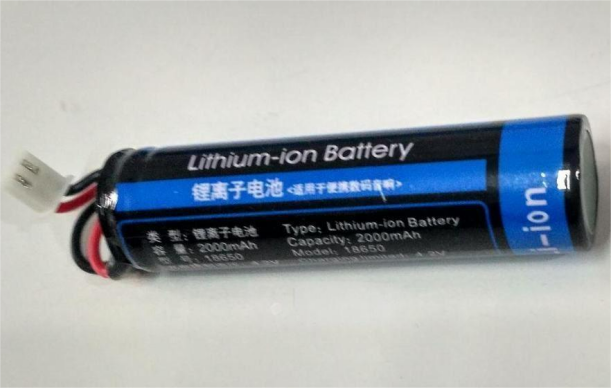
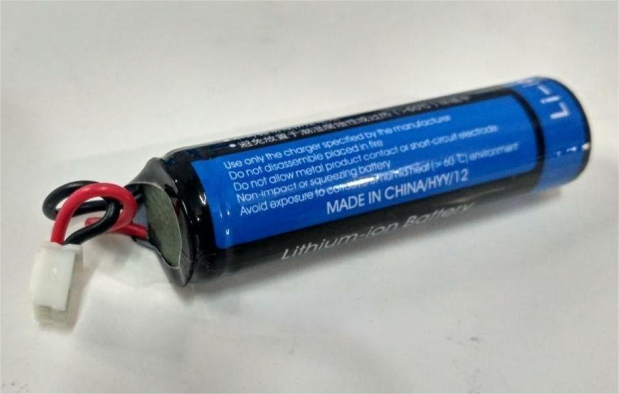
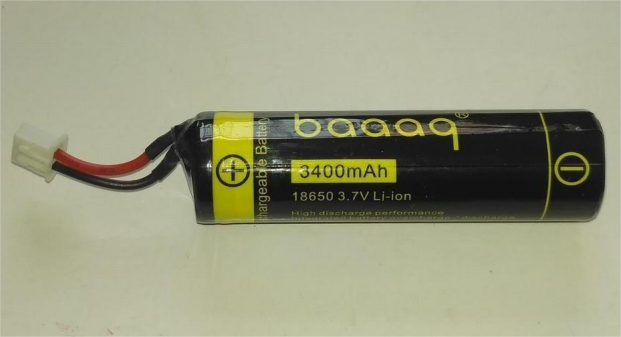
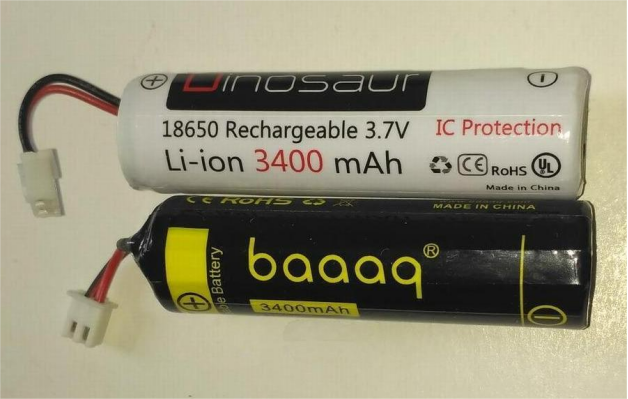
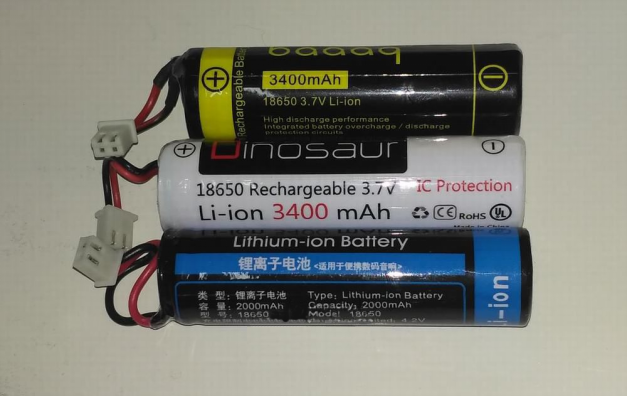
DIYing an 18650 lithium battery with a XH2.54-2P connector involves comparing it to the original battery, which includes a protection board.
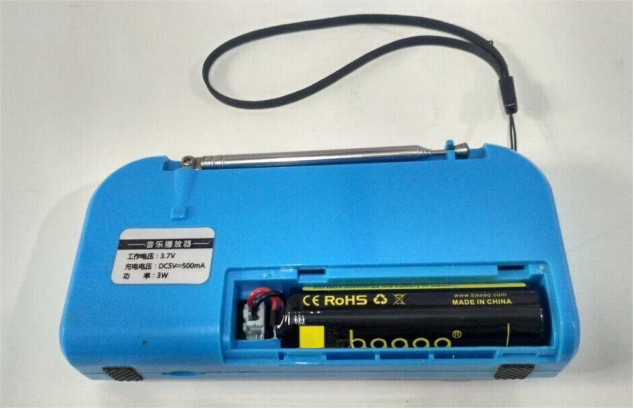
To disassemble, remove the iron mesh from the front of the mini speaker, then unscrew the 4 screws to open the case.
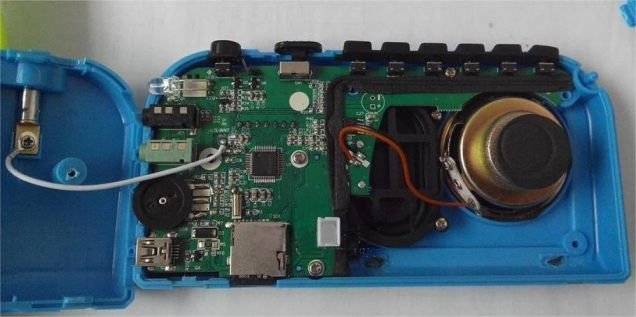
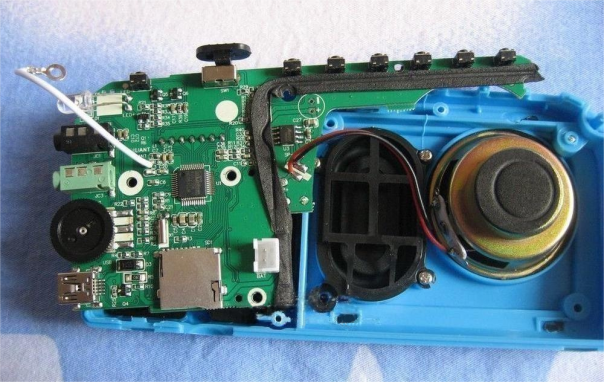
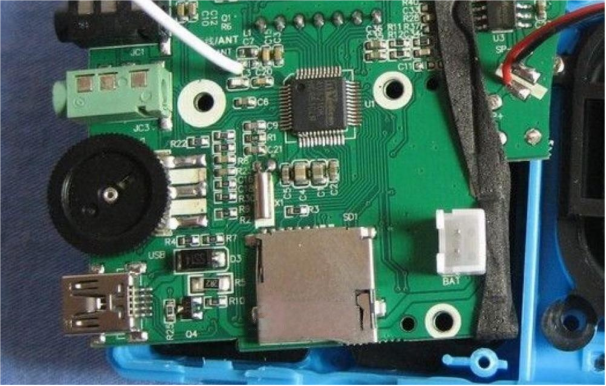
The speaker's mainboard lacks lithium battery protection features. The charging section uses a diode for voltage reduction, a transistor for light switching, and relies on the battery's protection board to stop charging when fully charged. This type of charging is common in card-inserting mini speakers but can harm the battery.
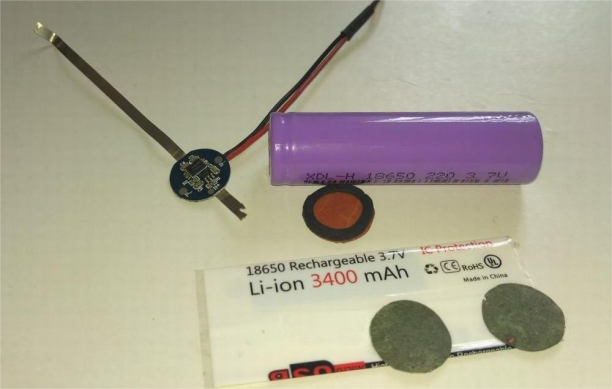
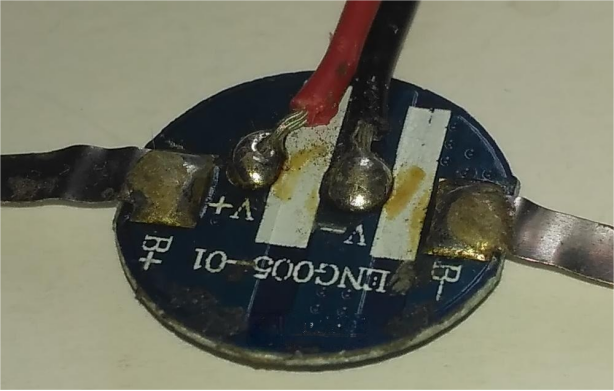
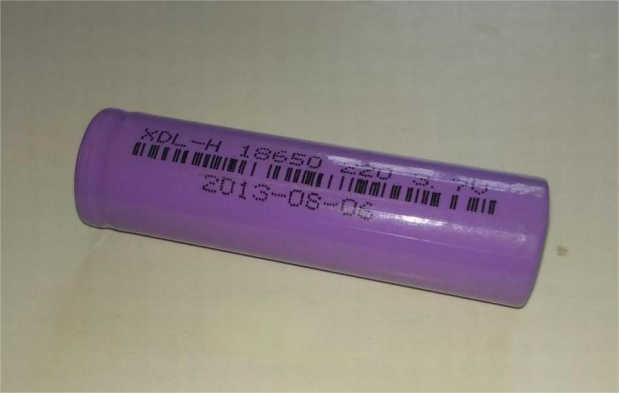
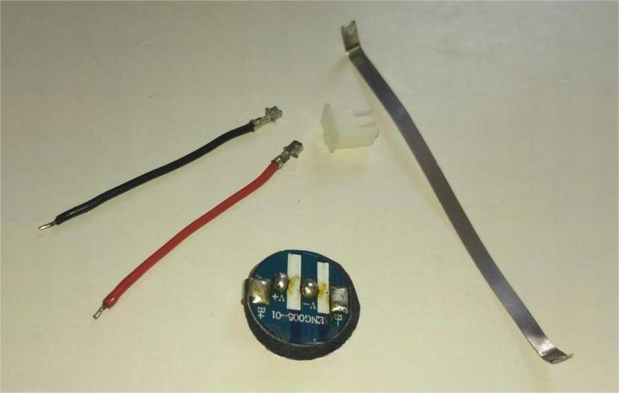
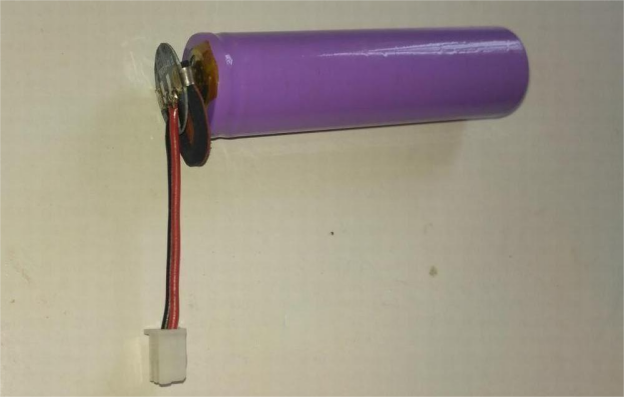
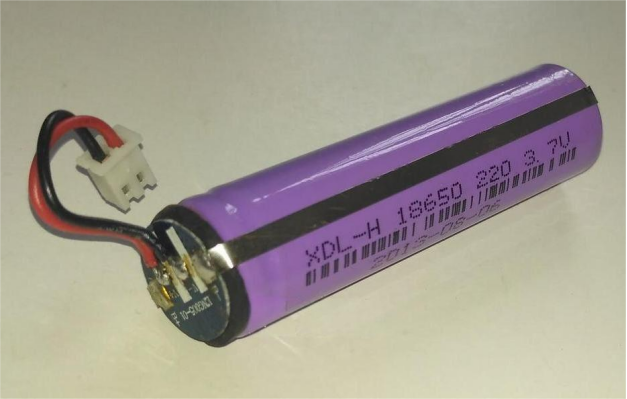
DIYing an 18650 lithium battery with a protection board requires the following materials: a disassembled lithium battery protection board with a nickel strip, a flat 18650 lithium battery, insulating paper, and PVC shrink wrap.
Welding assembly steps:
· Desolder the negative nickel strip from the disassembled protection board and connect the positive and negative leads.
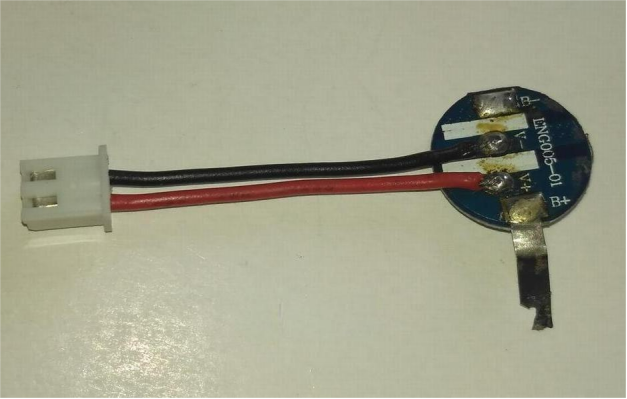
· Solder the XH2.54-2P connector leads to the protection board. After testing, solder them to the lithium battery protection board.
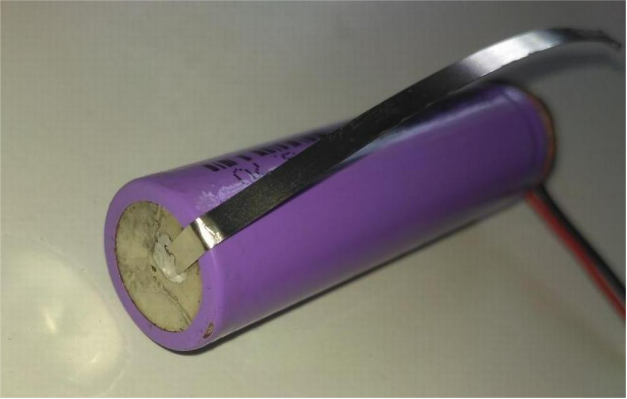
· Solder the positive nickel strip of the protection board to the positive terminal of the lithium battery, using high-temperature tape for insulation. Clean the nickel strip with a dry cloth before soldering.
· Solder the negative terminal of the battery to the nickel strip.
· Solder the negative nickel strip to the negative terminal of the protection board.
· After soldering, test the charging and output, and once confirmed, apply the PVC shrink wrap.
Welding tip: Pre-tin the components before soldering.
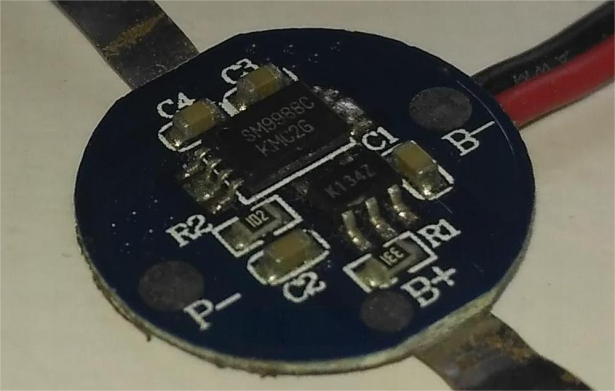
Tips: Simple identification and activation methods for lithium battery protection boards:
· Identification: Lithium battery protection boards are usually categorized into positive control and negative control types. The negative control type is more common. A positive control protection board is attached to the positive terminal of the lithium battery, and the output positive terminal is connected to the protection board's positive terminal, with a shared negative terminal. A negative control protection board is attached to the negative terminal, and the output negative terminal is connected to the protection board's negative terminal, with a shared positive terminal.
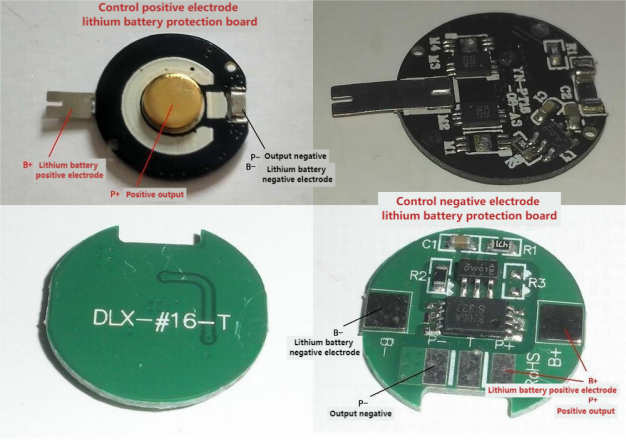
· Activation: Activation of both positive and negative control protection boards can be done through charging or short-circuiting methods. Both types can be activated by charging. Additionally, activation can be achieved by short-circuiting: for positive control, short-circuit the battery's positive terminal with the protection board's positive terminal; for negative control, short-circuit the battery's negative terminal with the protection board's negative terminal.
Done!


